Using MediaSpace from Kaltura
MediaSpace is a campus video distribution platform from Kaltura, similar to YouTube, where you can securely upload and share your videos anytime and anywhere with an internet connection. It supports multiple devices and provides powerful control and governance tools.
There are various ways that content can be locked down. It can be visible to only specific NetIDs, specific course members or to the general public.
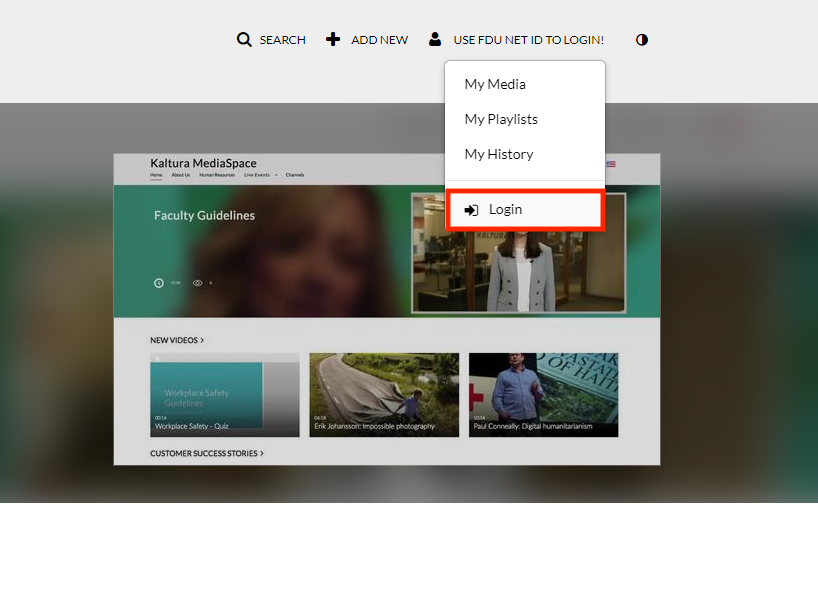
- Log into your Kaltura account:
- Click on use FDU NetID to Login and enter your credentials
Adding Content to MediaSpace
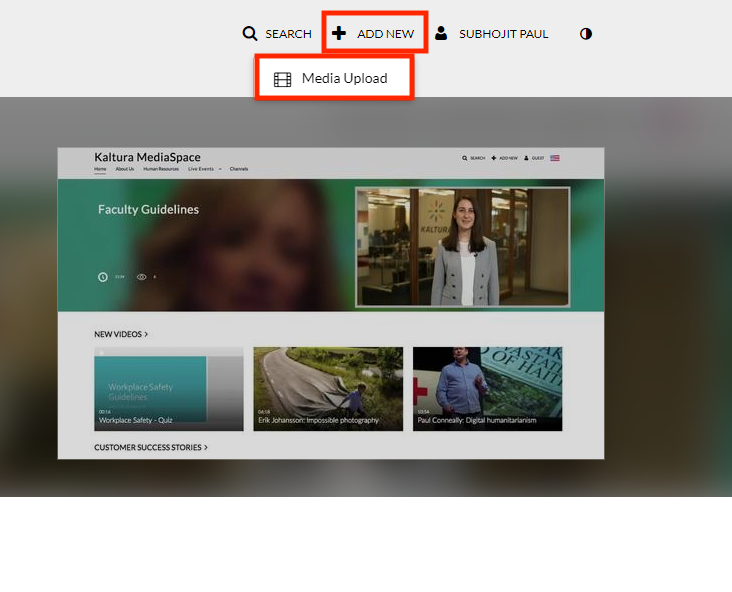
- In the upper right corner of the page, select the ‘Add New‘ drop-down list, and choose ‘Media Upload,’ to open the ‘Upload Media‘ page
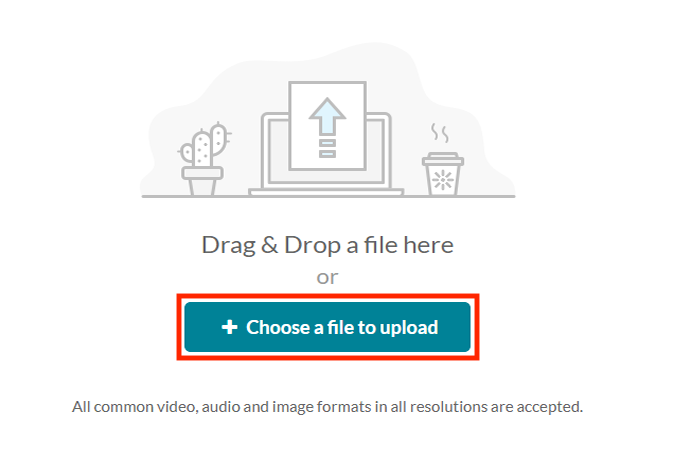
- Click the ‘+ Choose a file to upload‘ button to search your computer for the media file that you would like to upload; select the file; and click the ‘Open‘ button to upload the file
- While the file is uploading, you can add the metadata in the following fields:
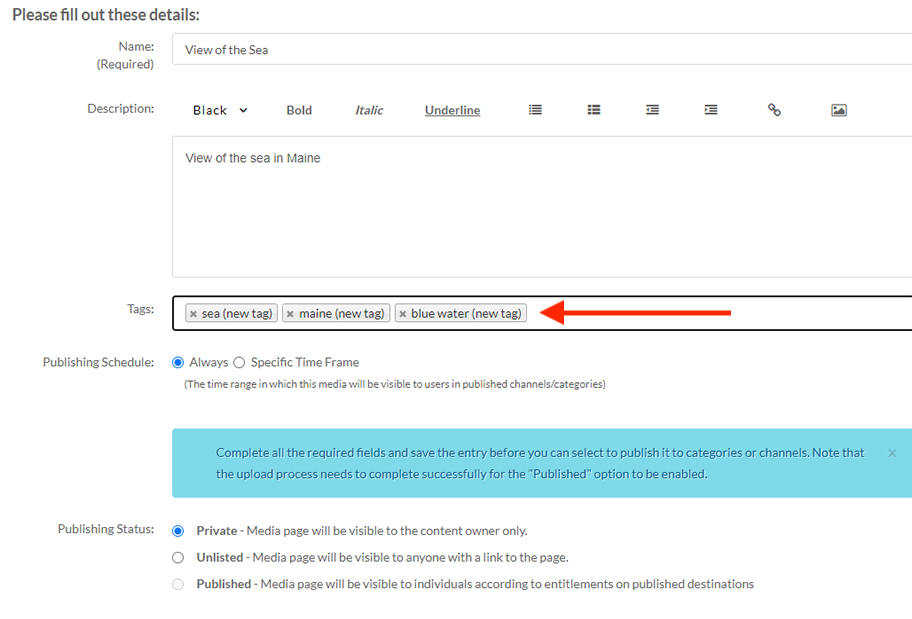
Name
- The name of the media being uploaded.
- This is a required field and is by default the filename of the media being uploaded.
Description
- This is displayed below the media or on the player info pane.
- This is a required field for publishing and/or adding the media to a playlist.
Tags
- These are used to help describe your media and are used as keywords when searching for media.
- Multiple tags can be separated by commas or new lines.
- When you have finished editing details, click the ‘Save‘ button
- Once the media has uploaded and you have given it at least a title and description, you will need to select one of three file sharing permission settings. This setting can be changed later, so pick the setting that best applies at the moment:
- Private: Only you will be able to access the file.
- Unlisted: Only those with a link to the file that you provide will be able to access it. Select this option if you want to share your video using a direct link to the video that you might share via email.
- Published: Assign the file to a MediaSpace channel. It will be visible individuals that have viewing rights to that channel.
You may continue uploading more files by clicking the ‘+ Choose another file‘ button and repeating the steps above.
NOTE: At this point you may not be able to view your media and you may see the message: “Media is being processed” This is completely normal. Your media will continue to process even if you navigate away from MediaSpace.
How To Access My Media
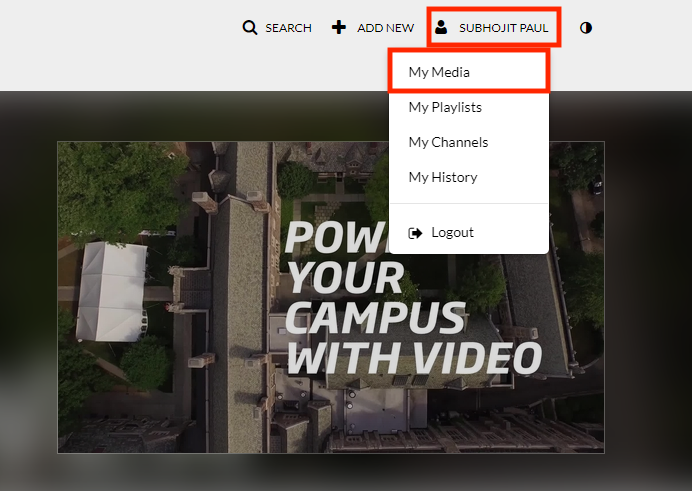
Click on your name in the upper right side of your screen and select My Media from the dropdown list. When your list comes up, choose which one you want to access
How To Share a Media
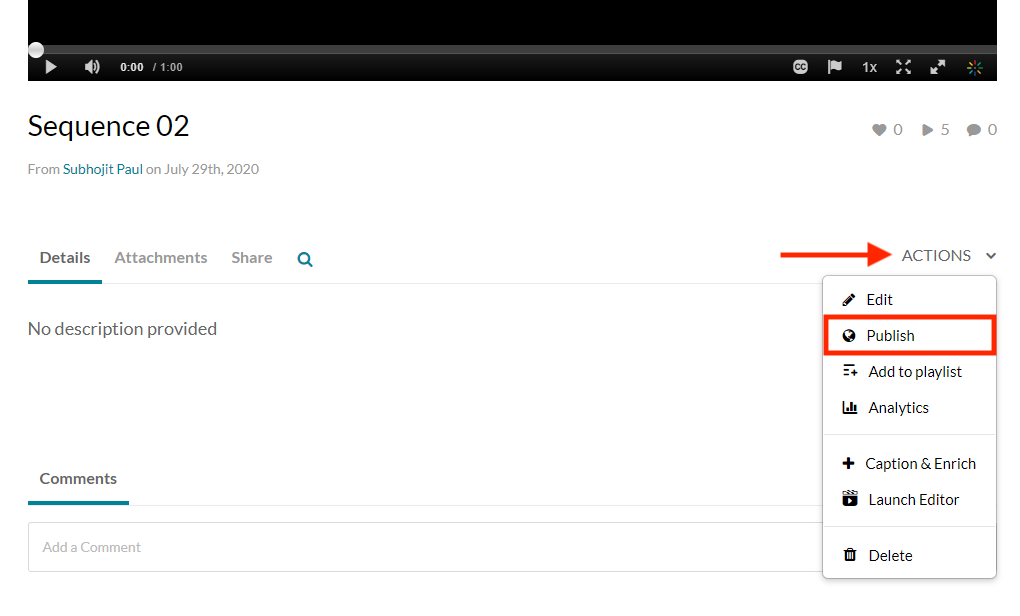
- While in the “My Media” section, select the video that you want to share and click on the “Actions” button and click Publish
NOTE: Make sure your video is set to Unlisted. Any other choice will have some access restrictions associated with it.
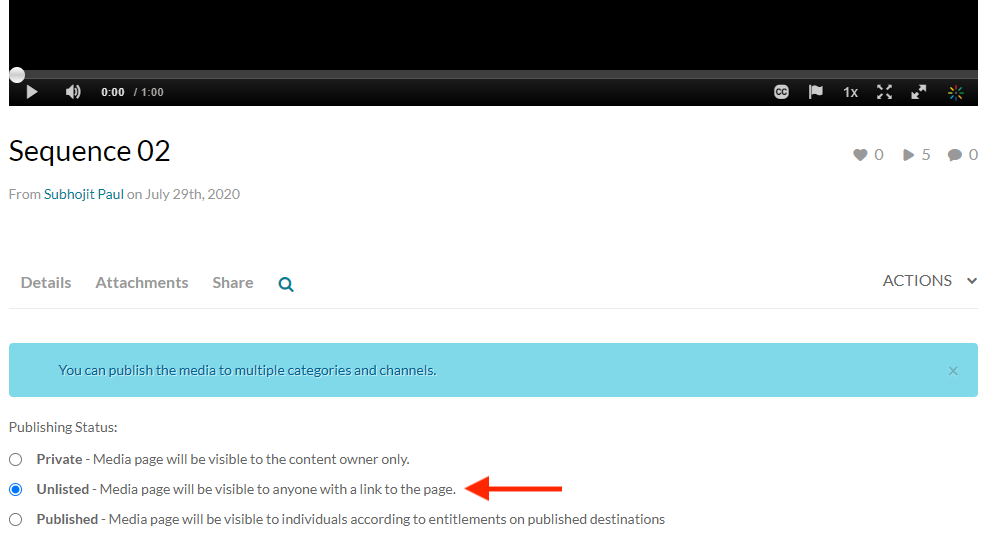
- Click on the “Save” button
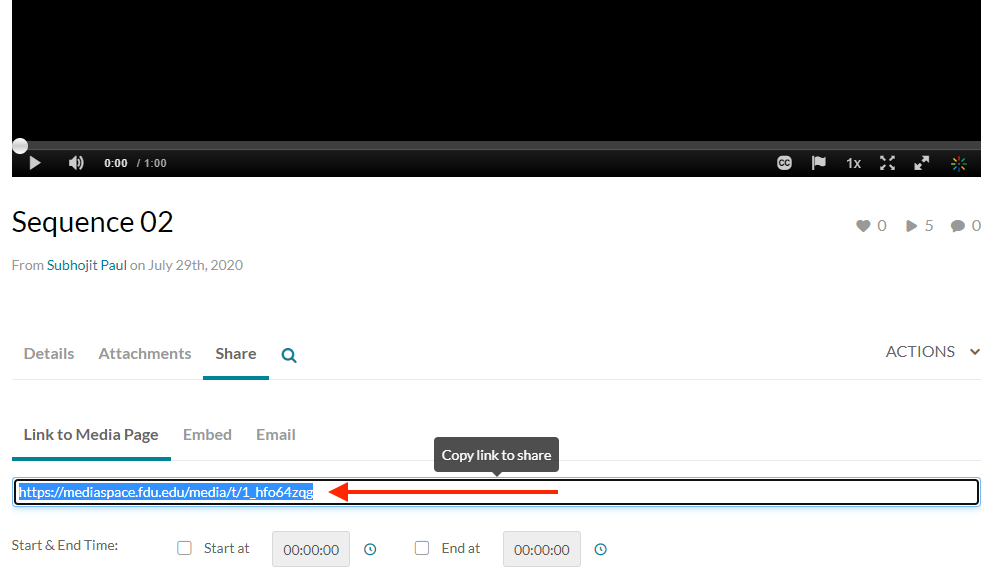
- Click on your video to get to the video details and click the share option under the video. You can copy the link and send that to anyone you would like to share it with
How to Edit Closed Captioning
- Open the video that you want to edit the captions
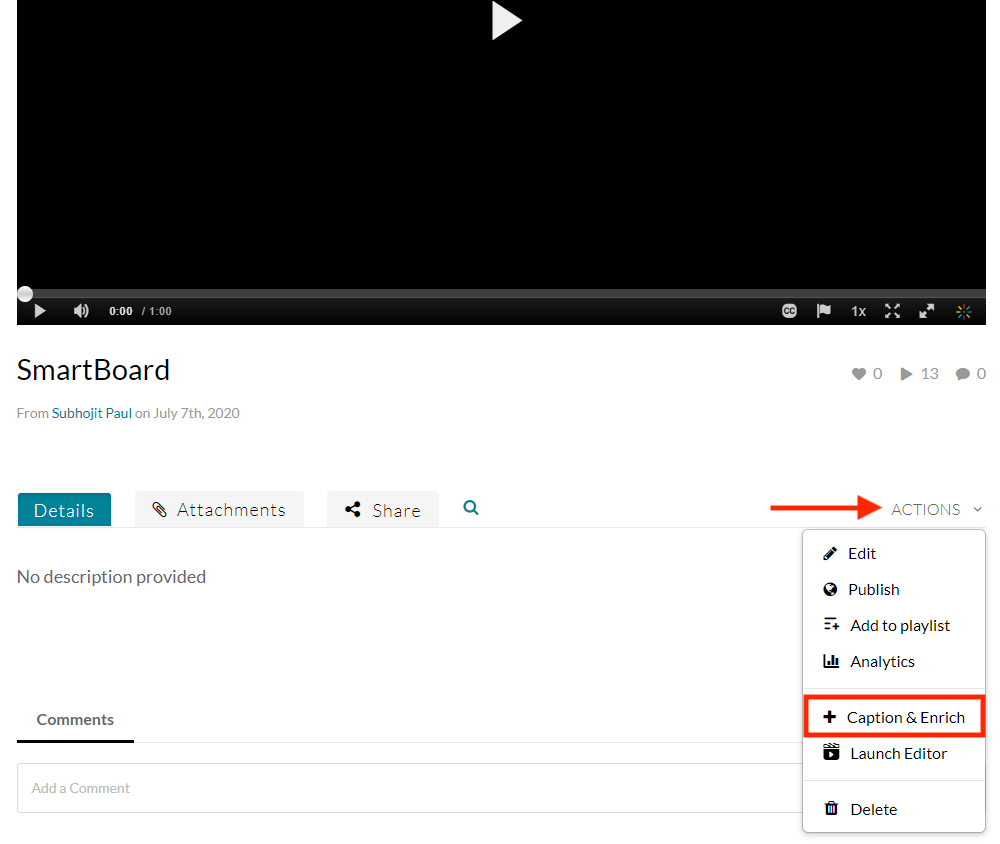
- Click on Actions and select + Captions & Enrich. This will take you the captions request table
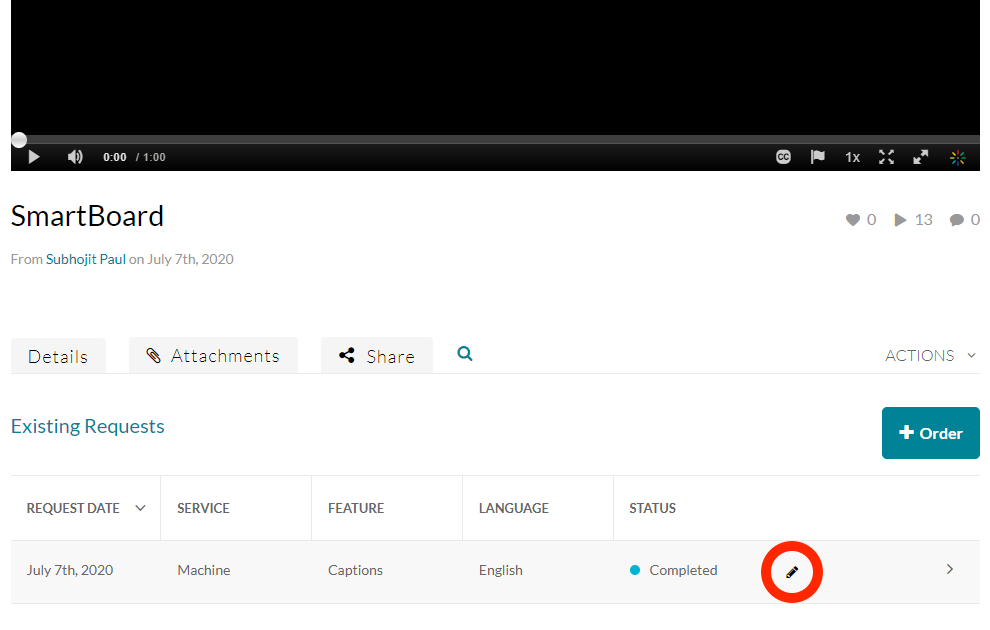
NOTE: You can only edit captions that have been completed.
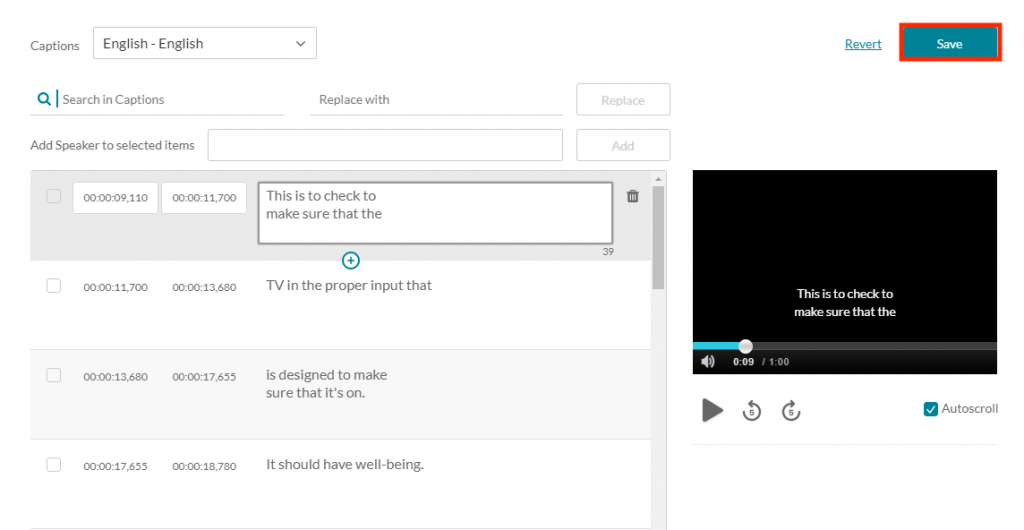
- Click on the pencil edit icon to open the editor. The captions editor is open automatically alongside the captions that have been selected in the captions requests table
- If you have multiple caption files, you can click on the “Captions” drop down menu and select which file you want to use
- To edit caption text, click on the section you want to change and edit accordingly
- If you are not sure where the text is that you want to change, you can enter that in the “Search Captions” box. That term will be highlighted in each caption line. You can also replace the terms that you search for with a new one by entering the new term in the “Replace with” box and clicking “Replace”.
- When you have completed all of your editing, click on the “Save” button