
A Distribution group (formerly known as mailing list) in Office 365 is a uniquely named email address that consists of multiple users and is managed by a designated owner. Distribution groups are intended to easily facilitate ongoing communications between a large and relatively fixed group of people.
There are a few important concepts to understand about distribution groups before we get started with group management:
- Emails sent to a distribution group are distributed to all members of that distribution group.
- OOnly users granted permission by the Distribution Group Owner can send emails to a particular distribution group. Permission to post (send emails) to a group is managed by USAN, and Group Owners should open a ticket with the SAMI Service Desk to change members that can post to the group.
- A distribution group can be configured in such a way that emails sent to it can be held for approval and specific users can be made approvers (also known as moderators).
- A distribution group has a unique email address attached to it. Users granted permission to send email to this email address can do so from any email client such as Outlook on the Web or Outlook installed in your computer, laptop, tablet or phone, Mozilla Thunderbird, Mac Mail and more.
- You can request a distribution group by submitting the Distribution List/Shared Mailbox Request form located at FDU Forms Portal.
- As a Distribution Group owner, you can change the group’s settings via the group’s management page on your Office 365 account (Outlook on the web).
- As a Distribution Group owner, you can add or remove members (recipients) from your group via your group’s management page. This can be accomplished via Outlook on the web or by using the Outlook application installed on your machine.
- Open “Outlook” on your computer
- Open “Address Book”
You can open Address Book in two different ways:
- One way is to click the “Address Book” icon located at the top when “Home” tab is selected:

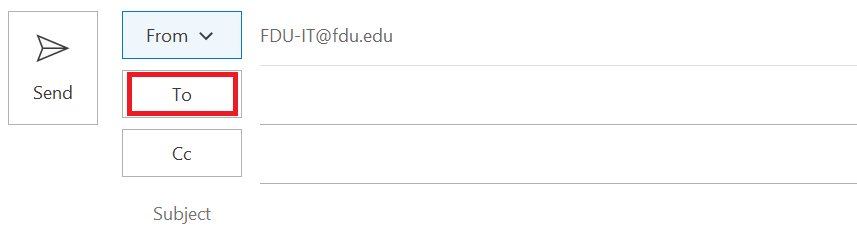
- The second way is by composing/creating a new email and clicking the “To” button:
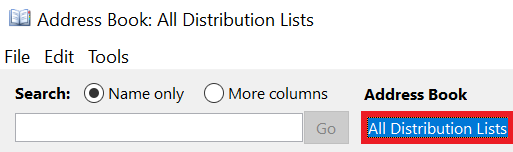
- Select “All Distribution Lists” from the drop-down menu located under Address Book:
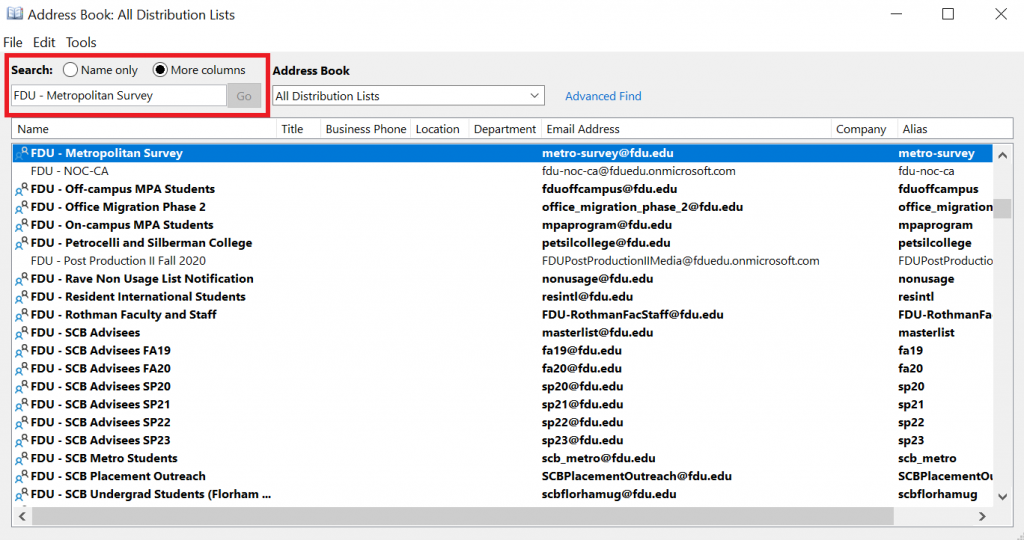
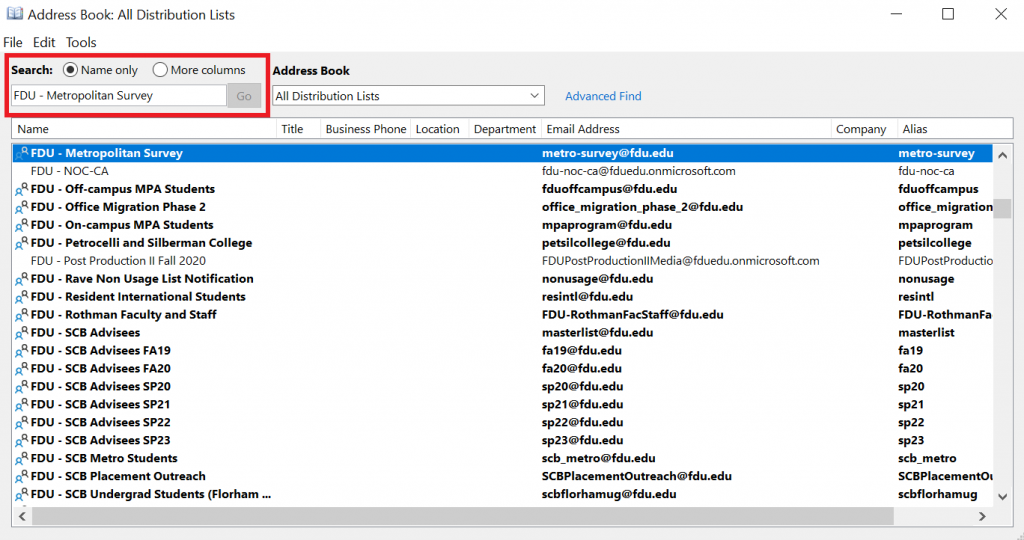
- Select “More Columns” and enter the name or email address of your distribution group in the search field as shown in the first screen capture below. If you see your distribution group on the list, highlight it and double click it. If you do not find your list using “More Columns”, then it might be easier to find by using the “Name only”
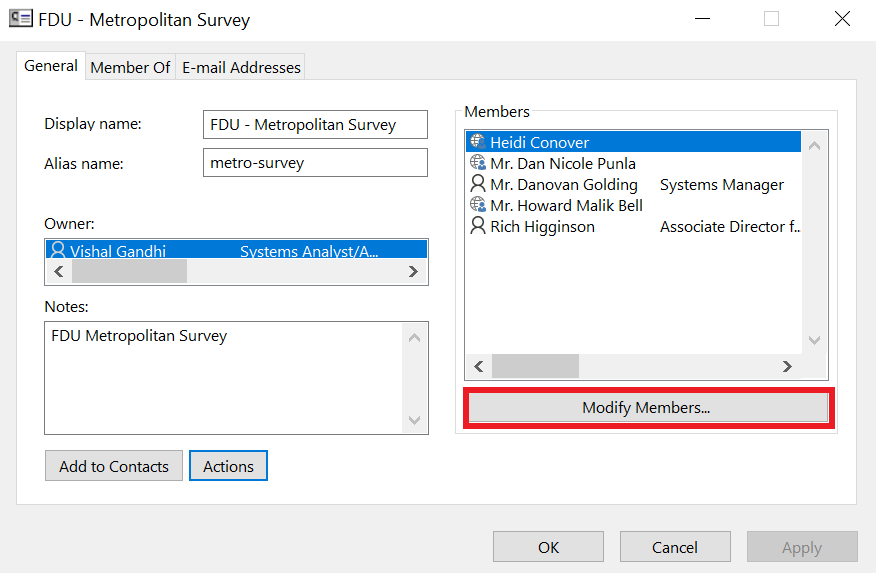
- Click on “Modify Members…”
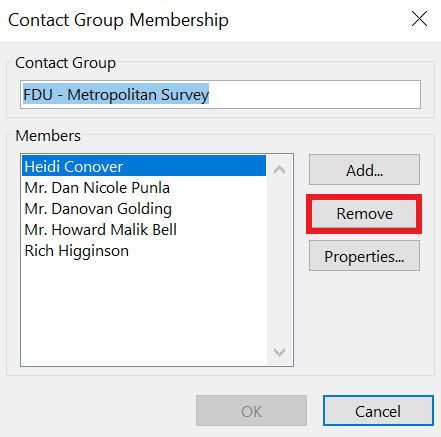
- If you want to remove a member, then select the member from the members list, click “Remove” button and then click “OK”
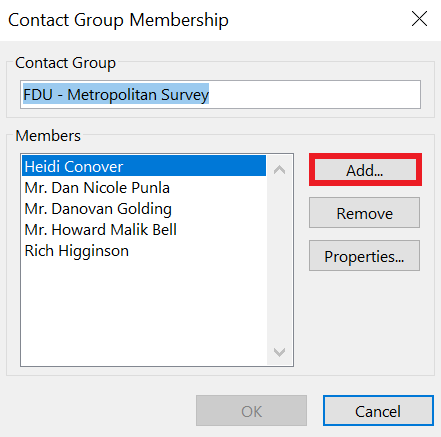
- If you want to add a member, click “Add” button
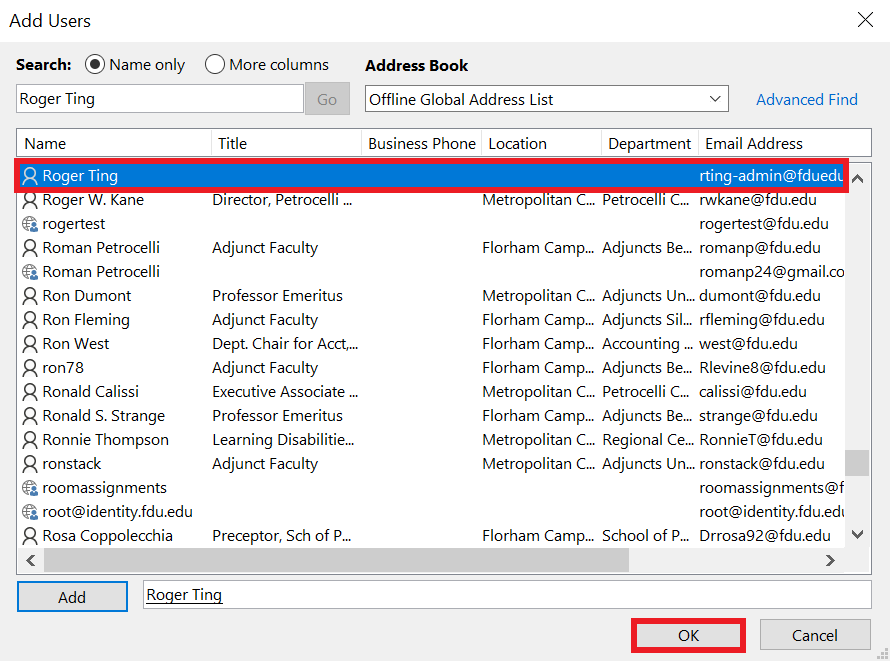
- Select “More columns” and enter the new member’s name in the search field
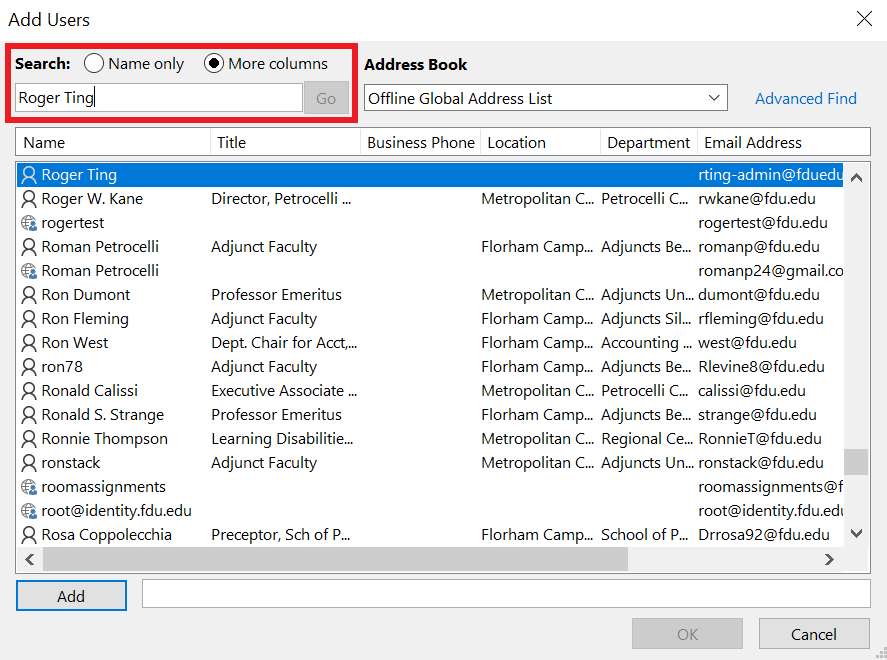
- You should see the user in the list. Select “Name only” to search again if you are unable to locate the user. Once you have found the user, highlight the record and click “OK”
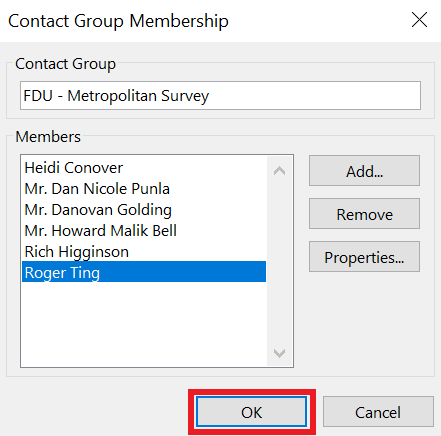
- Verify that the new member is in the member’s list and click “OK”
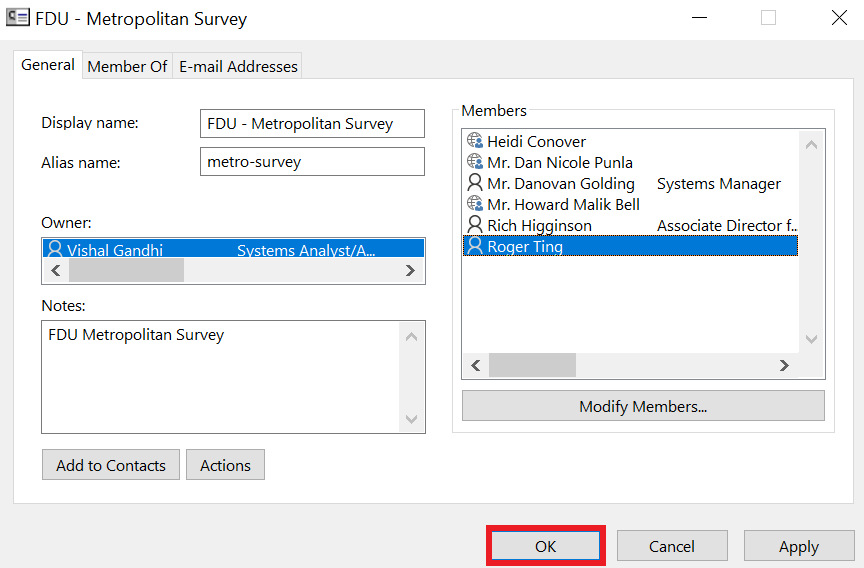
- Click “Apply” and then click “OK”
- Go to “fdu.edu” in the browser of your choice
- Go to “Shortcuts” menu
- Click “Office 365 and Email“
- Sign-in with your NetID and password
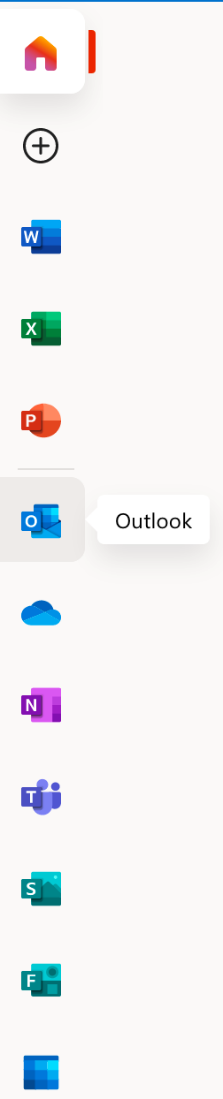
- Go to online Outlook app by clicking on the “Outlook” icon
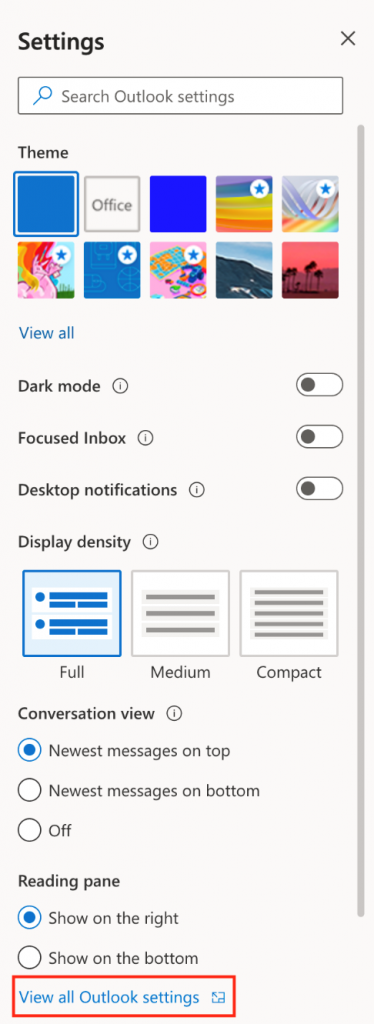
- Go to Settings by clicking on the “Settings” icon
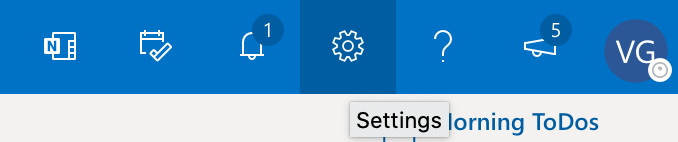
- Click on “View all Outlook settings”
- Click “General”
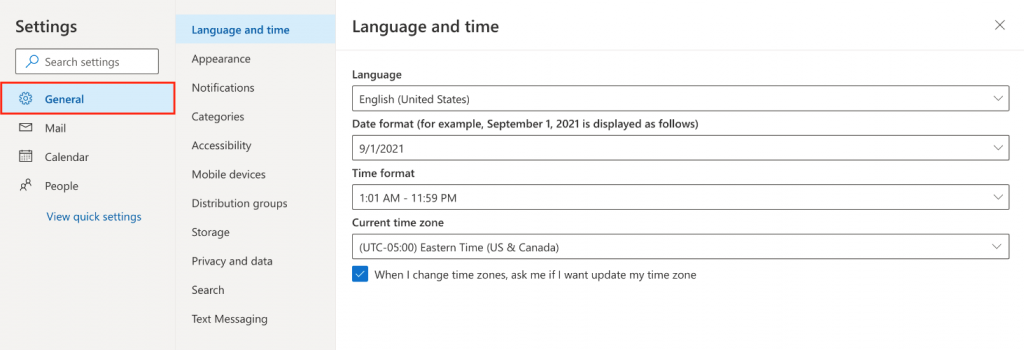
- Click on “this portal“

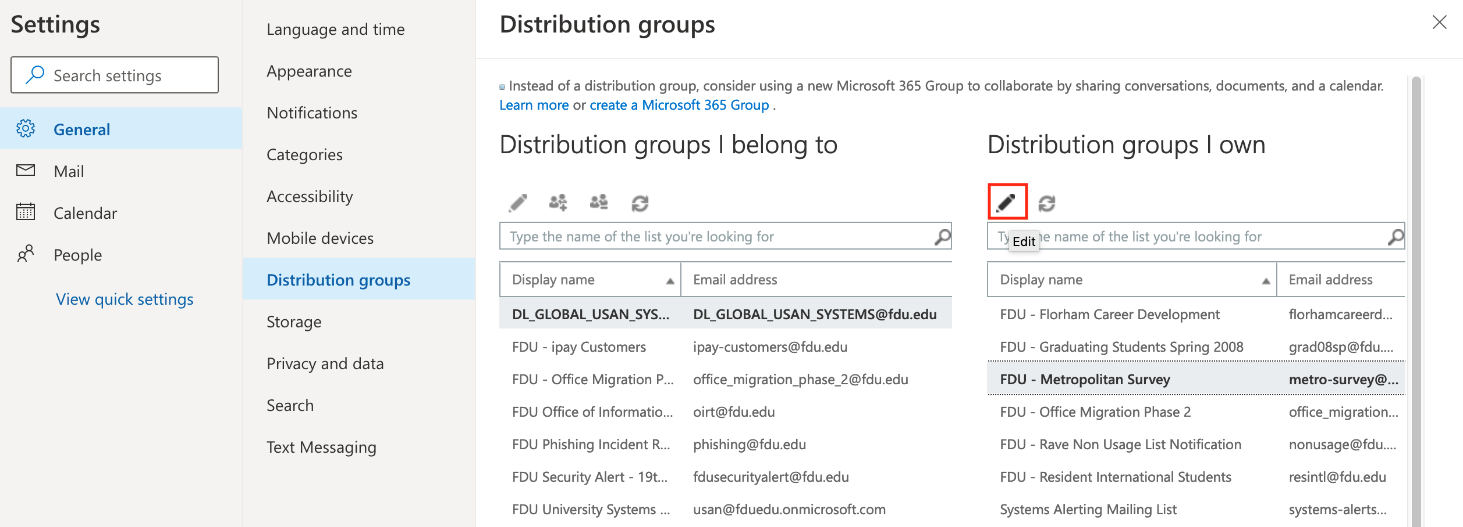
- Click on “Distribution groups”
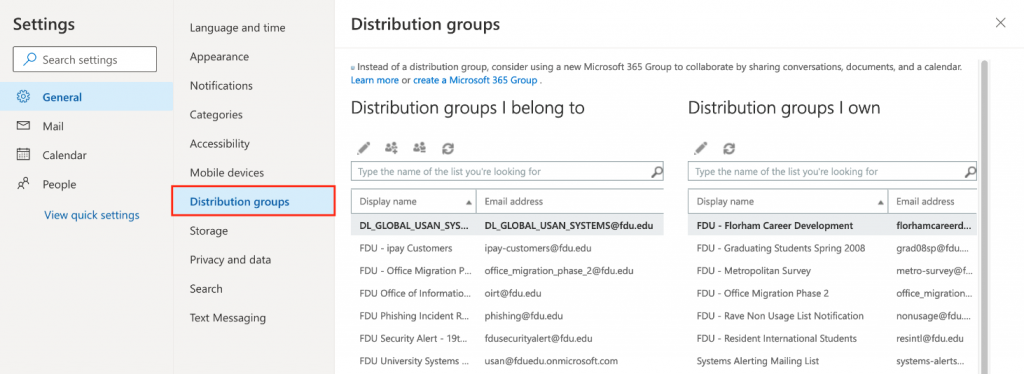
Here you see the list of distribution groups that you belong to and the list of distribution groups that you own.
How to open the Configuration page for a particular Distribution Group that you own in Outlook on the Web
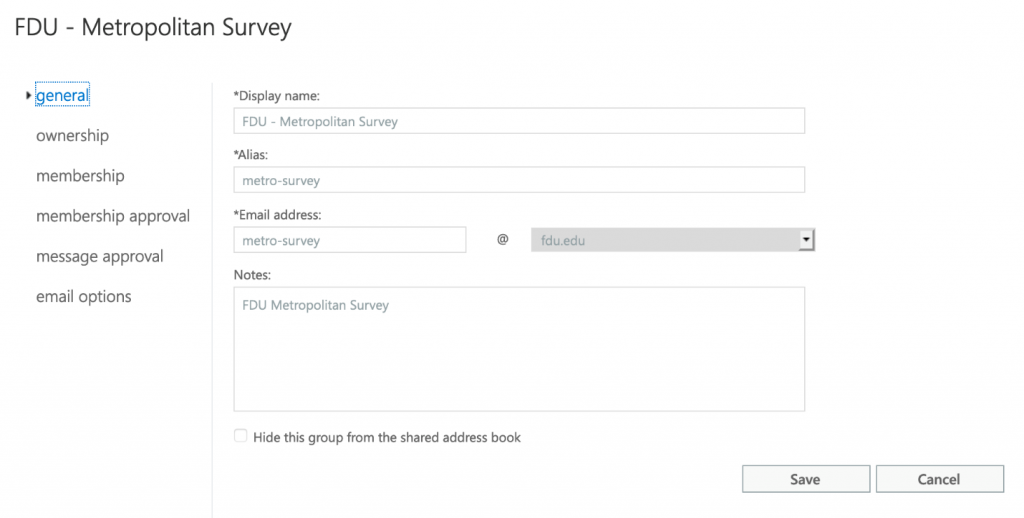
- Select the distribution group that you would like to make changes to and then click “Edit” (Pencil Icon)
- You should see the distribution group configuration page
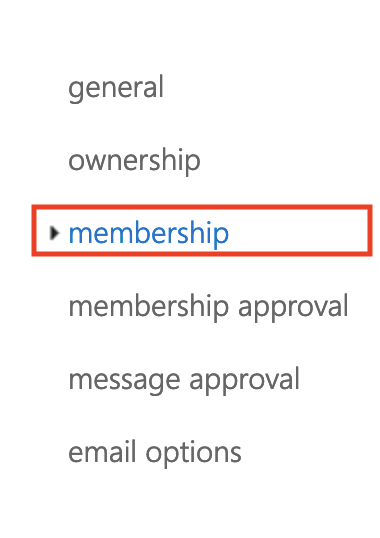
How to see the list of recipients (members) for this Distribution Group in Outlook on the Web
- Click on “membership”
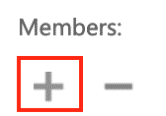
How to add recipients (members) to this Distribution Group in Outlook on the Web
- Click on “+” icon (Plus Icon)
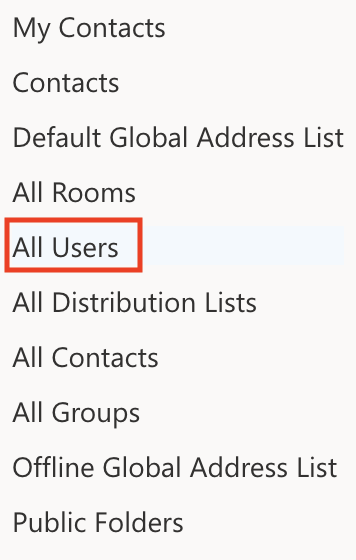
- Click “All Users”
- Please enter the name or NetID of the user that you would like to add to this distribution group in the search text box

- Click “+” button beside the user that you would like to add from the search results (you can search and select more users if you would like)
- Click “Save” when you are done
Remove recipients (members) from this Distribution Group in Outlook on the Web
- Go to the membership list as shown in Step: 3 How to see the list of recipients (members) for this distribution group
- Click on the recipient (member) that you would like to remove
Tip
Press “Control” button while selecting recipient if you would like to select multiple recipients from the list.
- To select a range of adjacent recipients on the list, click the first recipient from that part. Now, press the “Shift” key and click last recipient in this part
- Click “–” button at the top located below the “Members” title
- Click “Save” when you are done
- Follow Step 1 & 2 in “Adding and Removing Distribution Group Users in Outlook on the Web”
- Click “Message Approval”
- Check (select) “Messages sent to this group have to be approved by a moderator”.
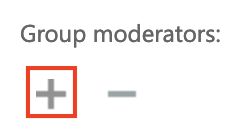
- Click “+” button under “Group Moderators”
Note
By default, emails sent to the distribution group will be sent to the group owner for approval if you enable message approval and do not select any moderators.
- Click “All Users“

- Please enter the name or NetID of the user that you’d like to add to this distribution group in the search text box
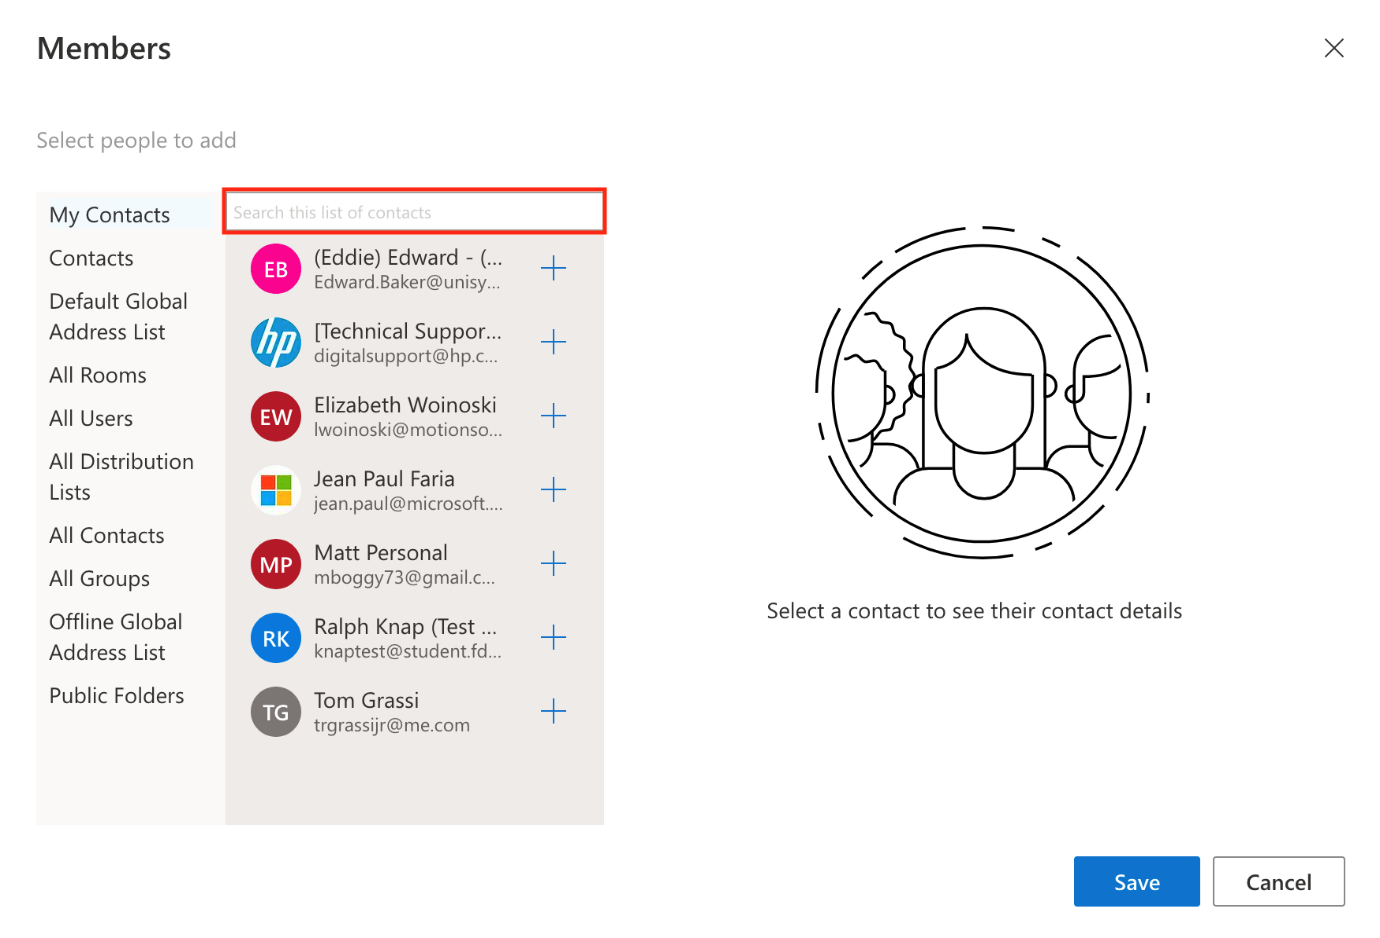
- Click “+” button beside the user that you’d like to add from the search results (you can search and select more users if you’d like)
- Click “Save” when you’re done. You’ll be taken to “Message Approval” screen
- You can add users’ emails from who do NOT require any approval by clicking “+” under “Senders who don’t require message approval” and following the same process as above
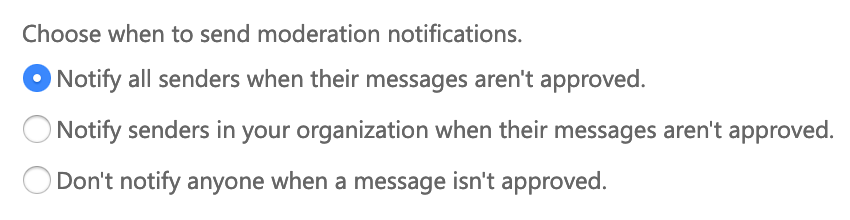
- You can choose who should be notified when an email sent to this distribution group has been held for approval -or- you can choose to disable these notifications as shown:
- Click “Save” again on “Message Approval” screen
Note
An email will NOT be held for approval from a group moderator who is allowed to send emails to the distribution group.


