Logging into Perceptive
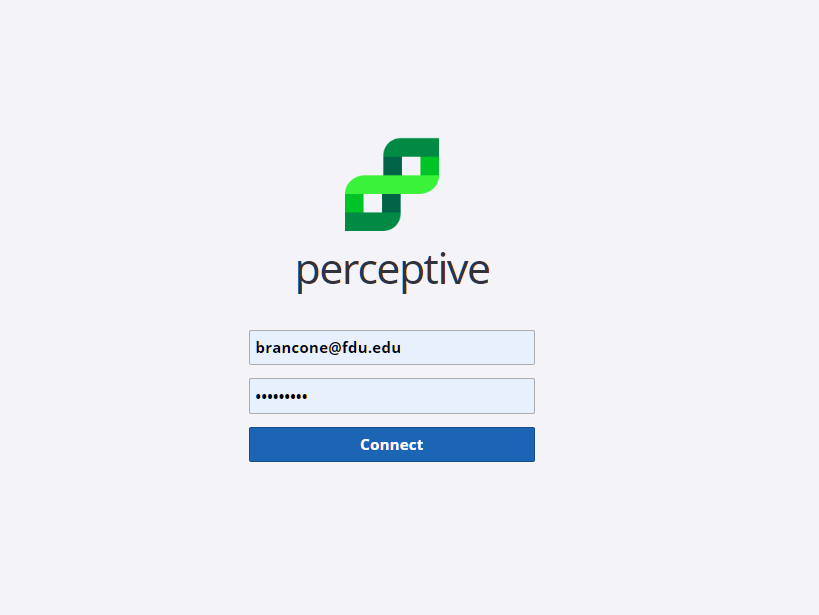
- To login, use your FDU NetID (Email credentials):
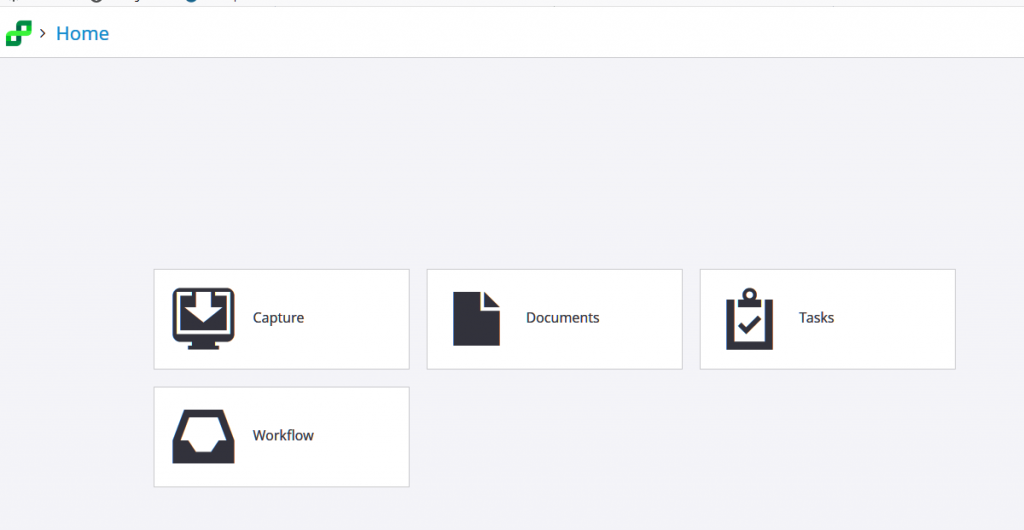
- After you login, you should have a screen that looks something like this:
Capture
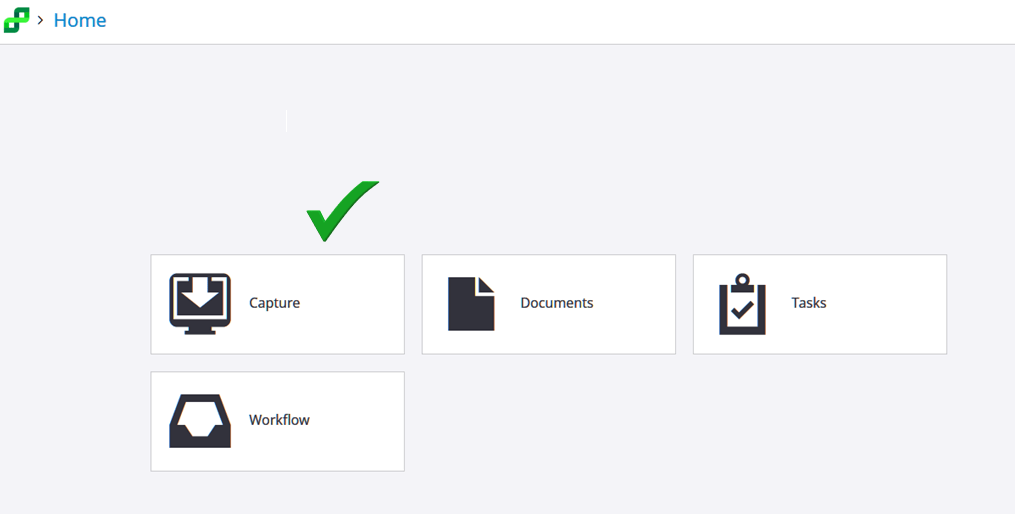
- To capture a document to store in Perceptive, click on the Capture tab on the main Experience screen.
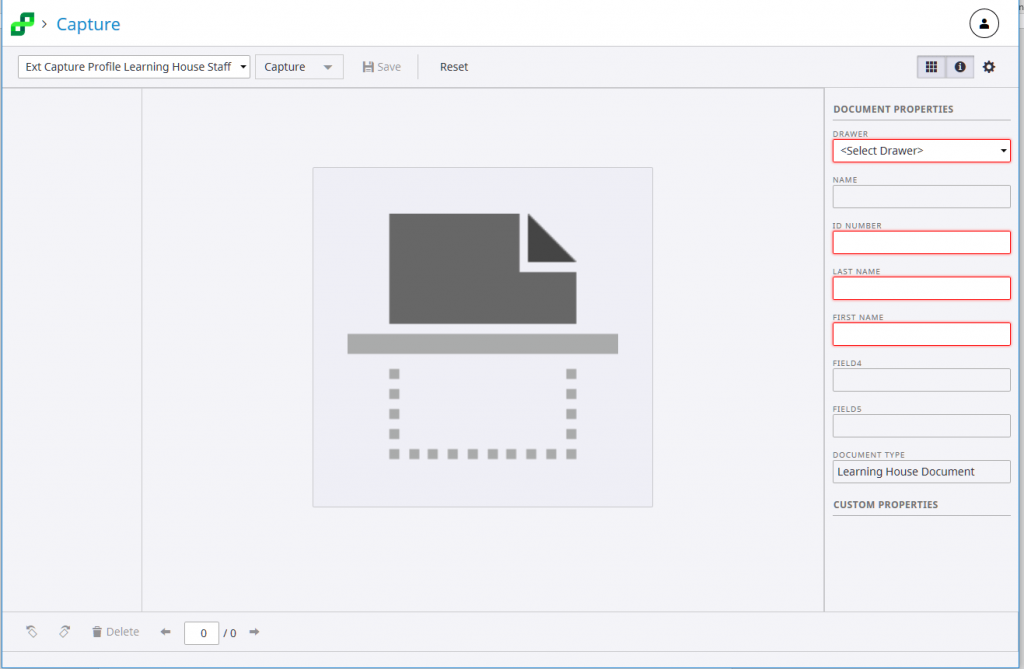
- Now the Capture screen will display.
- Now you will choose the appropriate Application Plan to Use
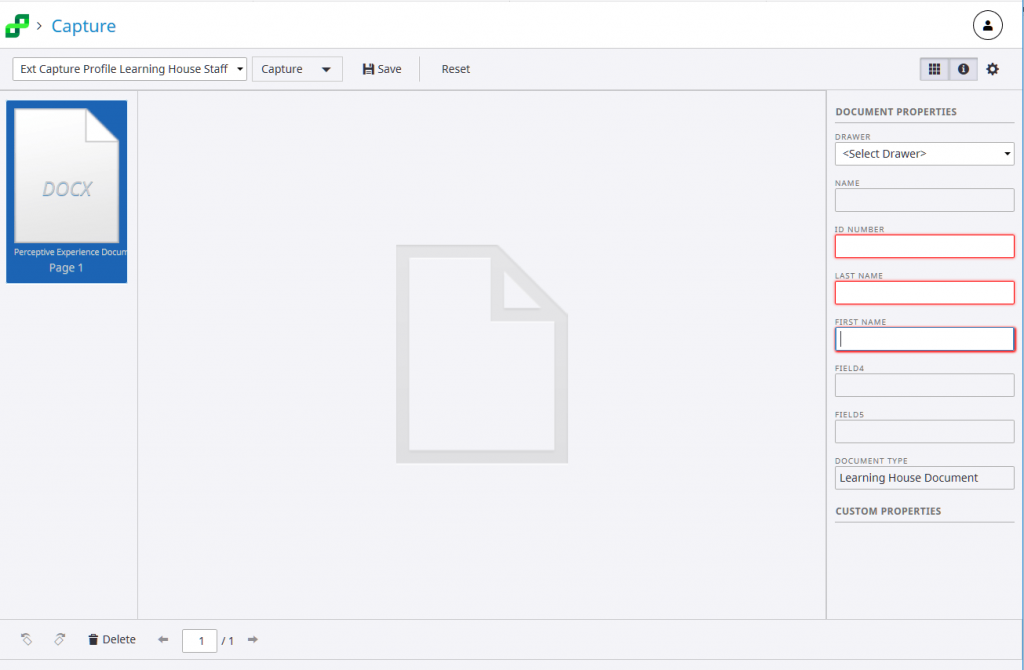
- Make sure that in the box on the top left under the Perceptive logo and Capture has the correct Capture Profile you will use to store the document. In this example, the Ext Capture Profile Learning House Staff has been chosen. When chosen, the Document Properties box will appear on the right side of the screen with the appropriate field labels.
- Now click on the Capture tab next to the Capture Profile that you picked. A new dialog box will appear:
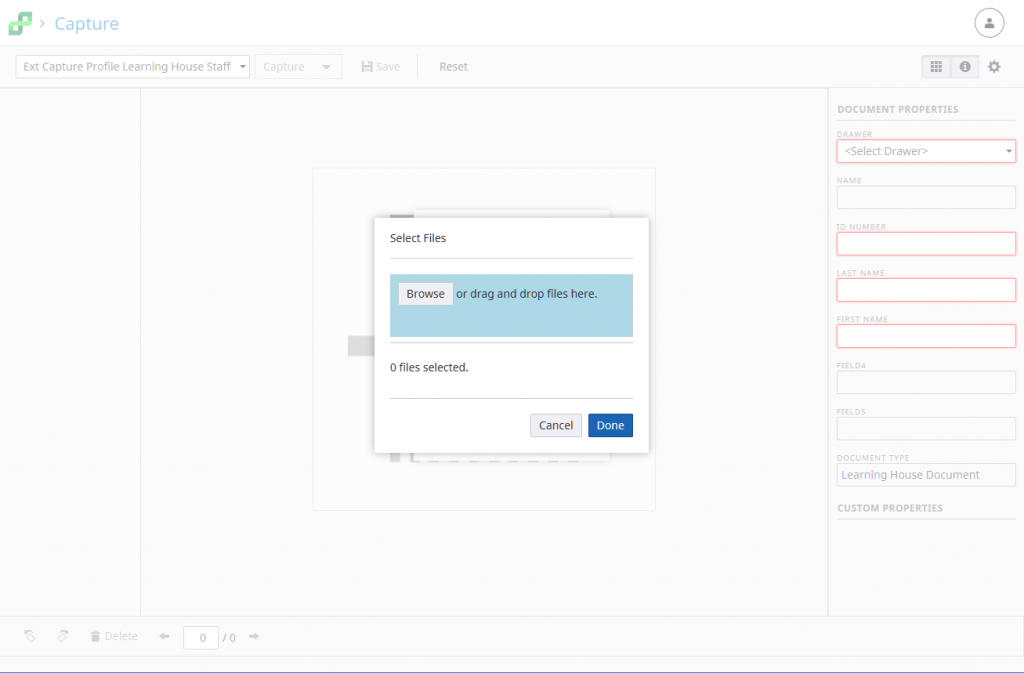
- Click on the Browse tab. This will bring up File Explorer. Choose the file you want to save to Perceptive.
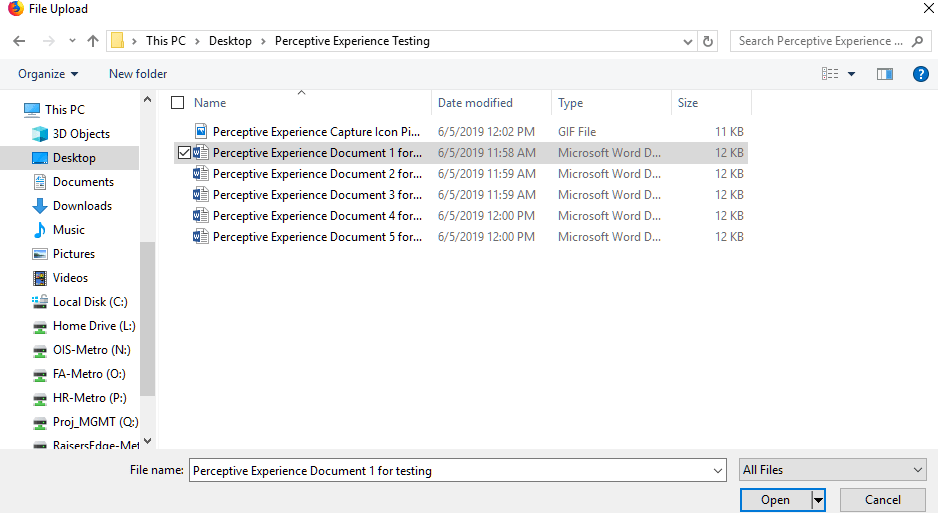
- When you click Open, it will bring you back to the Dialog Box. There will be a pause and when the document has been selected, the message “1 file selected” will appear.
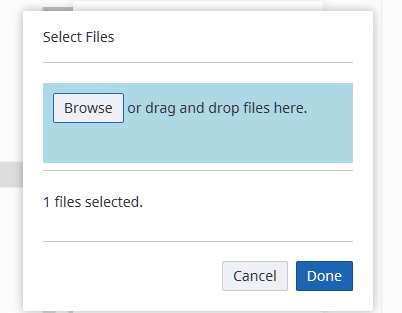
- Click on the highlighted tab that says “Done”.
- The Capture screen re-appears and the selected document will appear in a box on the left. The Document Properties box will re-appear on the right.
- In the first field, choose the drawer in which you wish to store the document. Now fill in the remaining fields with the appropriate information.
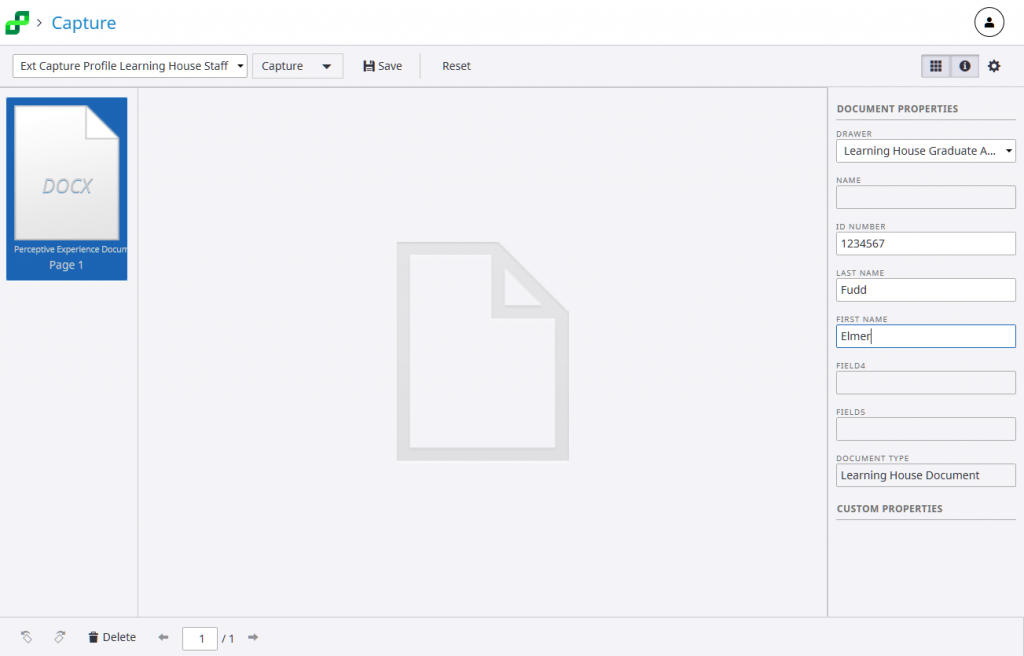
- When done filling in the data, click on the Save tab at the top middle of the screen next to the Capture drop down.
- Once you click Save, the document has been stored in Perceptive and you will see a “Success” message highlighted in green:
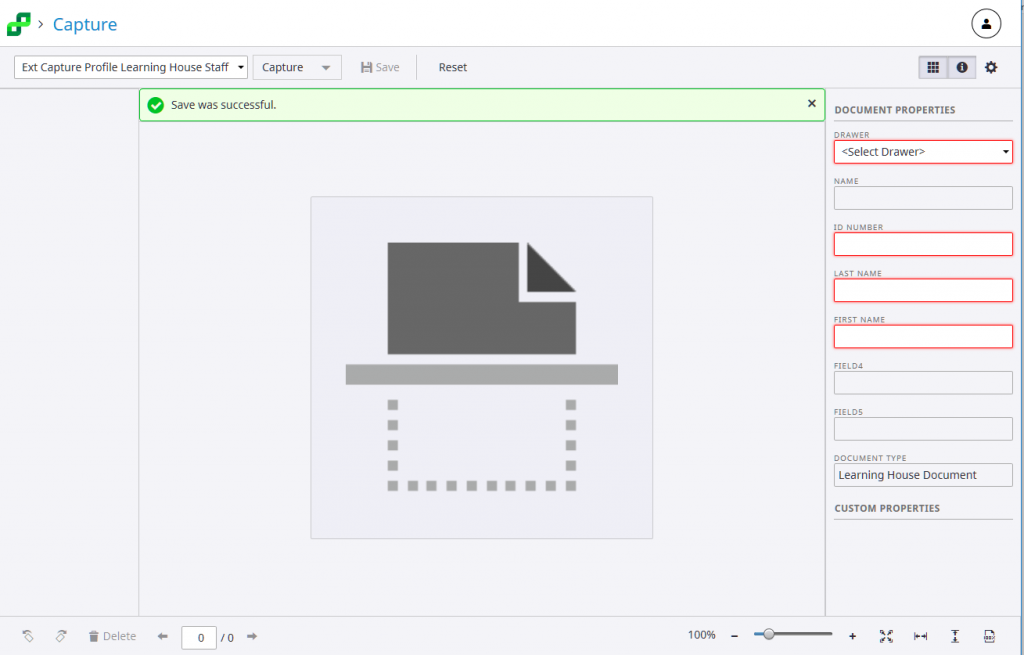
- The data that you entered will also disappear from the Document Properties box. Now you are ready to capture your next document for Perceptive going through the same steps that you just went through.
Document Search
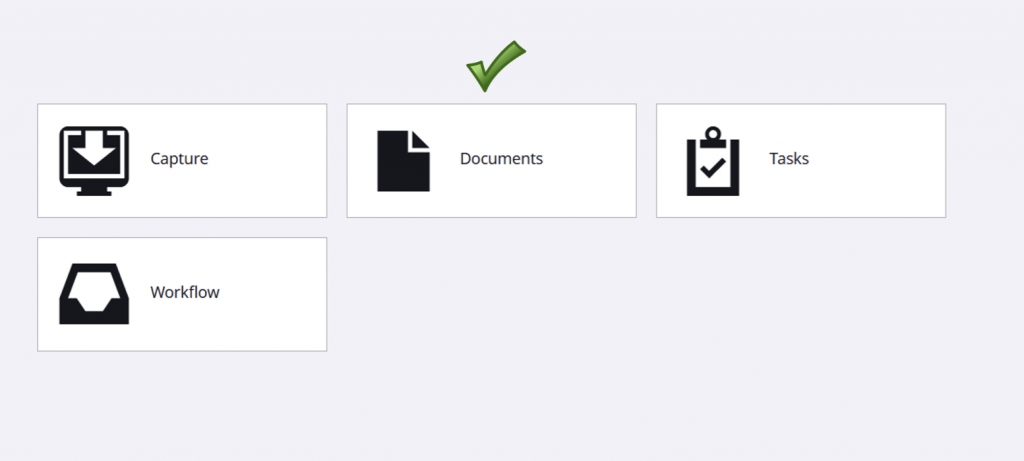
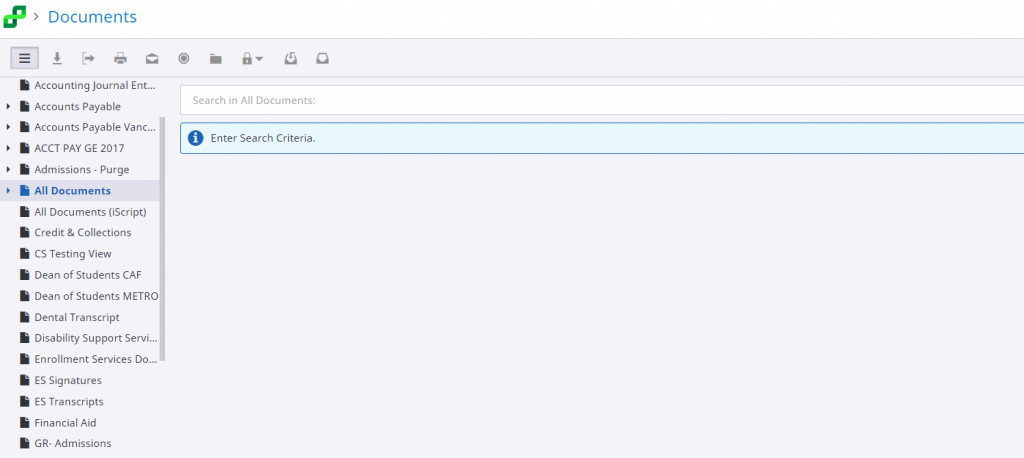
- To search for a document in Perceptive Experience, click on the Documents tab on the main Experience screen.
- Now the Documents Search screen will display. On the left hand side, a column labeled “Document Views” will appear showing the drawers for which you will have access. Please highlight and click on the appropriate drawer where you document resides.
Also, two boxes will appear in the middle – a white box with the words “Search in the name of the highlighted drawer on the left”. The second blue box says Enter Search Criteria.
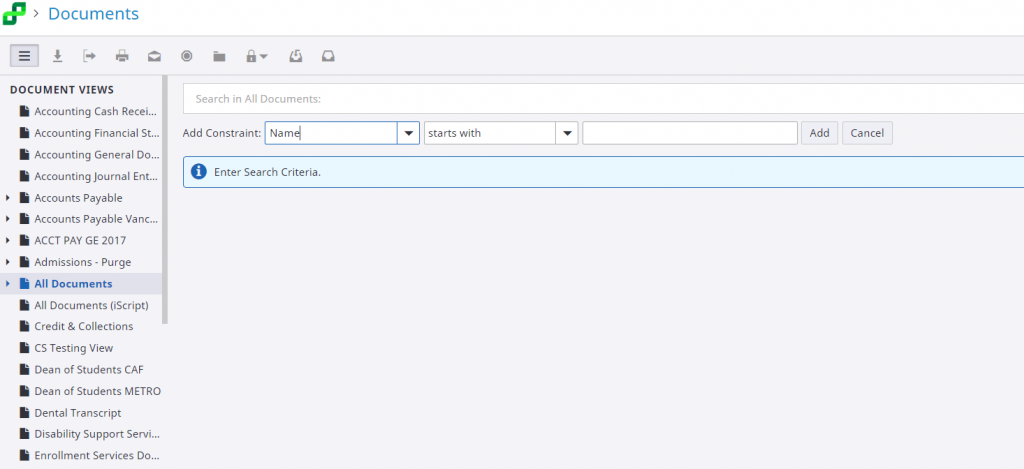
- To enter search criteria, click inside the white box. A new row of boxes will appear between the two original boxes. These new boxes are the criteria and method you wish to conduct a search. The first box is labeled “Add constraint”. It is a dropdown box with a list of keys you may search on. Name will always appear as the first entry. Do not attempt to use that constraint. It is not what you think it might be. It is a parameter that we do not use. Choose the constraint or key that you wish from the drop down – usually ID number or Last Name. The second box is also a drop down box. It is for the operation that will be performed – normally you would choose “starts with” or “equal to”. The third box is where you would type in the actual value of the key you are looking for, usually the last name or ID number of the person you are searching for. There is a wild card that you can use if you are unsure about the spelling of the key or the complete ID number. The wildcard is the percent sign (%). An example would be BRAN% or %ancon% or 01234%. Also in the case of ID numbers, the leading zero is important to include. If searching for ID# 0956712 using “equal to” you must make sure that the leading zero is included.
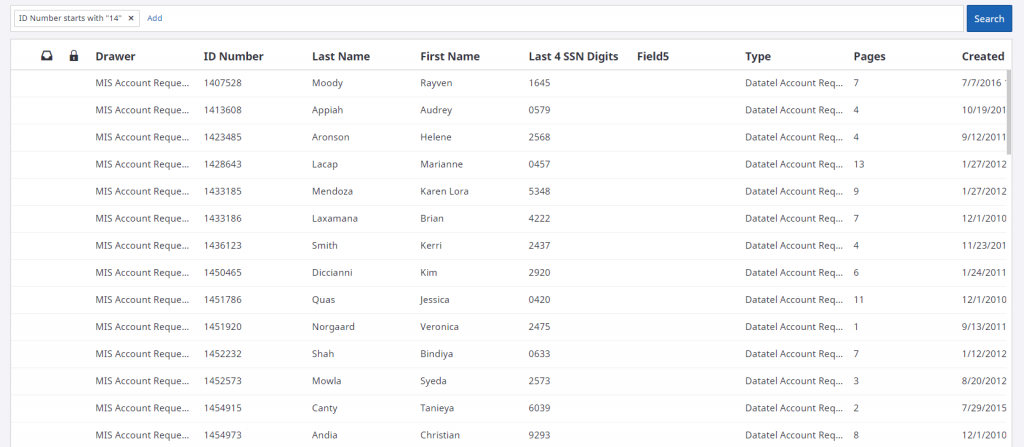
- Below is an example of a search where I want to find MIS COLLEAGUE Account Requests for anyone who has an ID number beginning with “14”. I would click on the clear white box to get the three prompt boxes. I would then put in the Constraint (Key), then the operand and finally the value of what I am searching for – ID number – starts with – 14. I would then click on the Add button and that gets entered into the previously blank search box. You may add another constraint (key) if you like or just click on the blue Search button at the very right.
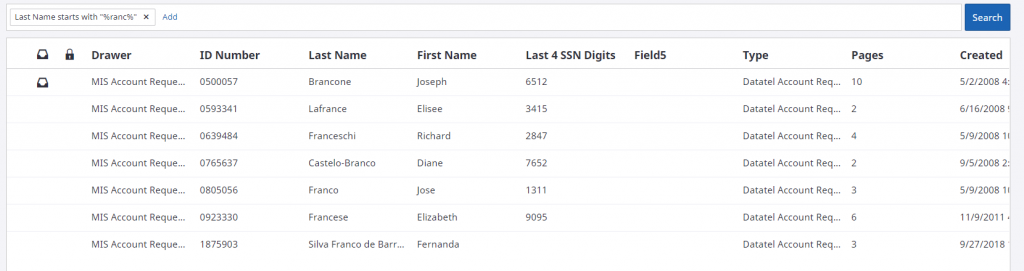
- Here is another example below where I am looking for anyone in this drawer that has the string ‘ranc’ in the last name. Notice the operand and the placement of the % signs in the value field.