This article offers a detailed, step-by-step guide, on how to change your NETID password directly from your Mac using the Jamf Connect and how to synchronize this updated NETID password with your Mac’s user account password.
Changing and Syncing your NET ID Password on your Mac
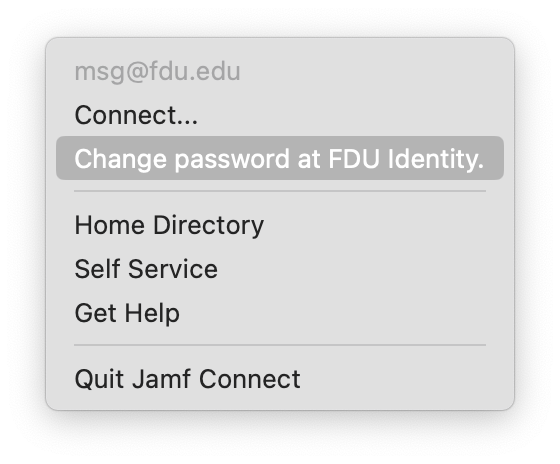
- Click on the “FDU shield icon” located in the top right of your screen’s menu bar
- Select “Change Password at FDU Identity“
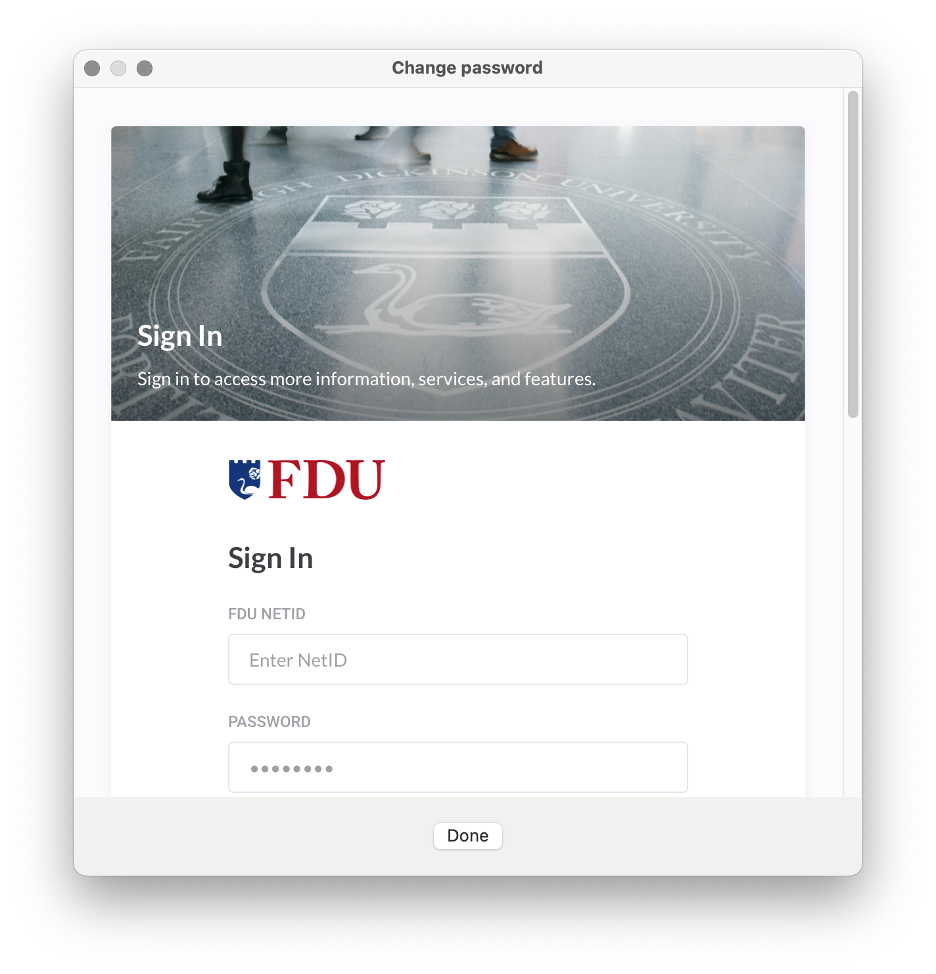
- Sign in to the “FDU Identity Portal” that opens up
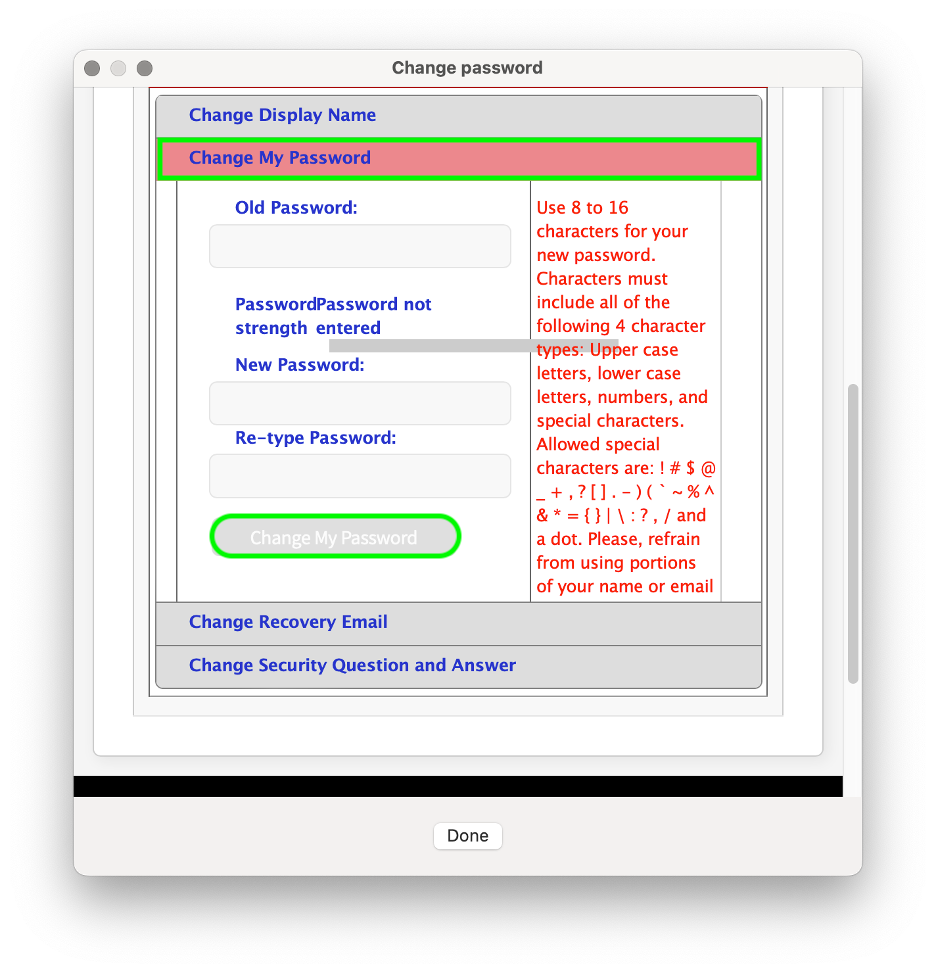
- Scroll to “Change My Password” section and enter your old password and new password in the appropriate fields. Then click the “Change My Password” button
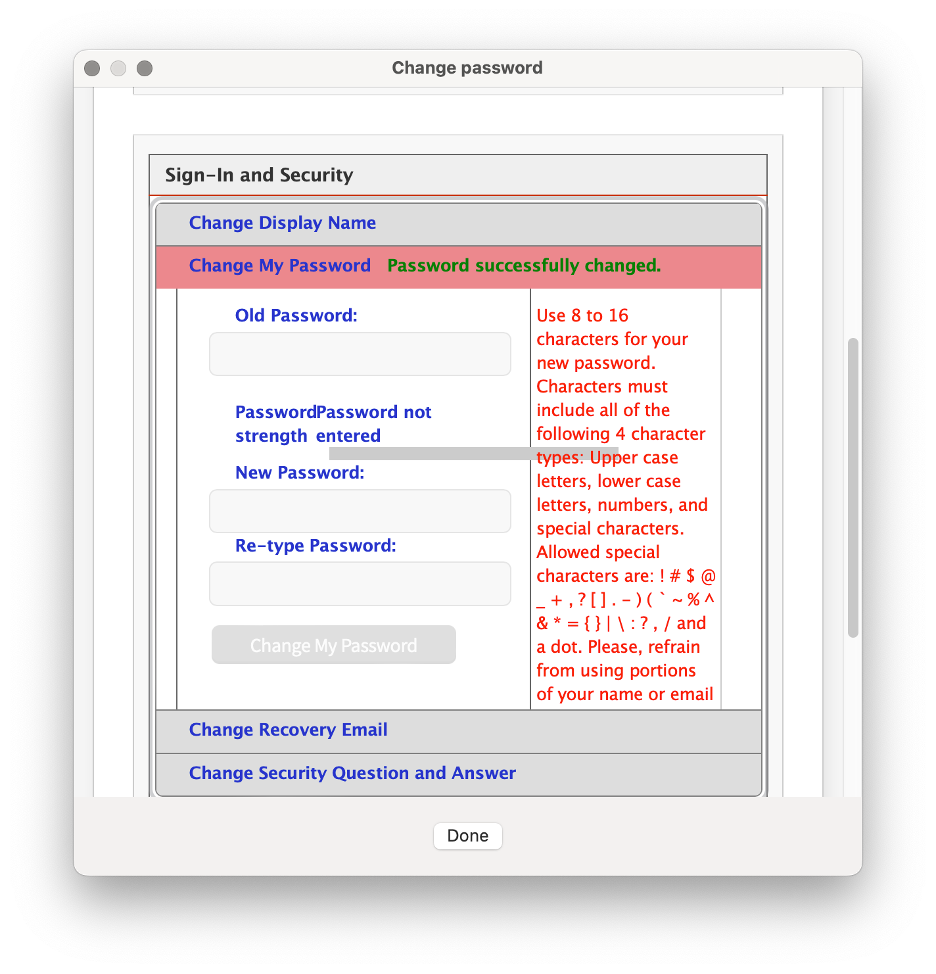
- You will see the password successfully changed in the red bar when successful. Click “Done“
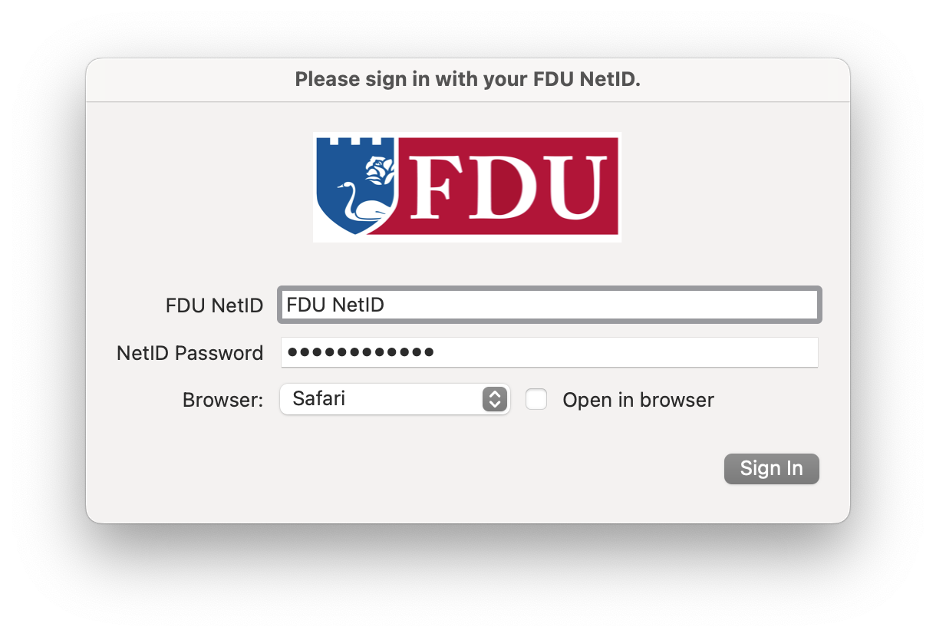
- Enter your “FDU NetID” and “Password” in the corresponding fields. Click “Sign In”
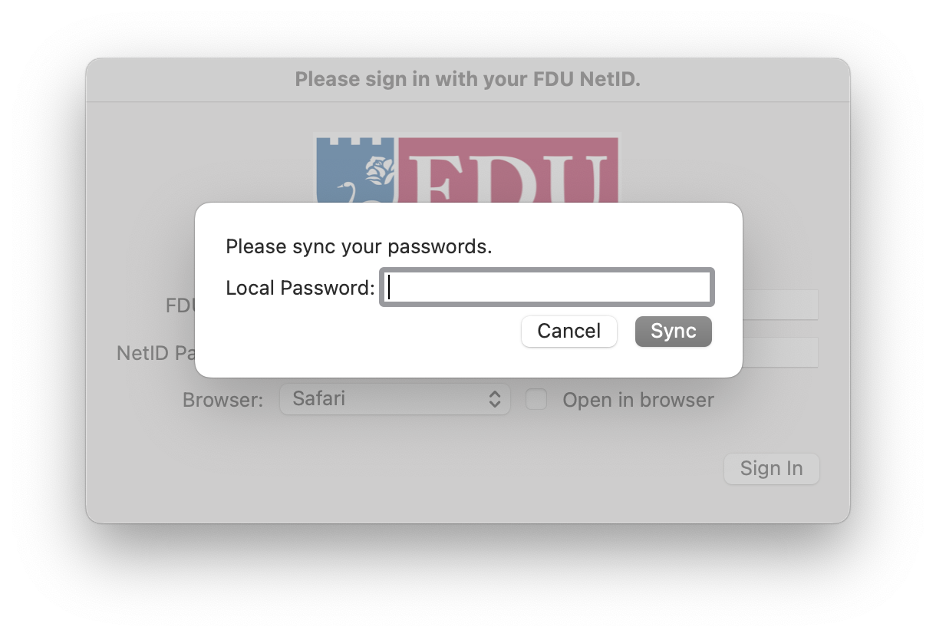
- Enter your old password in the “Local Password” prompt and click “Sync” to synchronize the new password with your Mac’s login password

Note
You will need to reauthenticate your Office 365 apps and FDU-Secure.
Synchronizing NETID Password with your Mac Password
If you changed your NETID password outside of your FDU Mac, you will be prompted automatically to sync your password to your Mac’s password the next time you are connected to the internet. You will first need to log in to the machine using your old password and then proceed with the synchronization following the steps below.
- The following dialog box will appear once you are connected to the internet automatically. Enter your “FDU NetID” and “Password” and click “Sign In”
- Enter your old password in the “Local Password” prompt and click the “Sync” button to synchronize the new password with your Mac’s login password
Note
You will need to re-authenticate to your Office 365 apps and FDU-Secure.


