Your FDU Student NetID is the username you will use to sign in to Office 365, Self-Service, WebCampus, MyHousing, and other university services. Follow the steps below to activate your account.
Before you begin, have your seven-digit FDU ID number ready. The process has five main parts: introduction, identity verification, account security, Duo sign-in protection (multi-factor authentication, or MFA), and final confirmation.
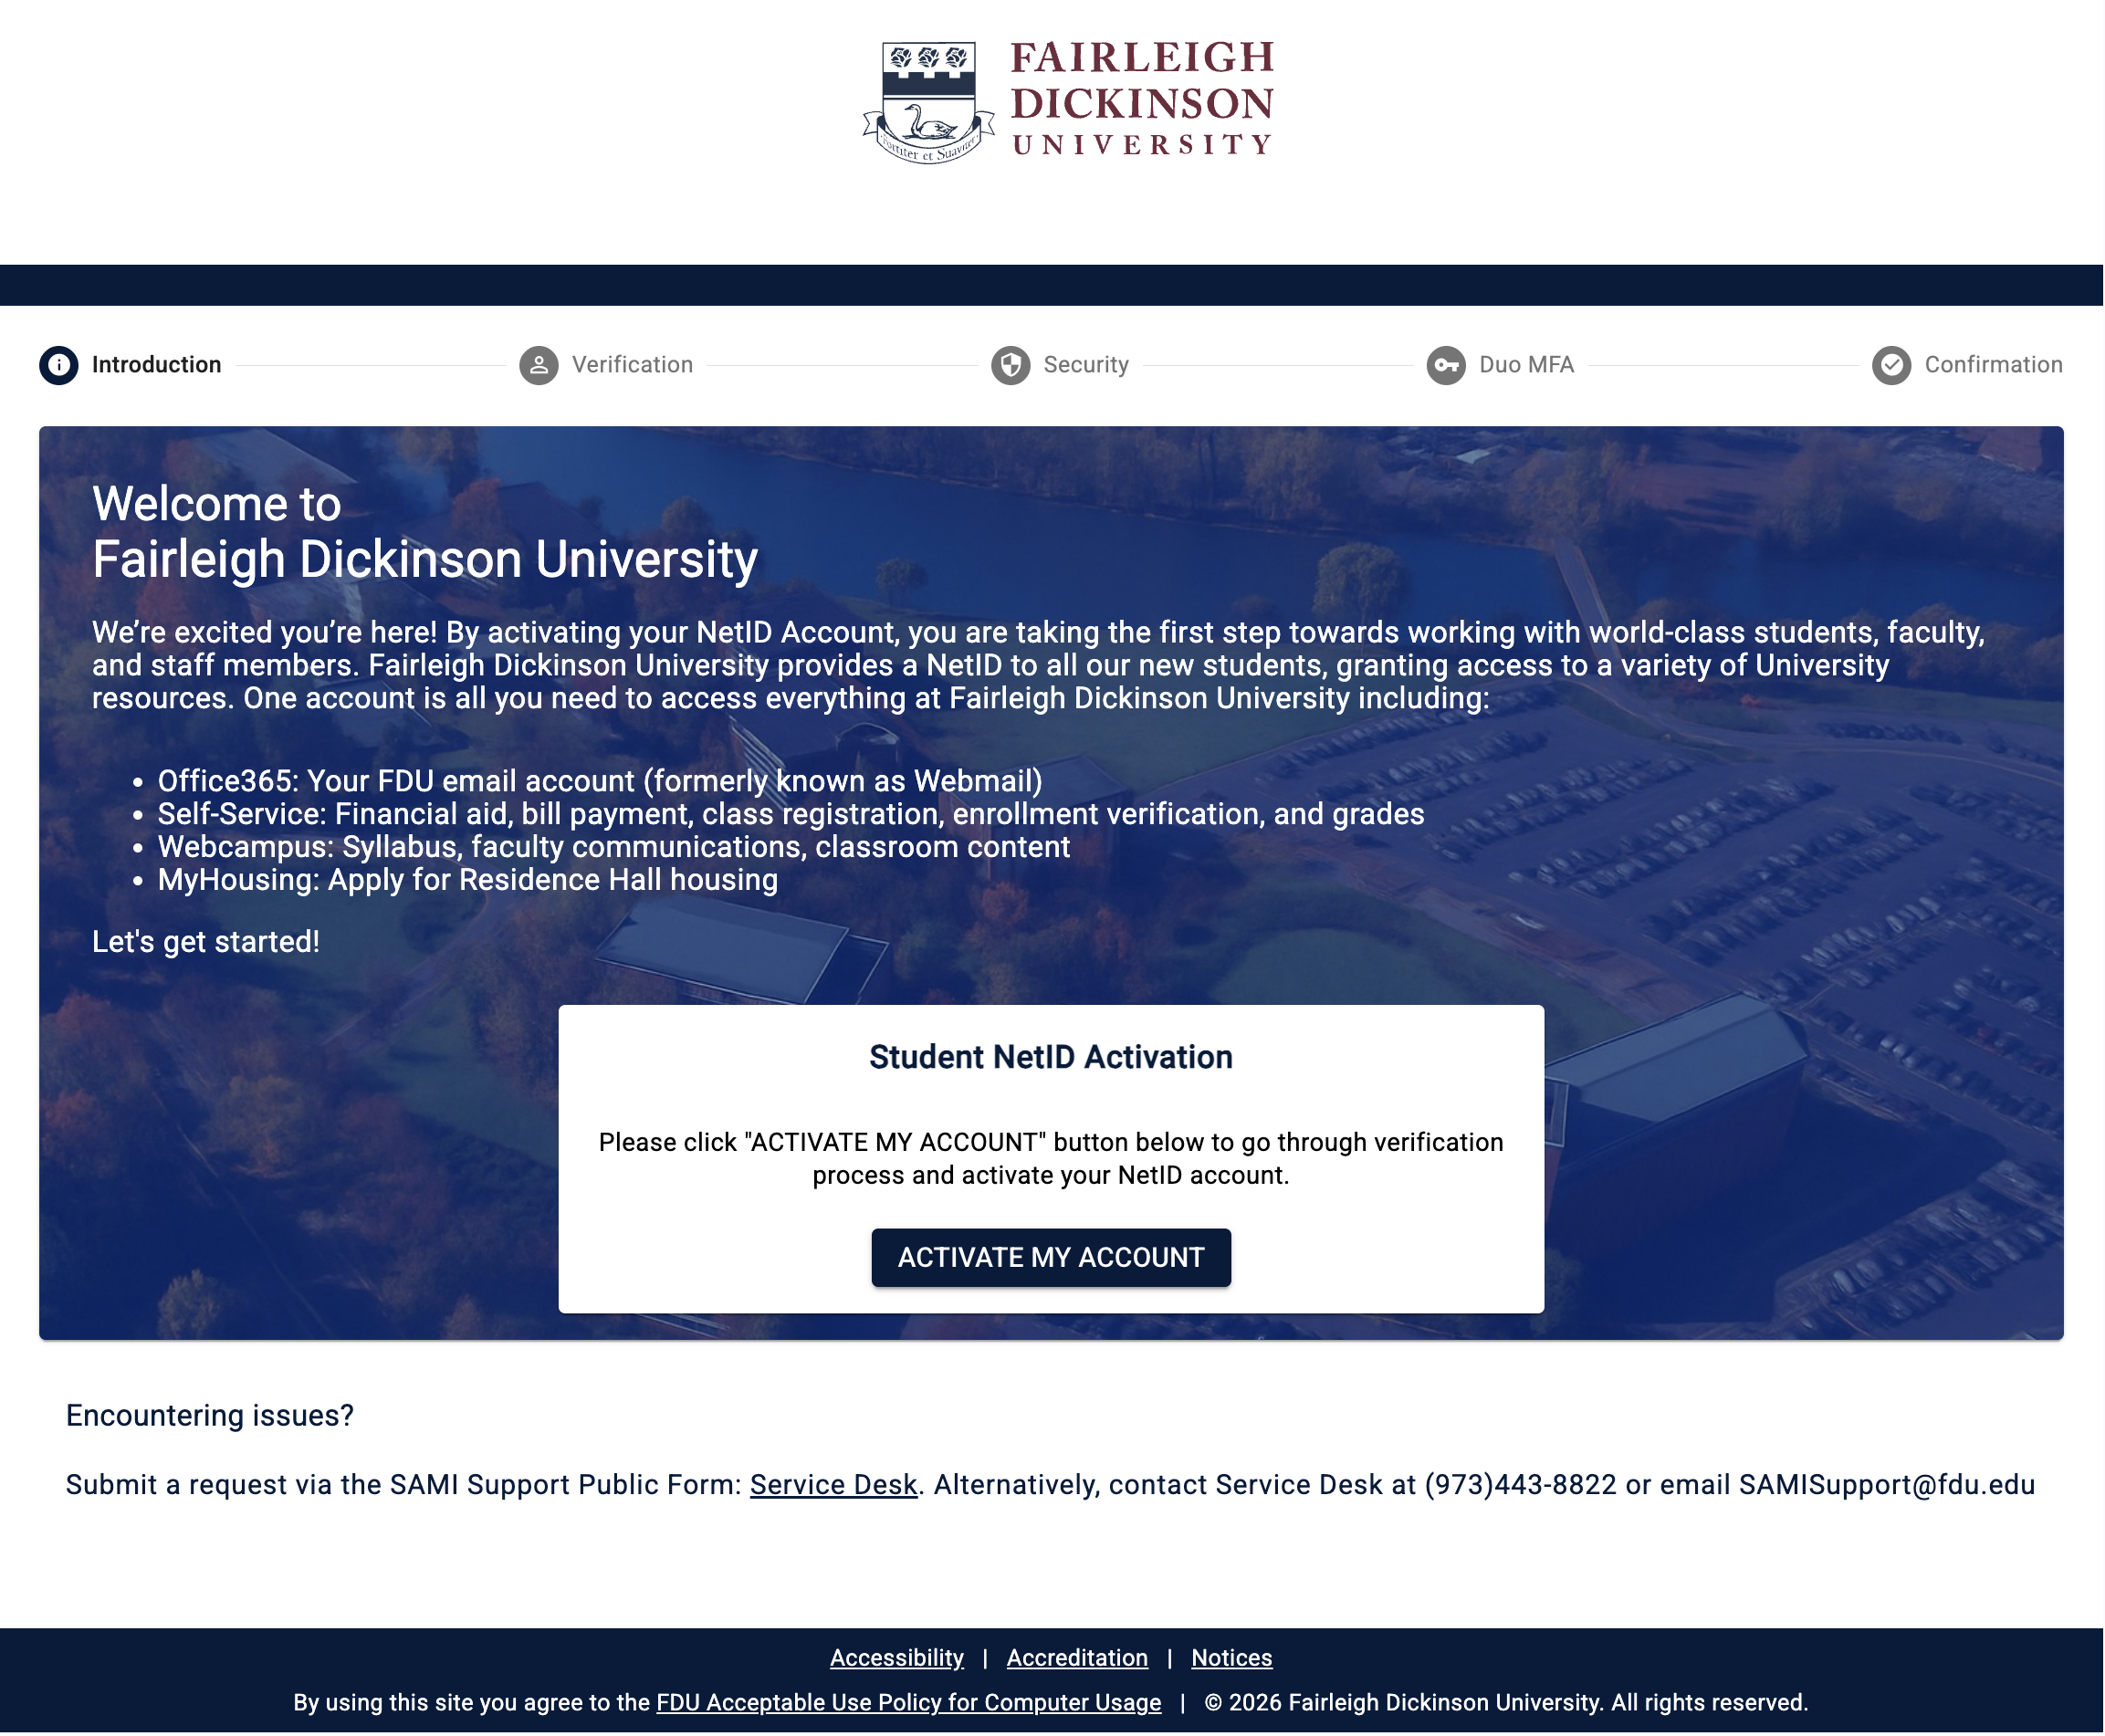
Step 1: Introduction
- Open a web browser and go to newstudent.fdu.edu
- Click “ACTIVATE MY ACCOUNT” to begin the verification process
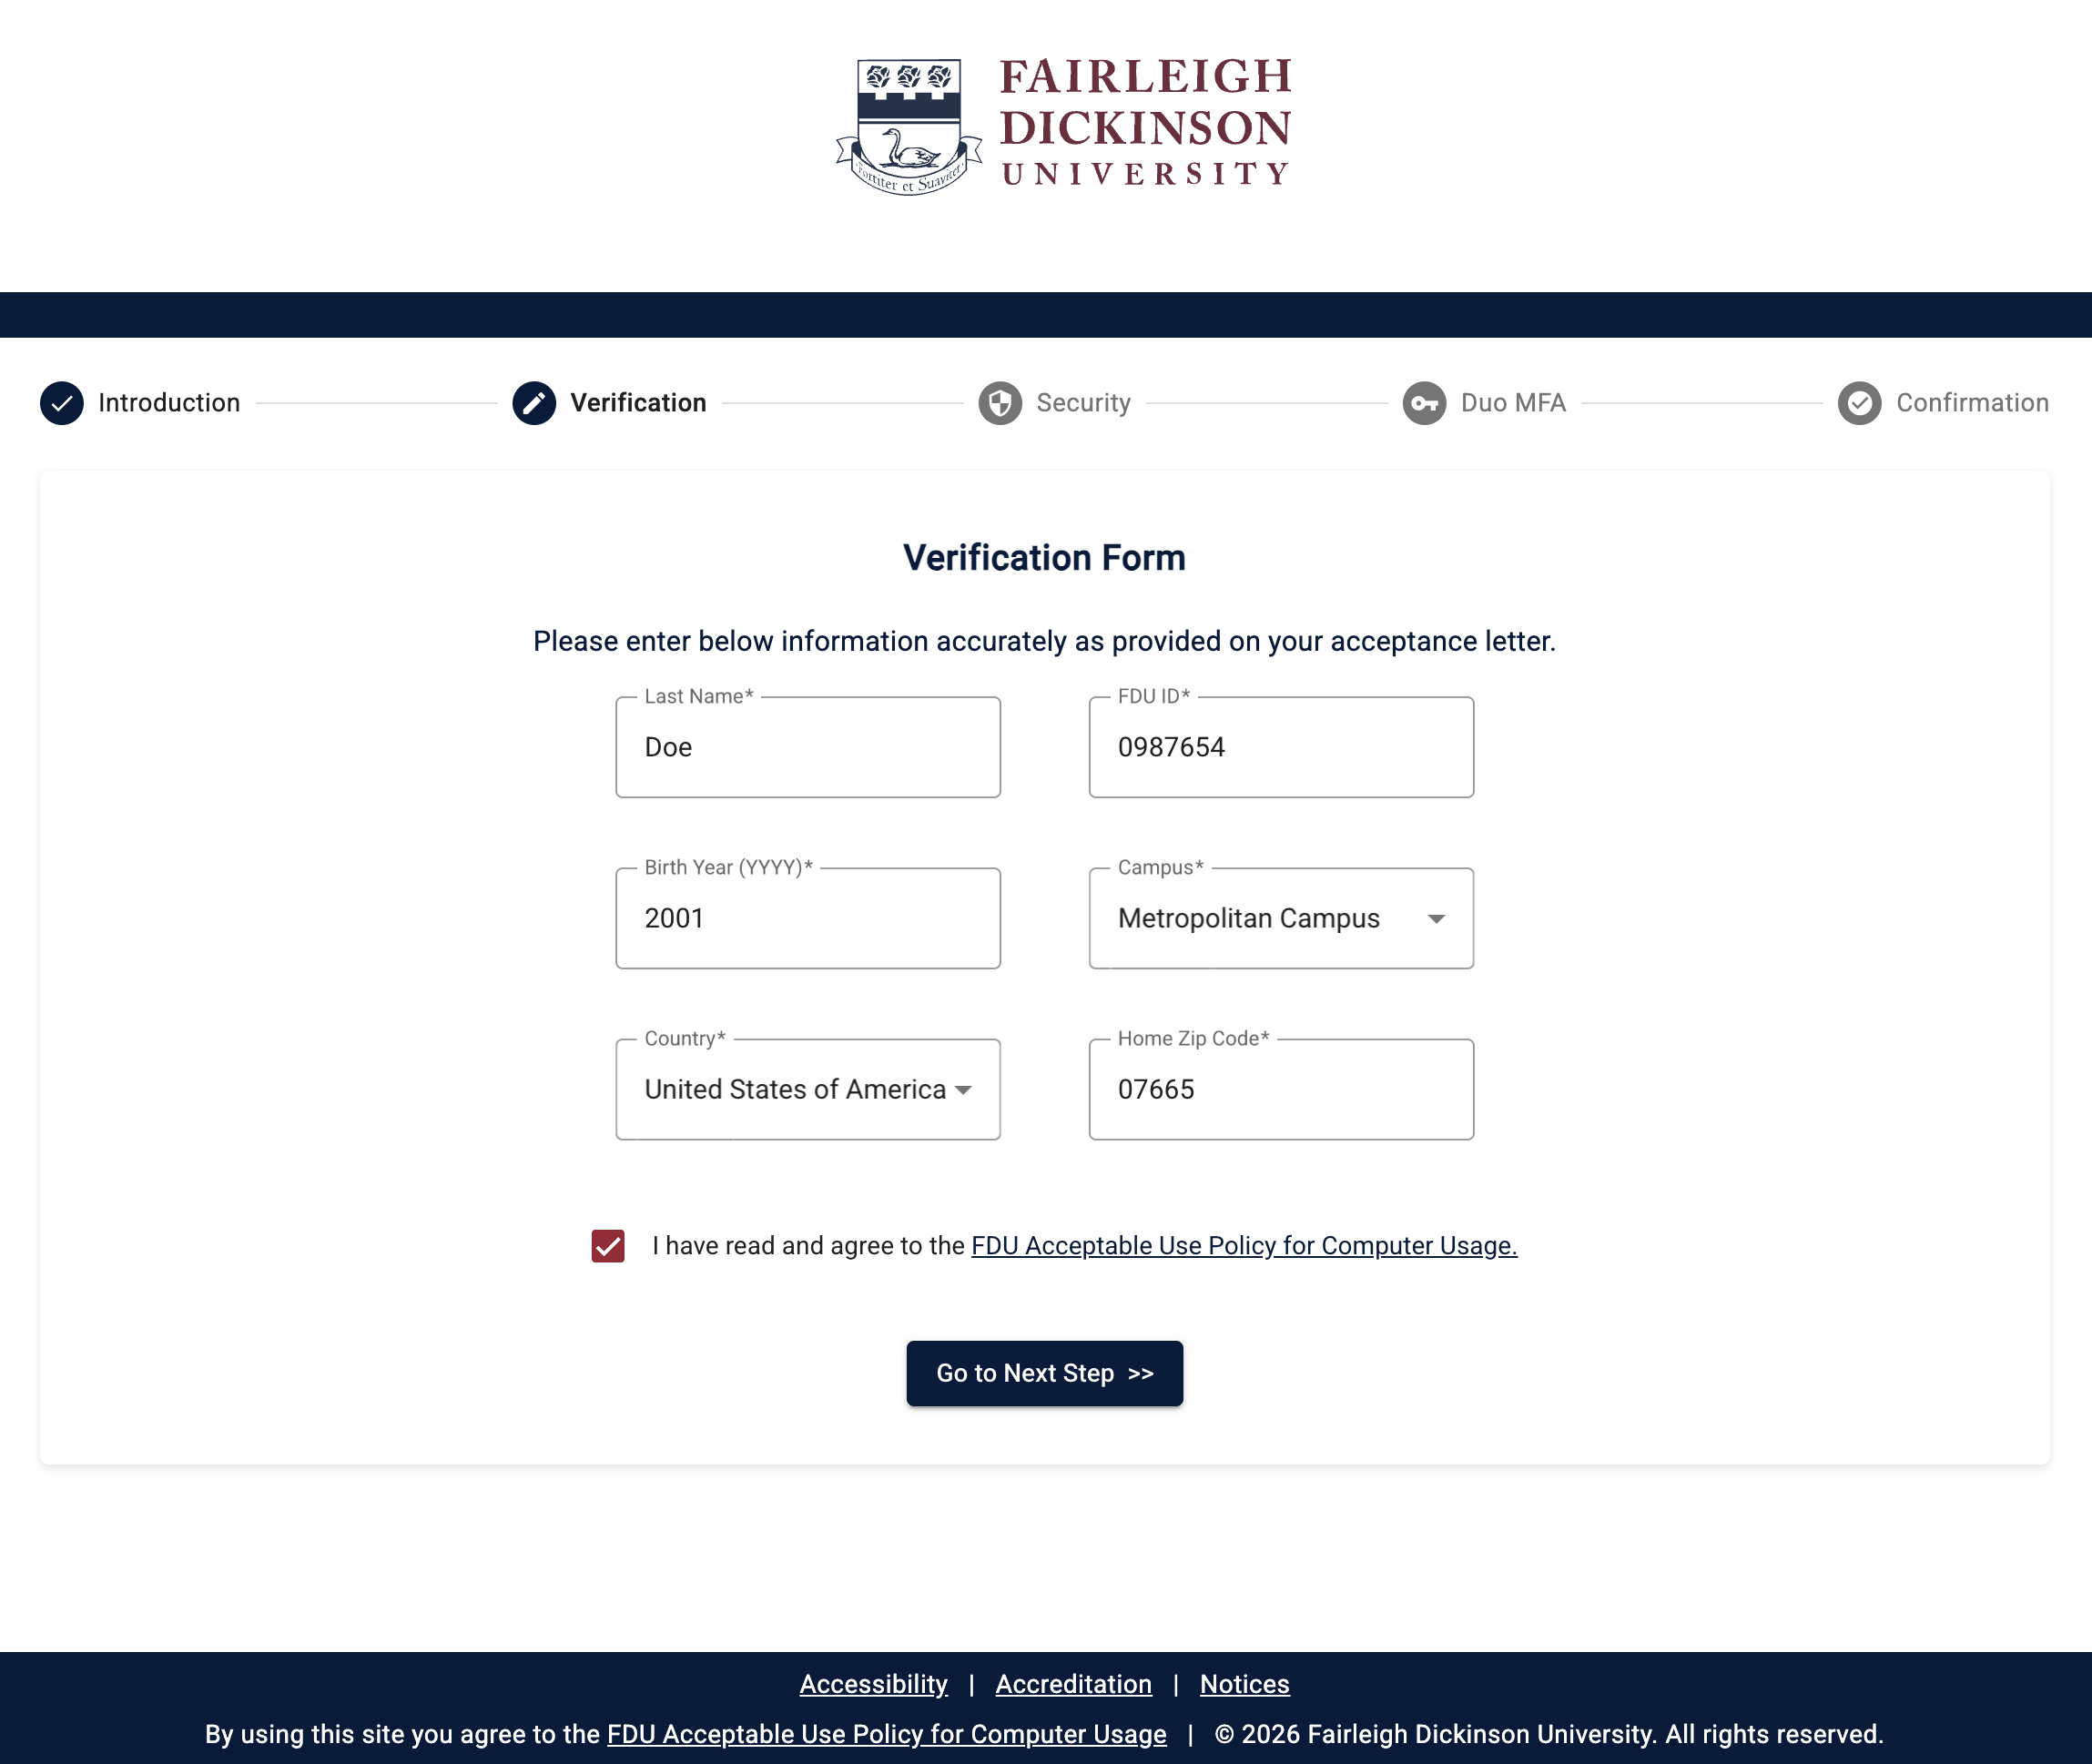
Step 2: Identity Verification
Enter your information exactly as it appears on your official FDU acceptance letter.
- Last Name: Enter your legal last name
- FDU ID: Enter your seven-digit FDU ID number
- Birth Year (YYYY): Enter your four-digit birth year
- Campus and Country: Select your primary campus and country of residence; if you are a Vancouver student, select your country of citizenship
- Home Zip Code: Enter your current postal code
- Policy Agreement: Review and check the box for the FDU Acceptable Use Policy for Computer Usage
- Click “Go to Next Step >>”
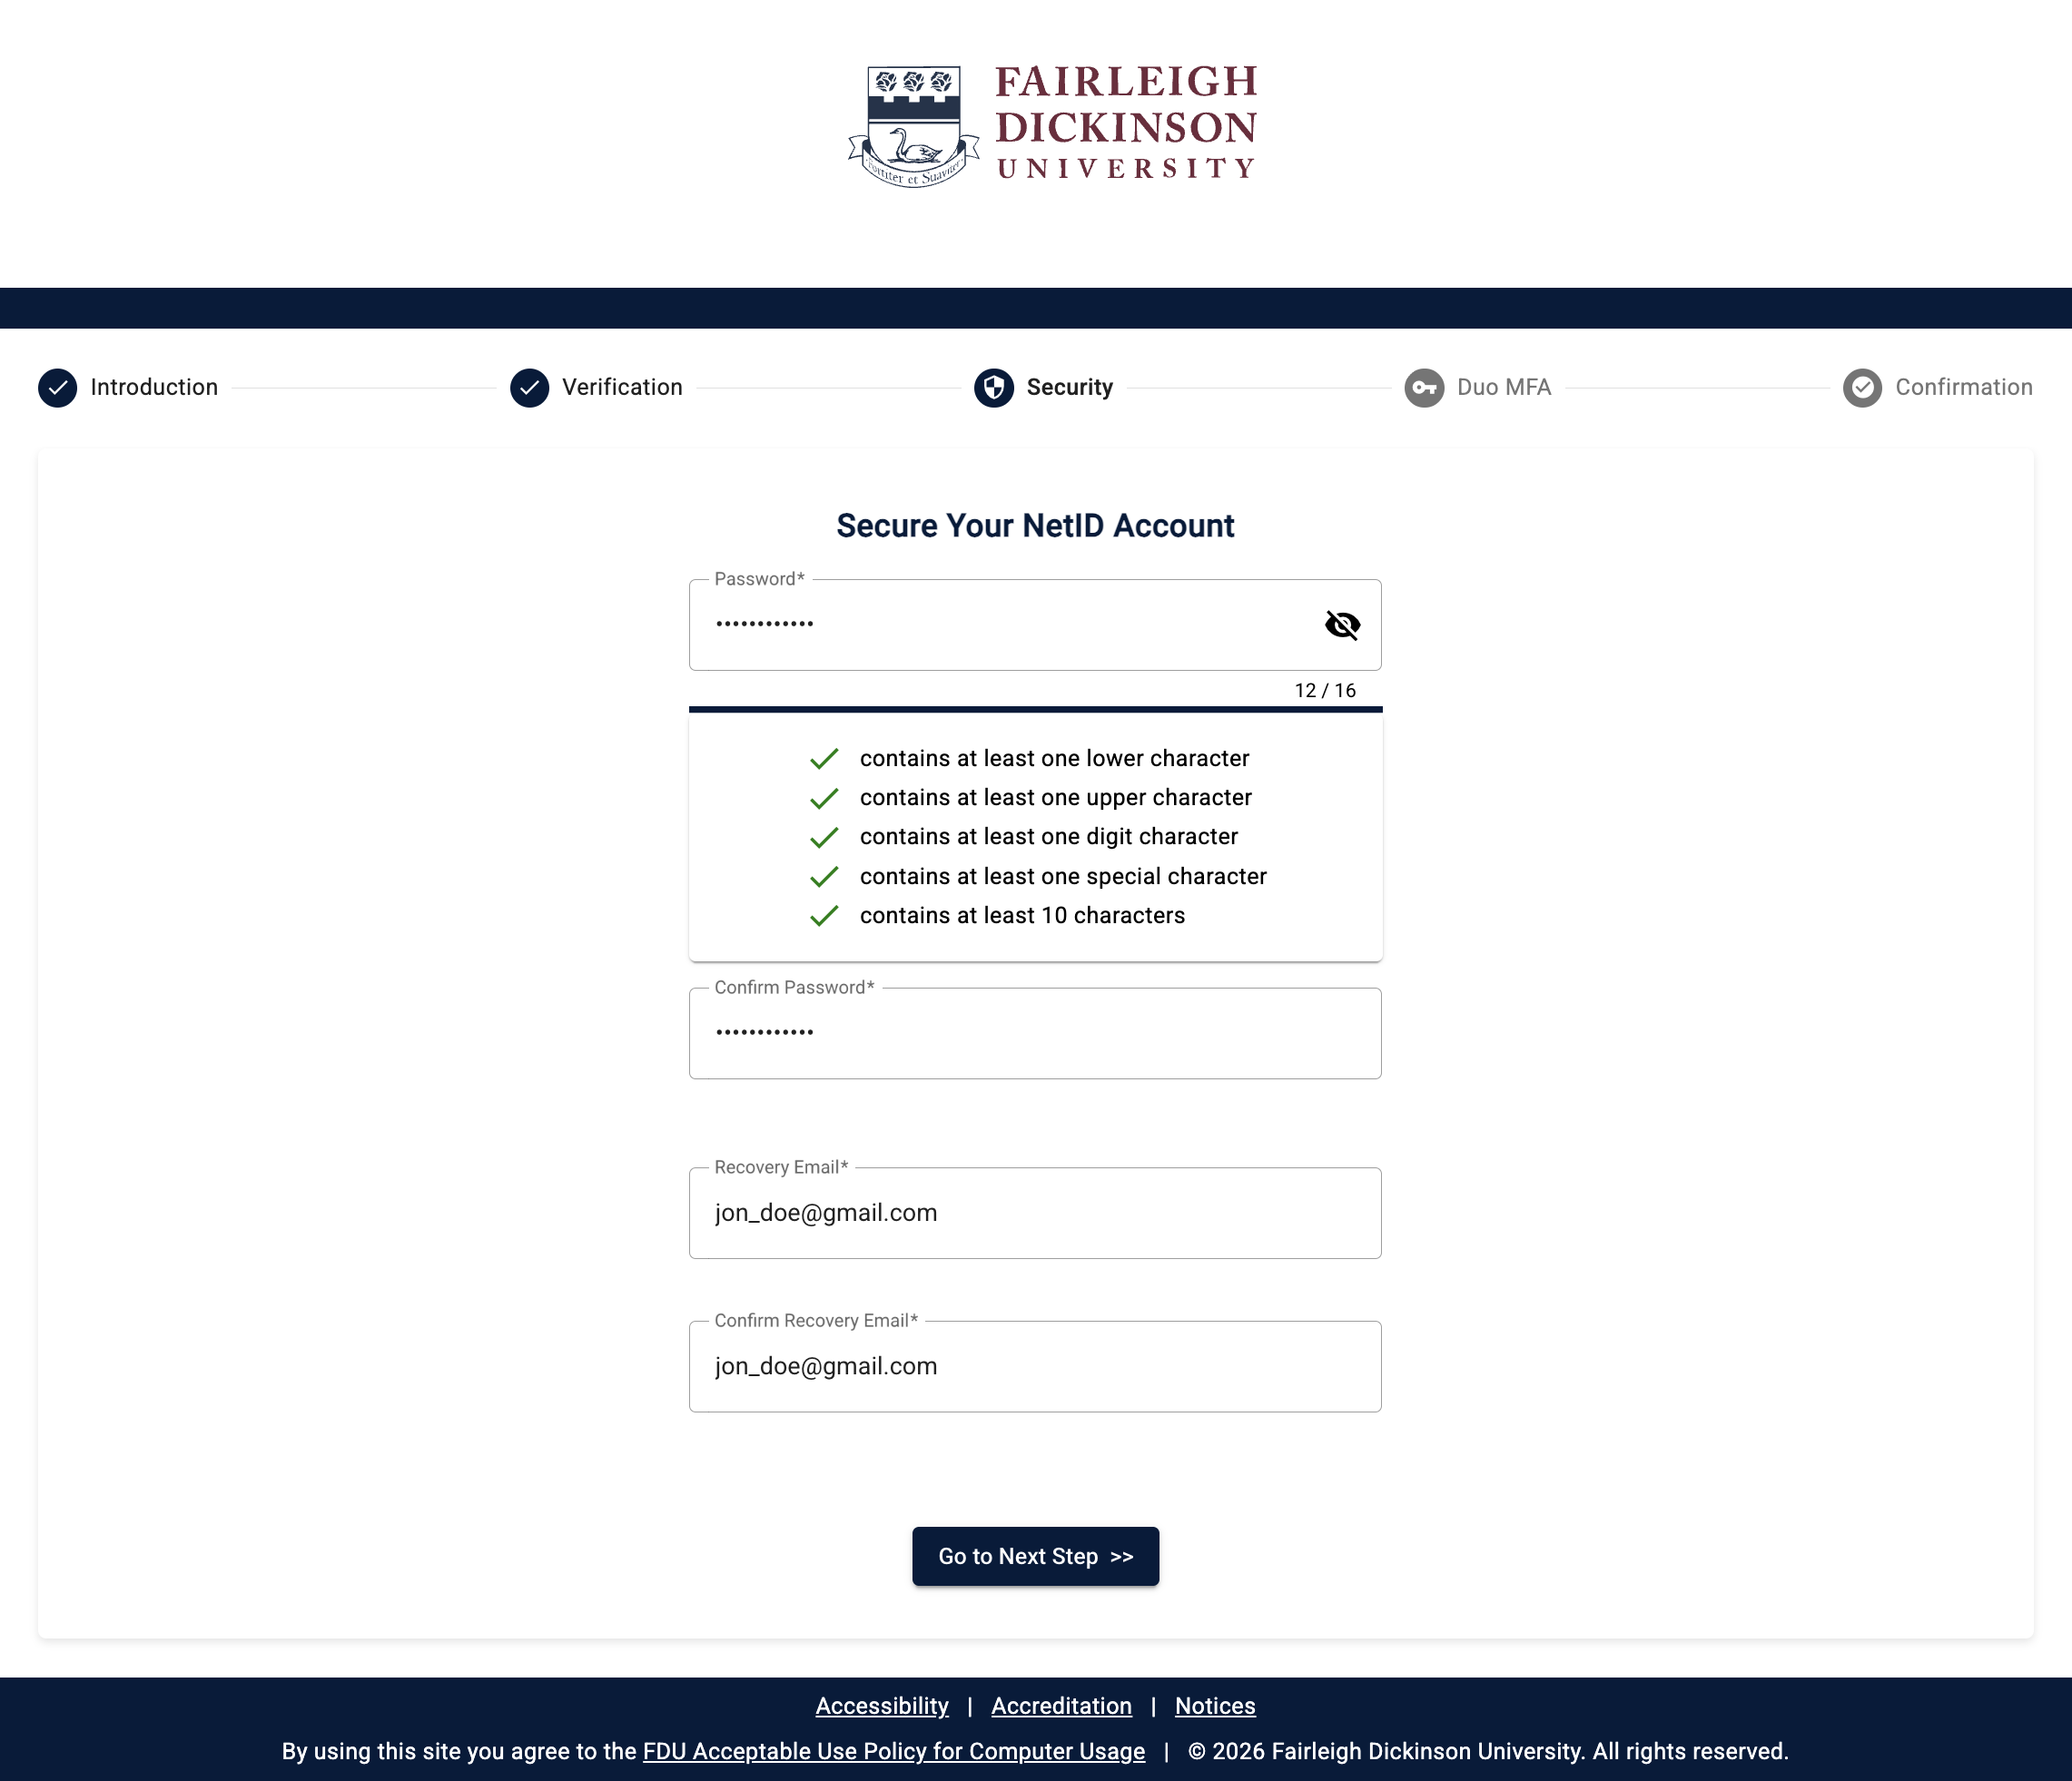
Step 3: Secure Your NetID Account
Set your password and recovery details.
- Choose a password that is random and difficult to guess
 Must Not Contain
Do not use any part of your legal name, FDU ID number, date of birth, or Social Security number
- Use at least 10 characters, including at least one lowercase letter, one uppercase letter, one number, and one special character
- Enter and confirm a personal, non-FDU email address for future password resets
- Click “Go to Next Step >>”
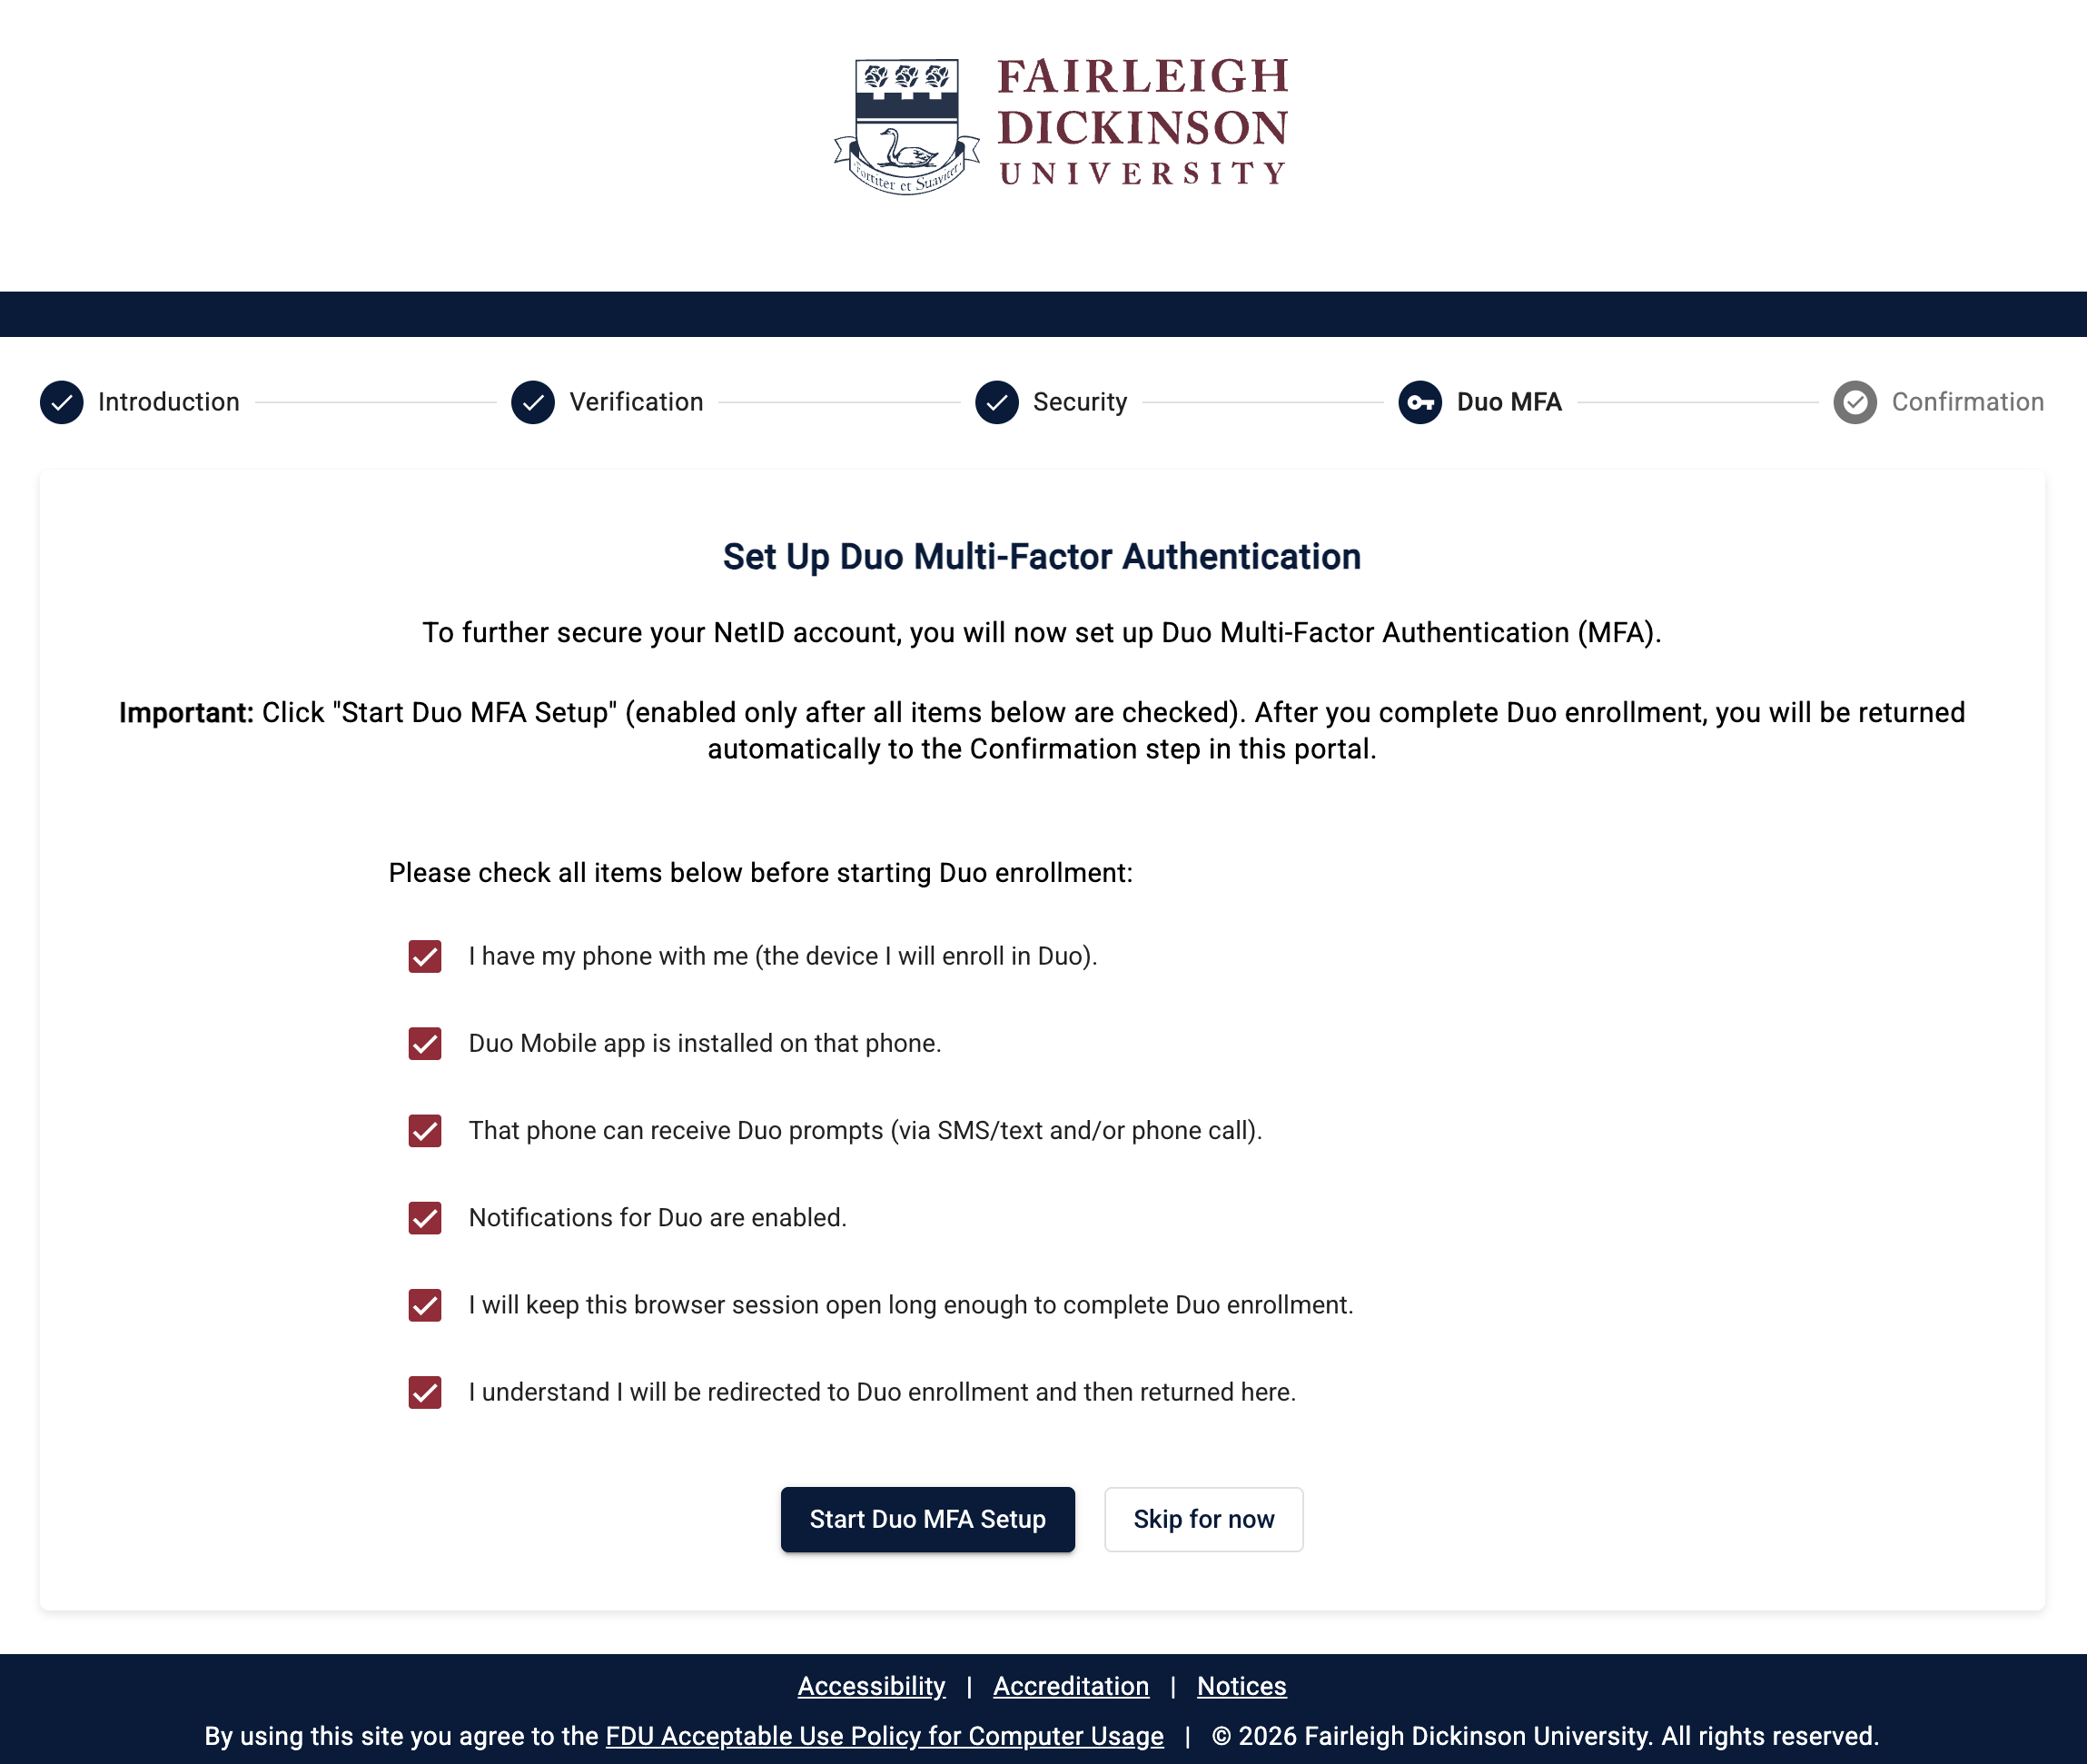
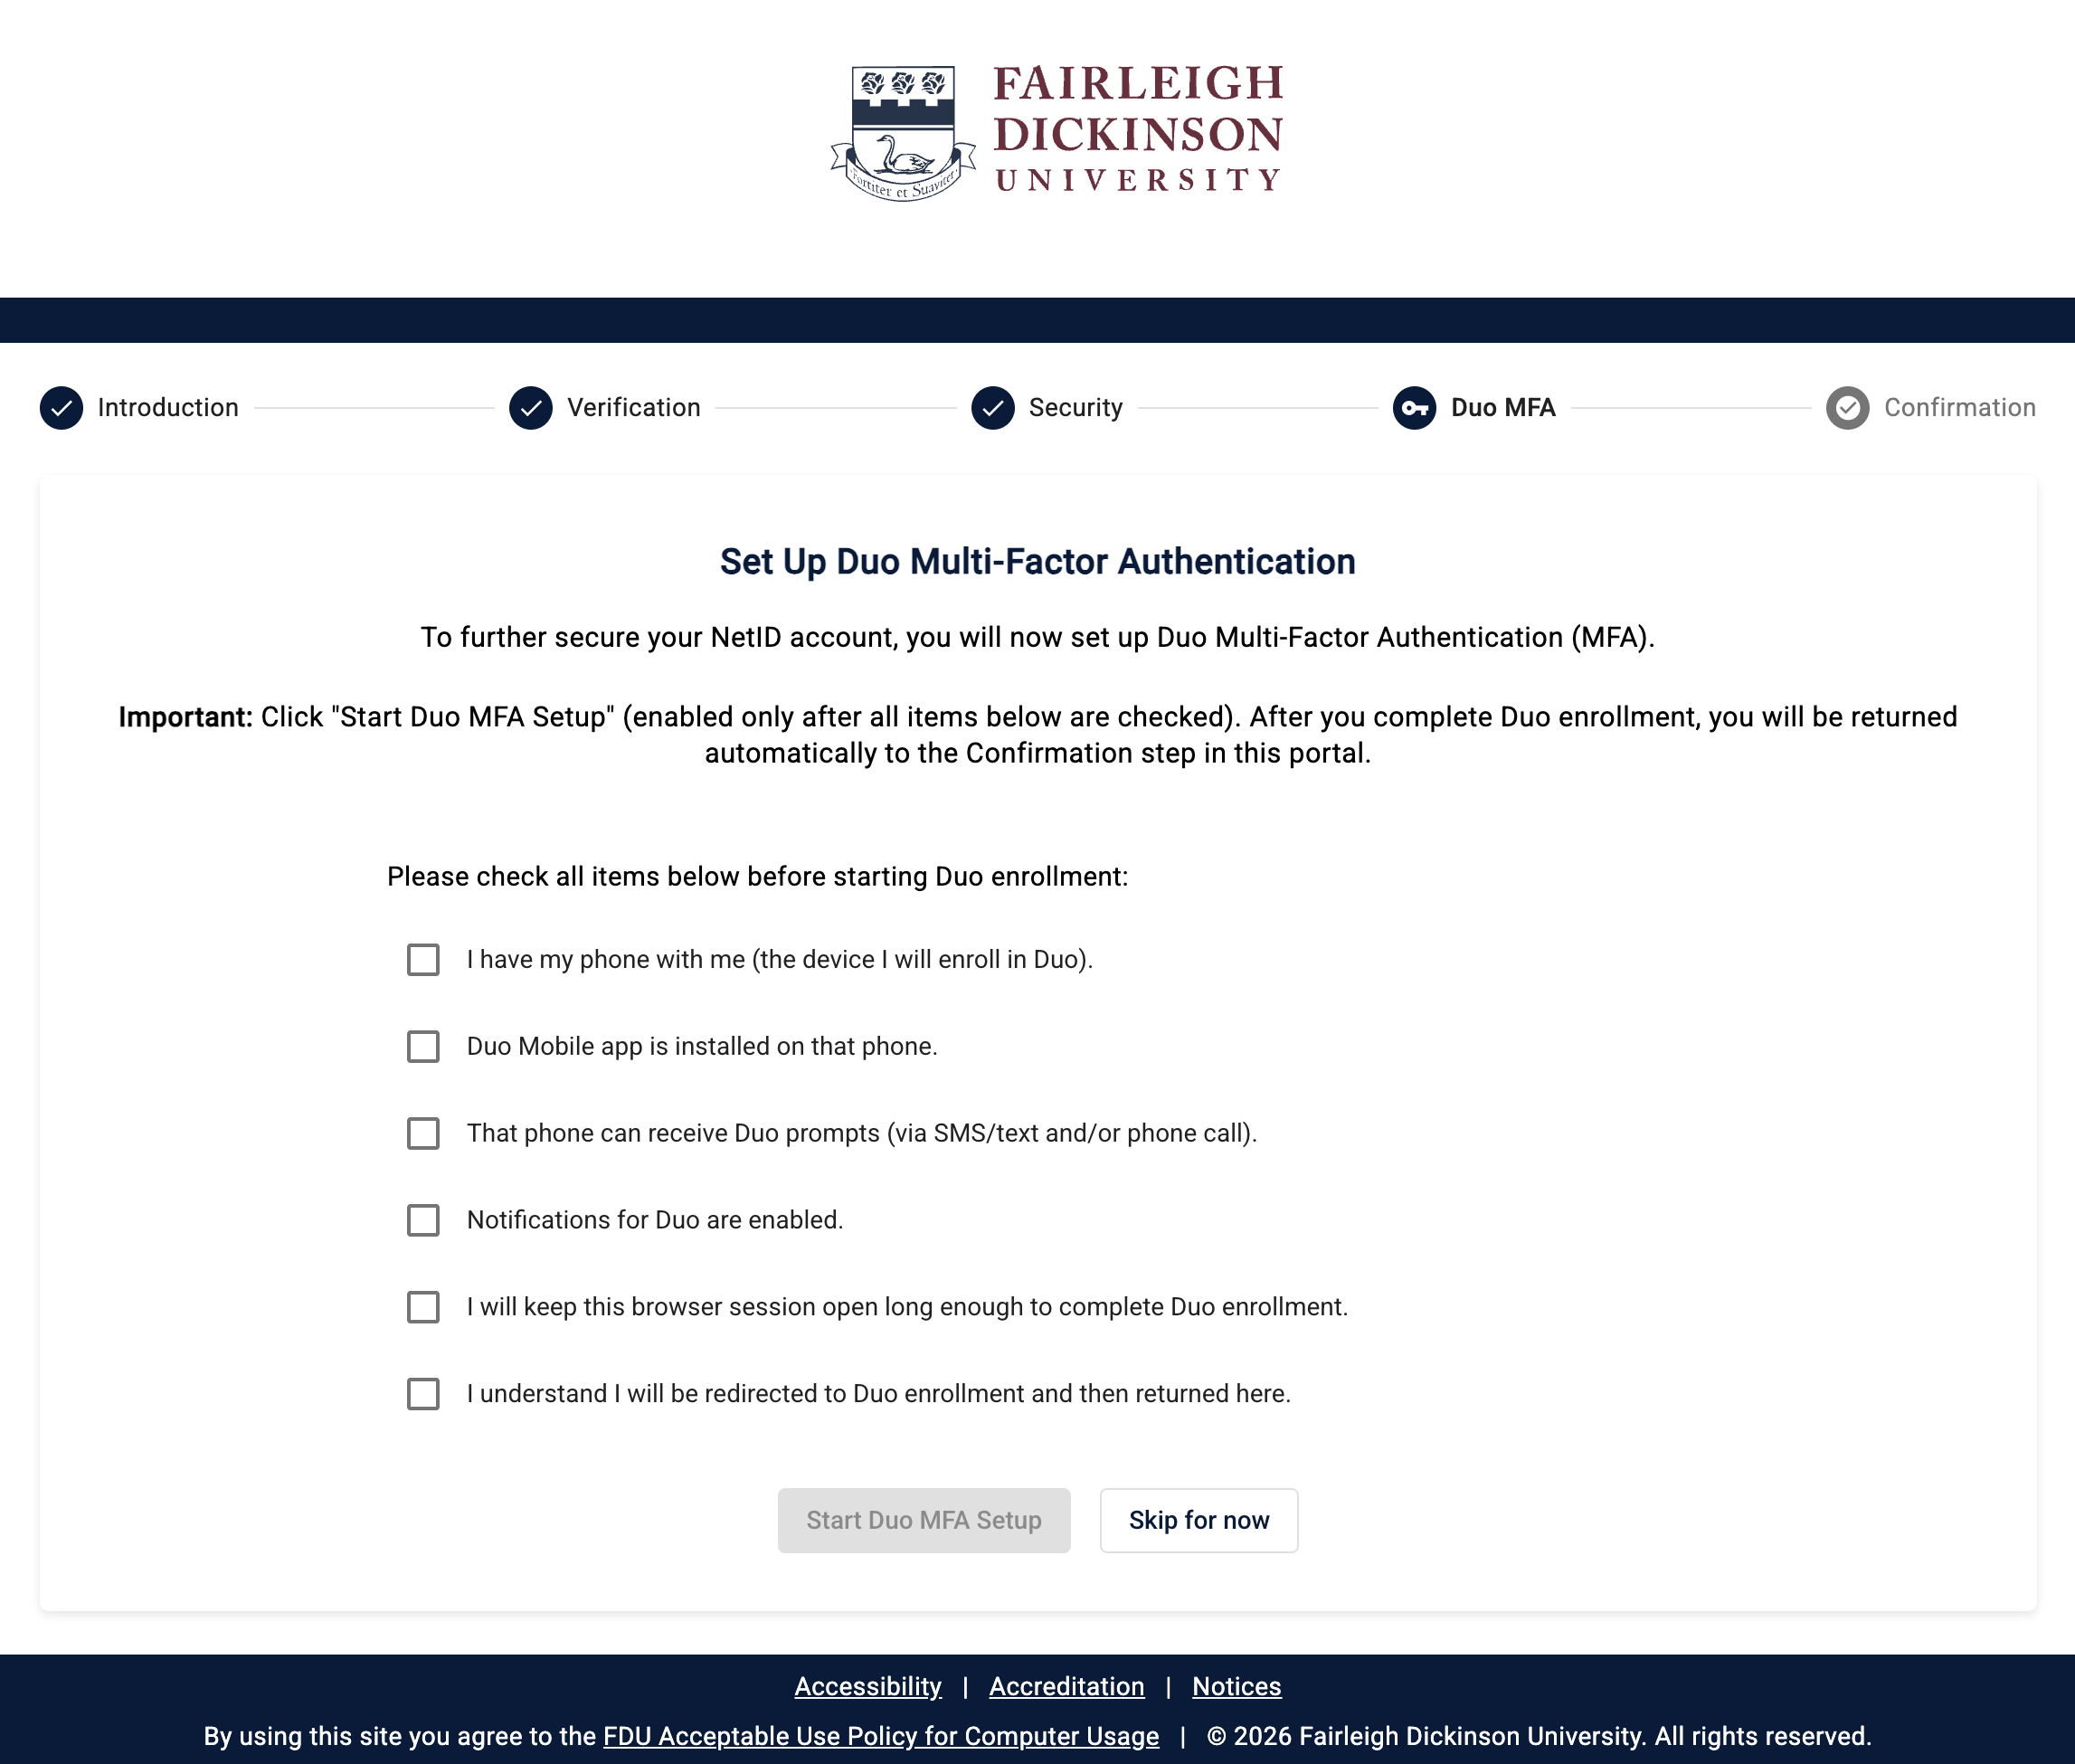
Step 4: Set Up Duo Multi-Factor Authentication (MFA)
To protect your account, you must enroll a device in Duo multi-factor authentication (MFA).
- Review the preparation checklist and select each item before the setup button becomes active
- Click “Start Duo MFA Setup” to continue to Duo
Note
If you cannot finish this step right away, click “Skip for now” to complete the activation process. You will be prompted to set up Duo again soon.
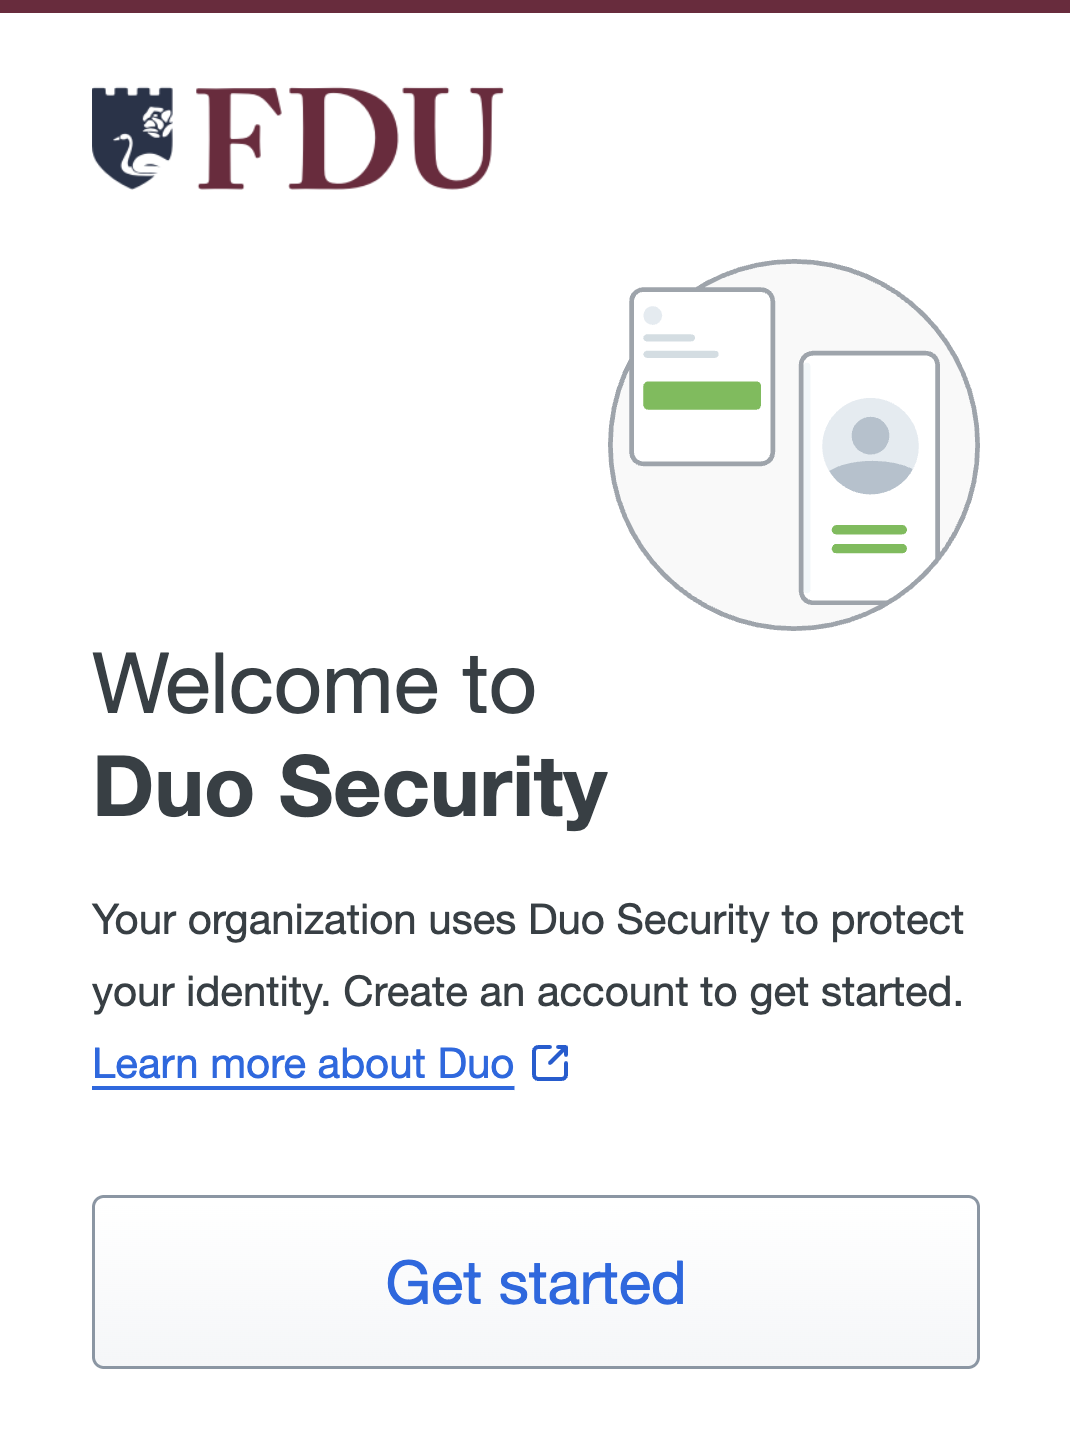
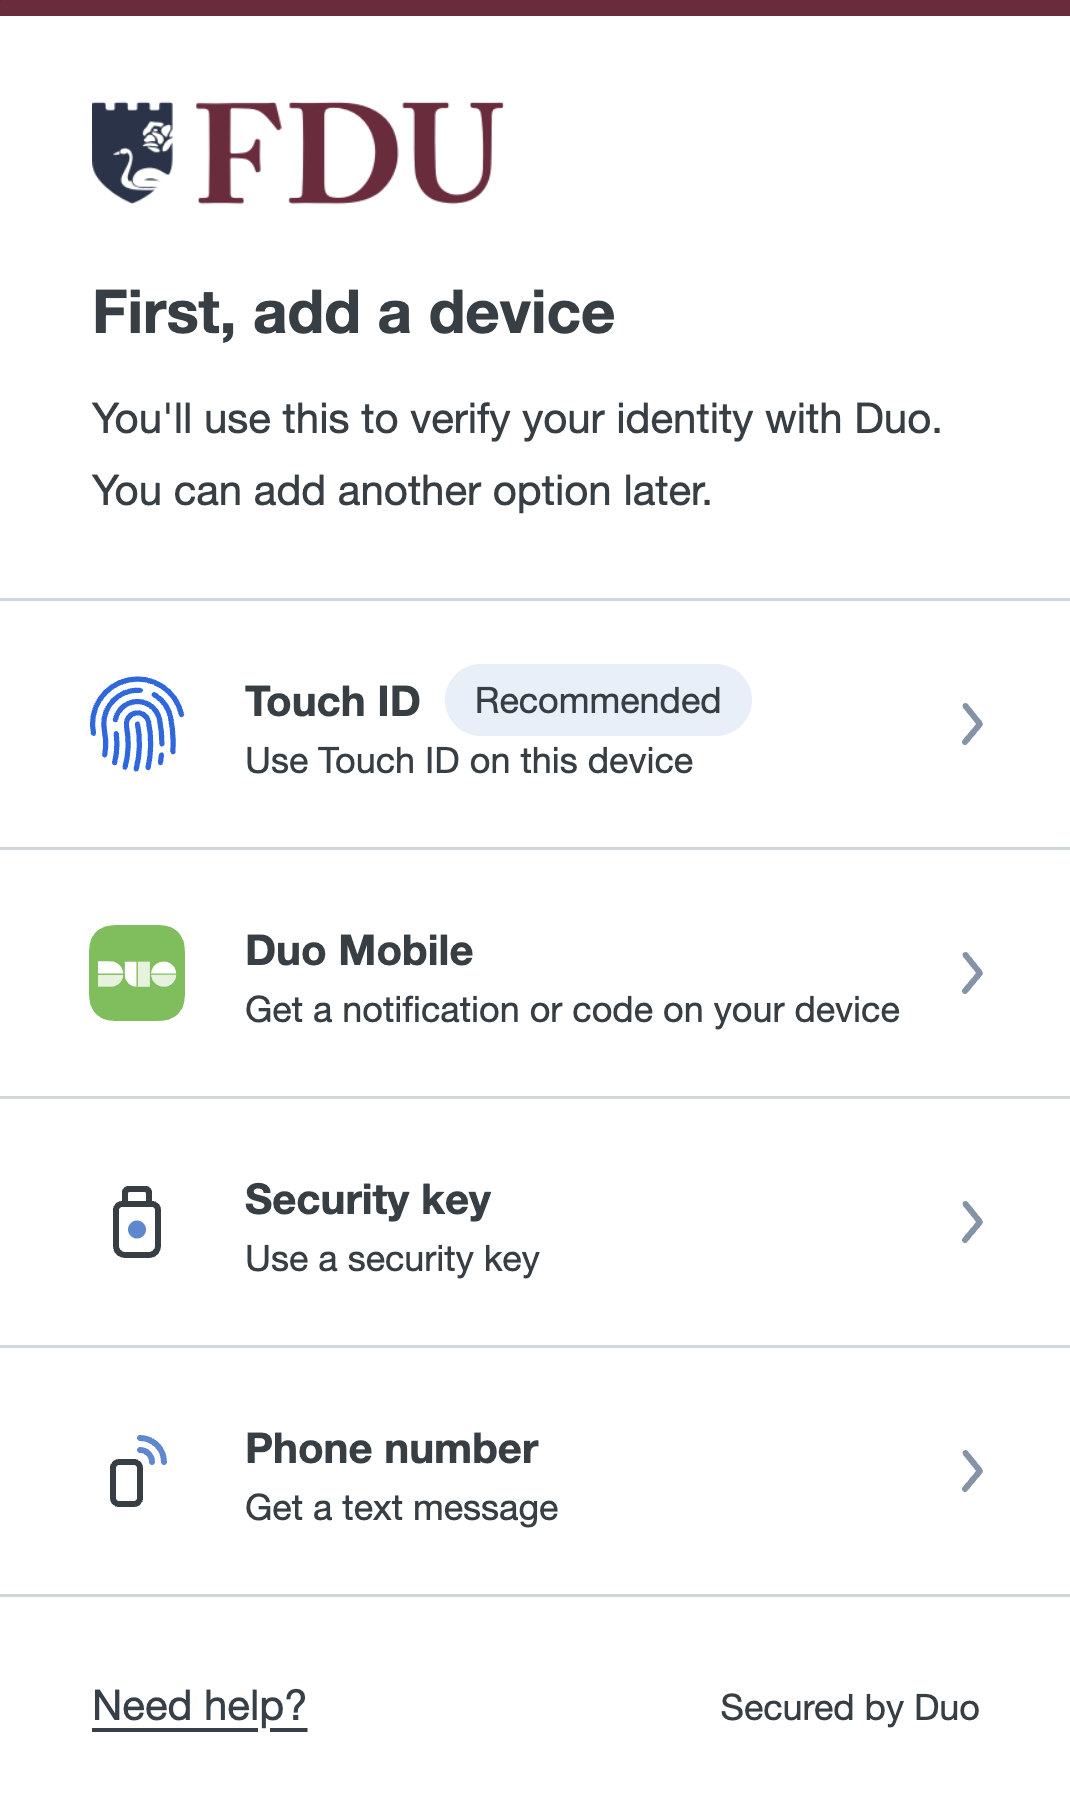
Navigating the Duo Interface
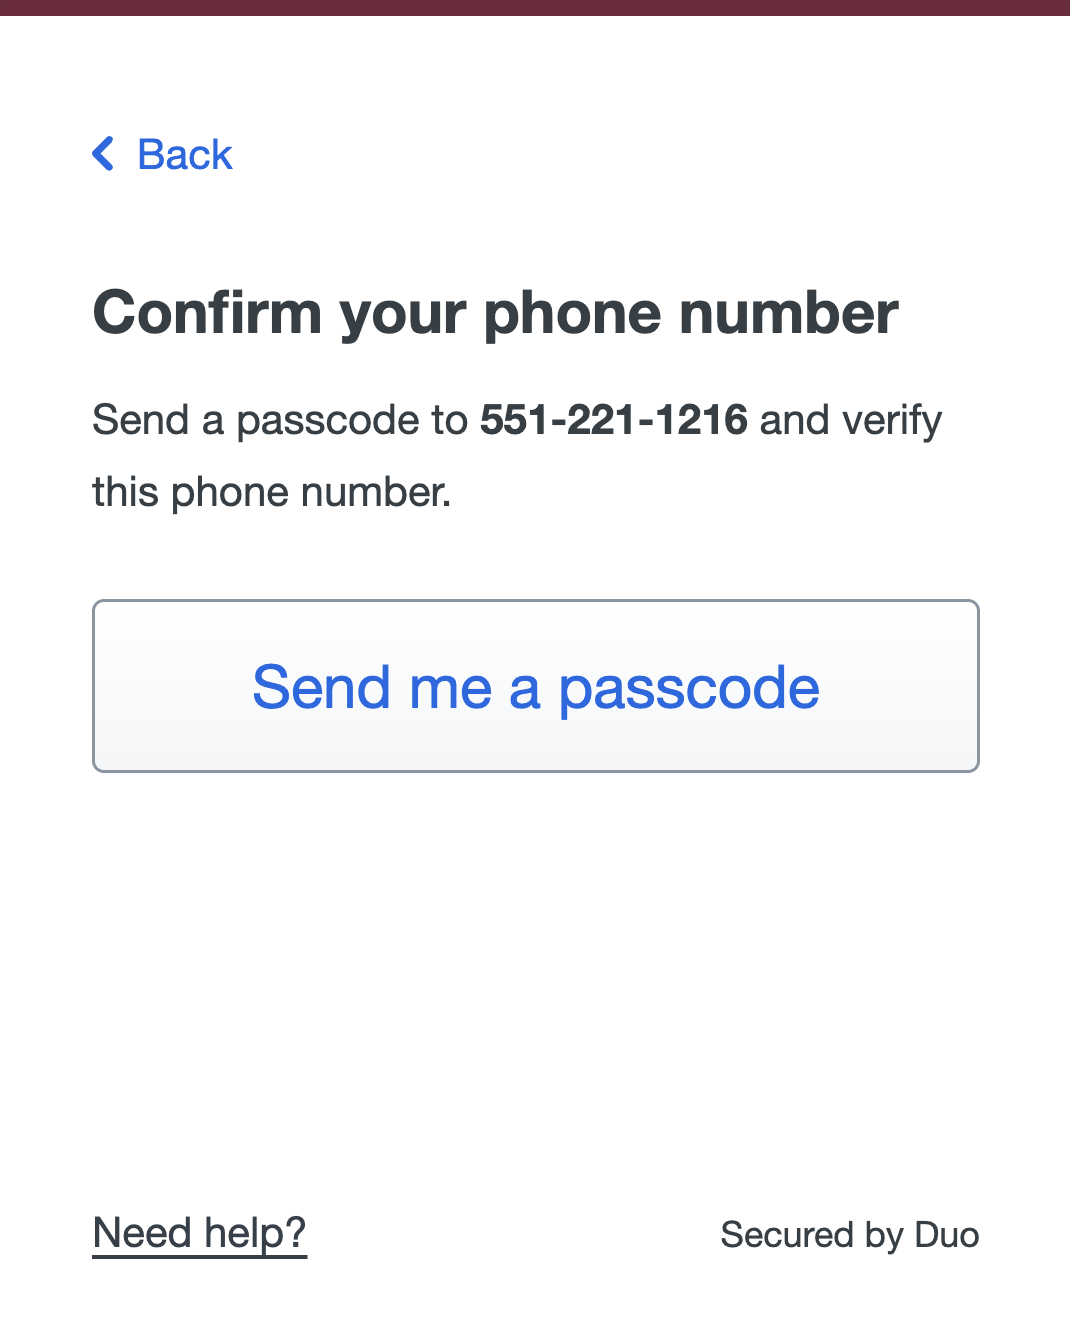
- Click “Get started”, then select “Duo Mobile”
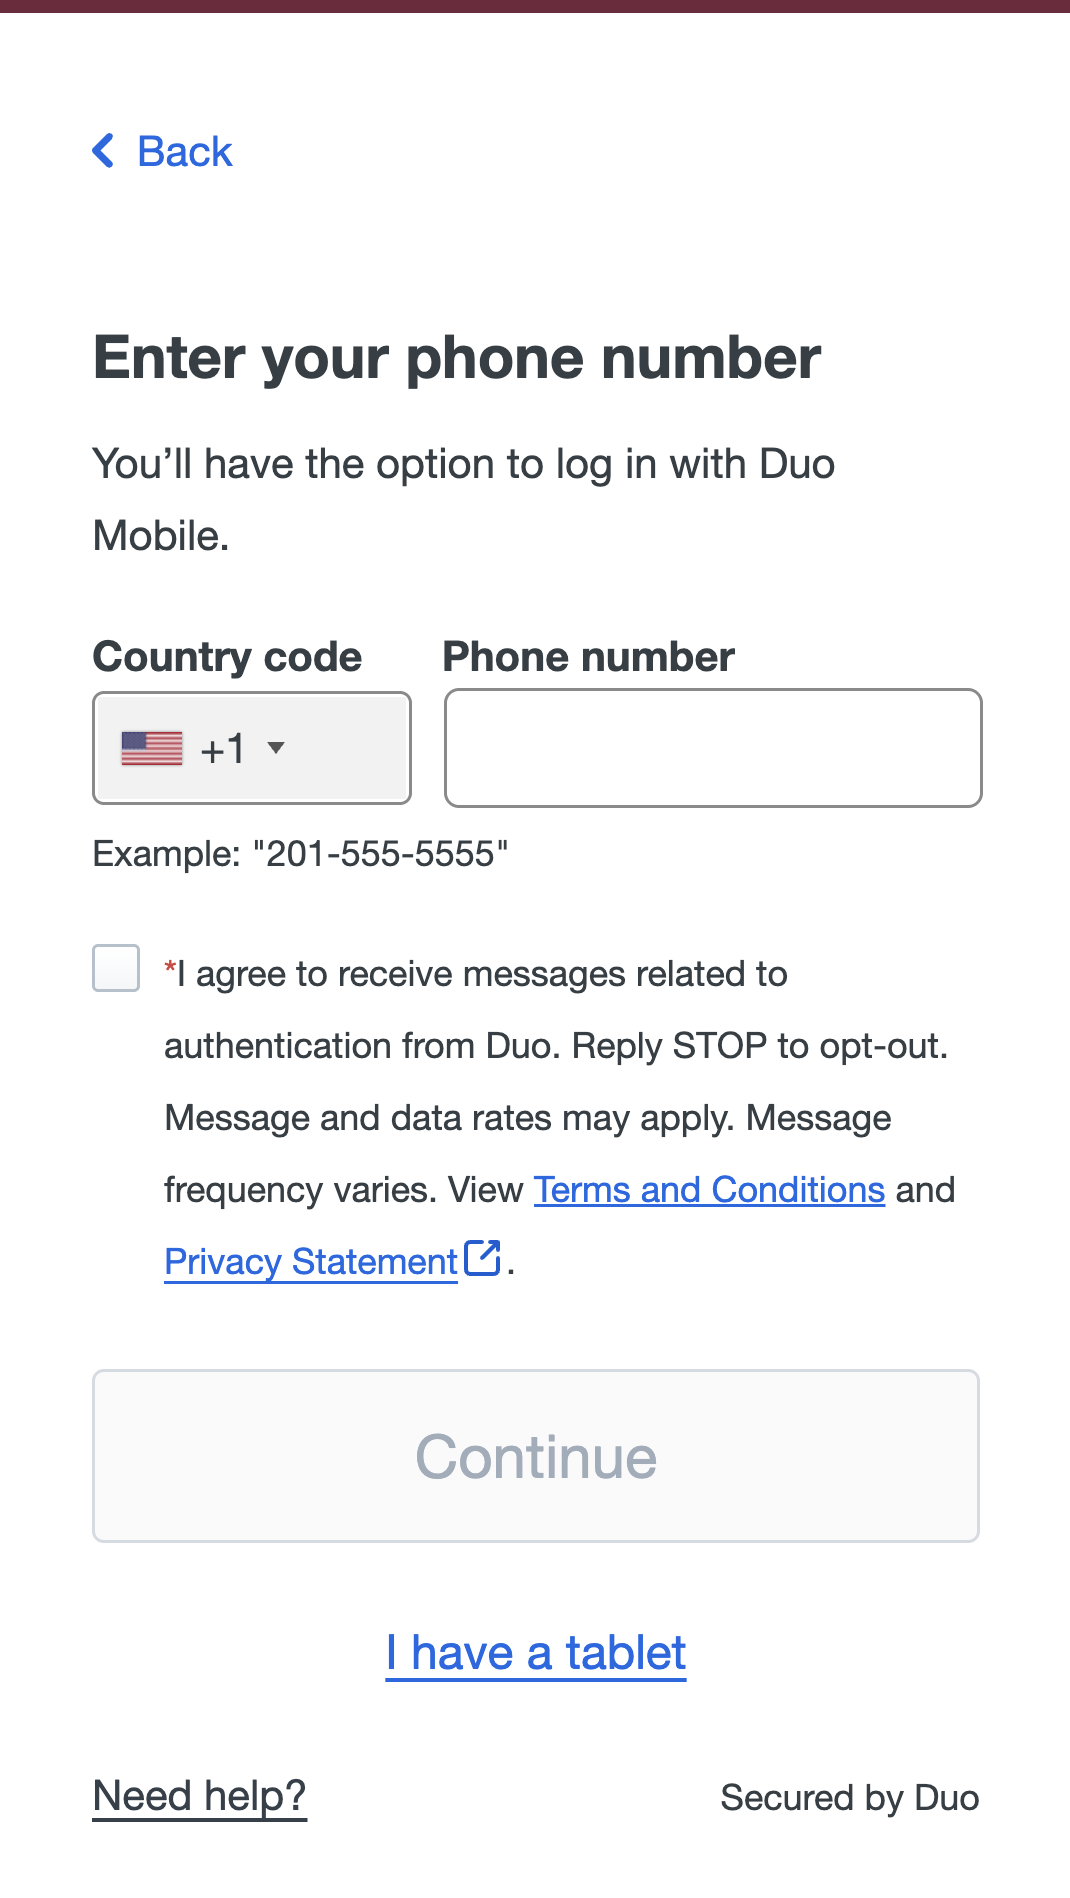
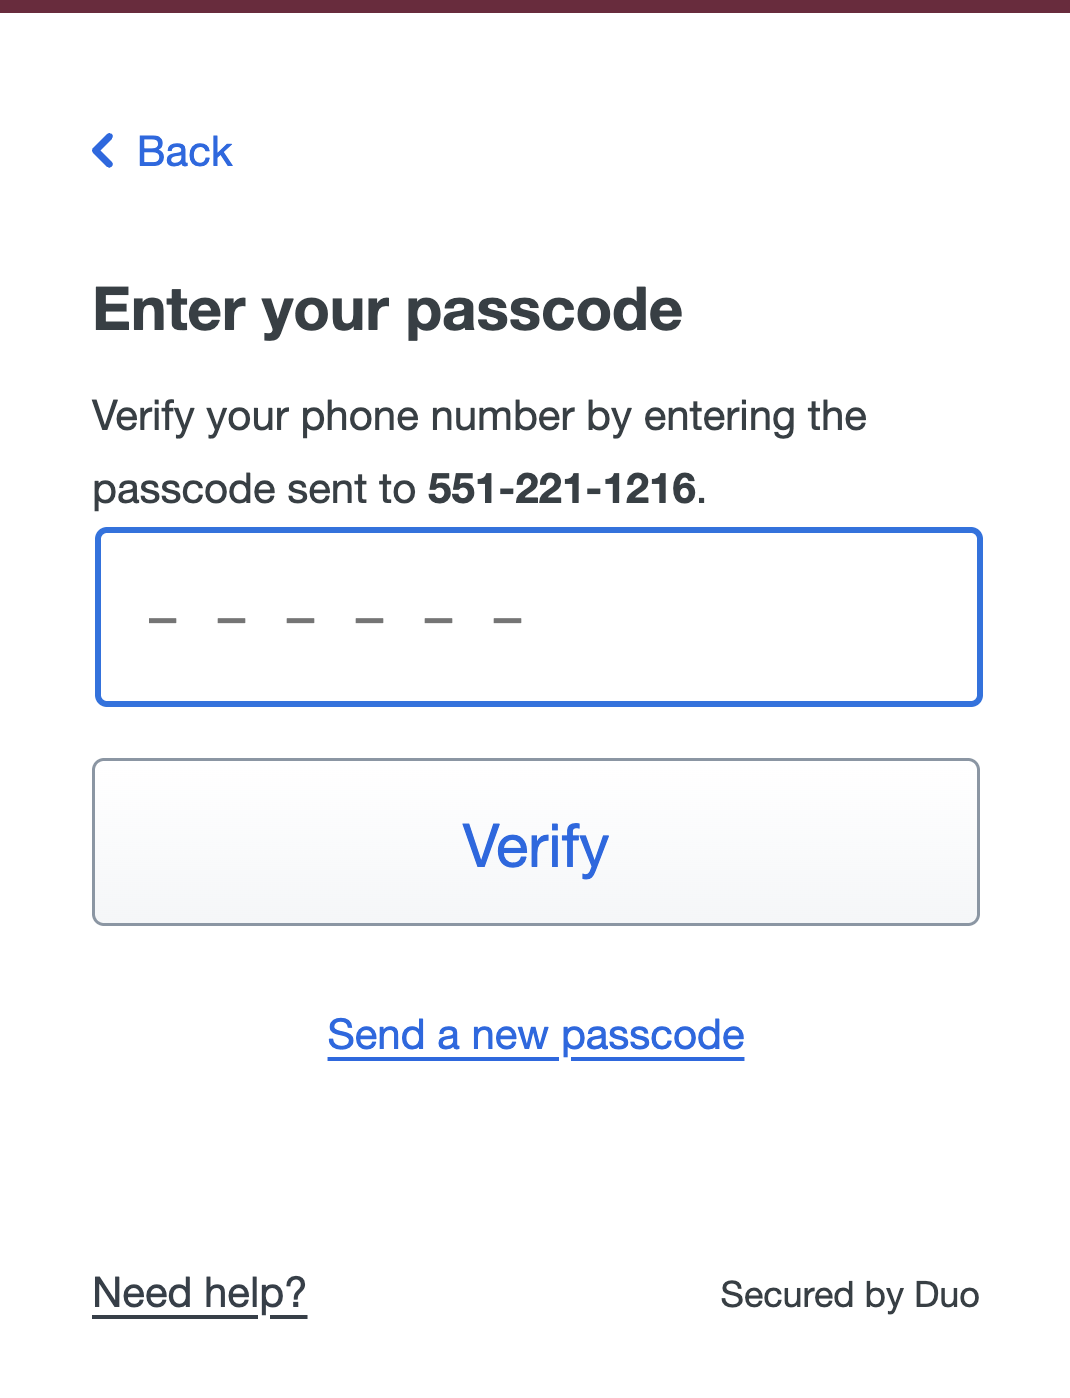
- Enter your phone number, agree to the terms, click “Continue”, and then enter the six-digit passcode sent to your phone
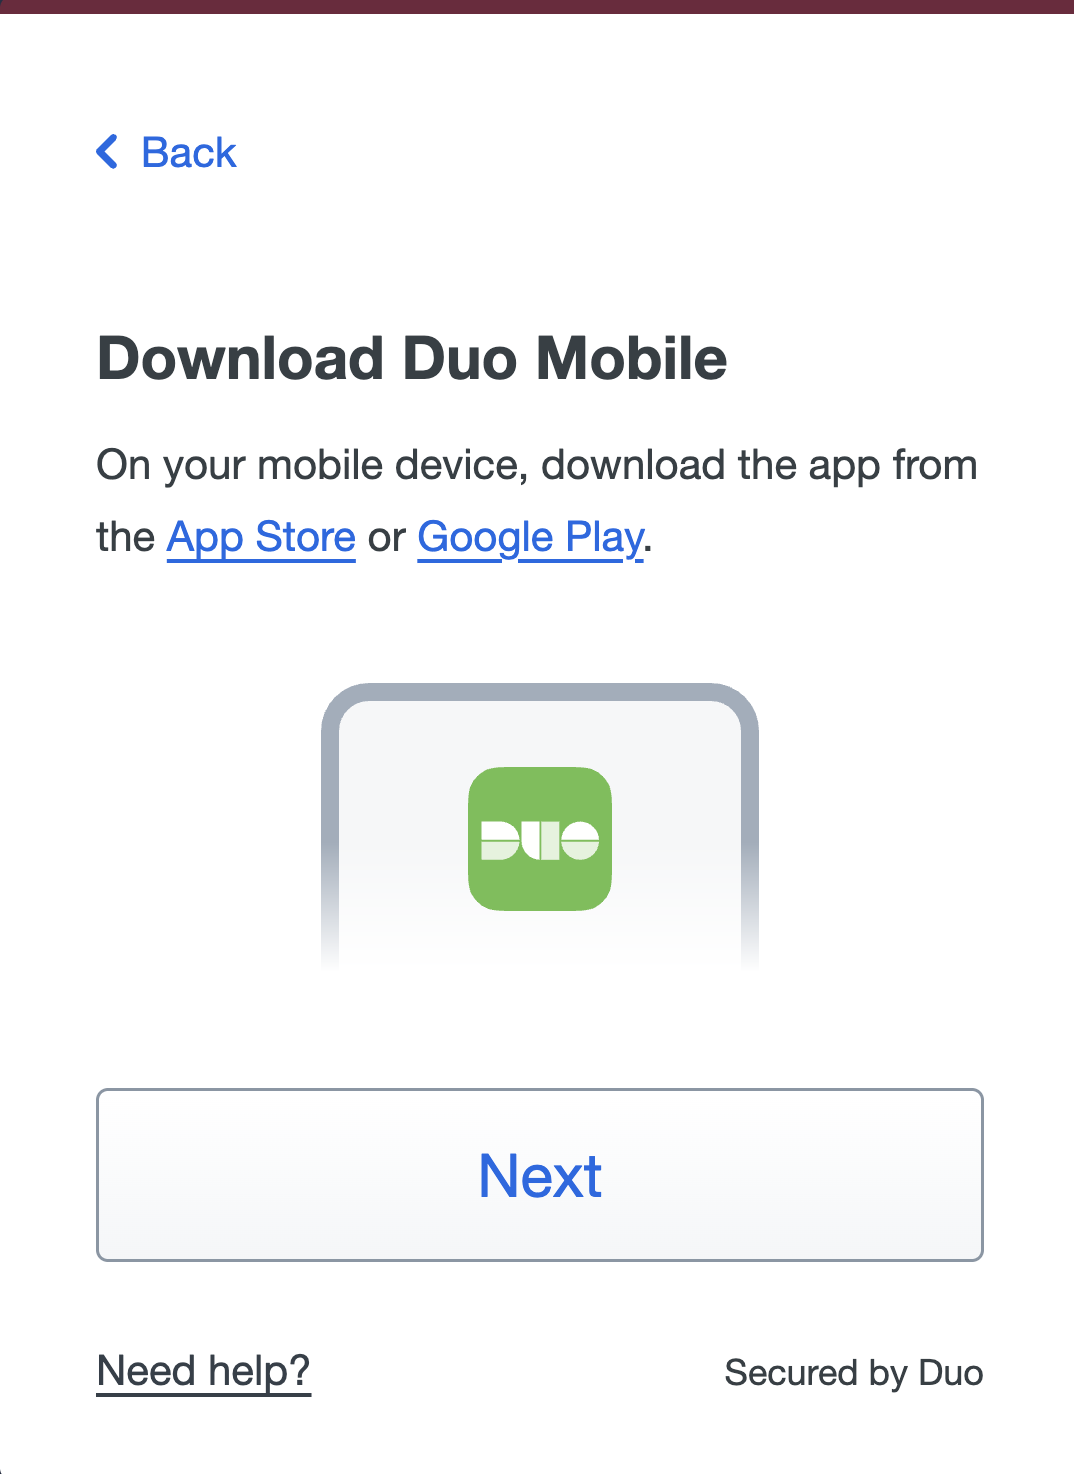
- Download and install the Duo Mobile app from the App Store on iPhone or the Play Store on Android, then click “Next”
- If you are completing activation on a desktop or laptop, scan the QR code with the Duo Mobile app on your phone
Warning
Do not scan the QR code shown in the example image below. It is only a sample. Scan the QR code shown on your own NetID activation screen.
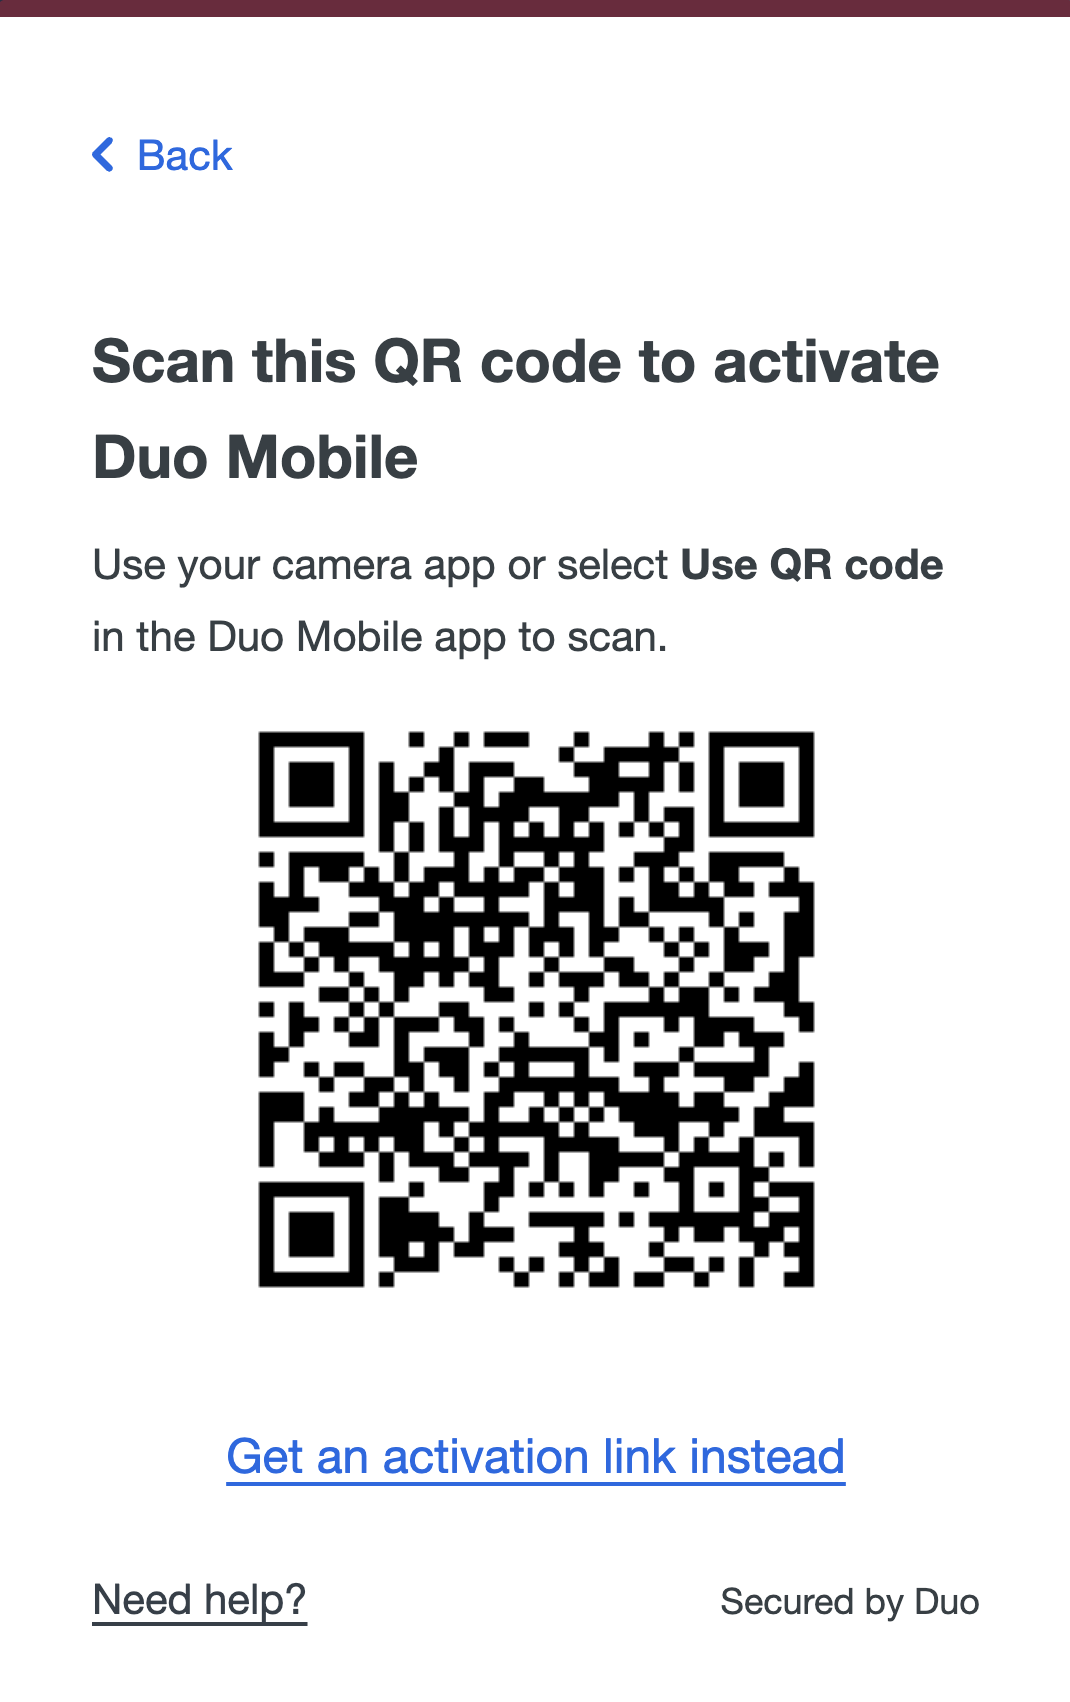
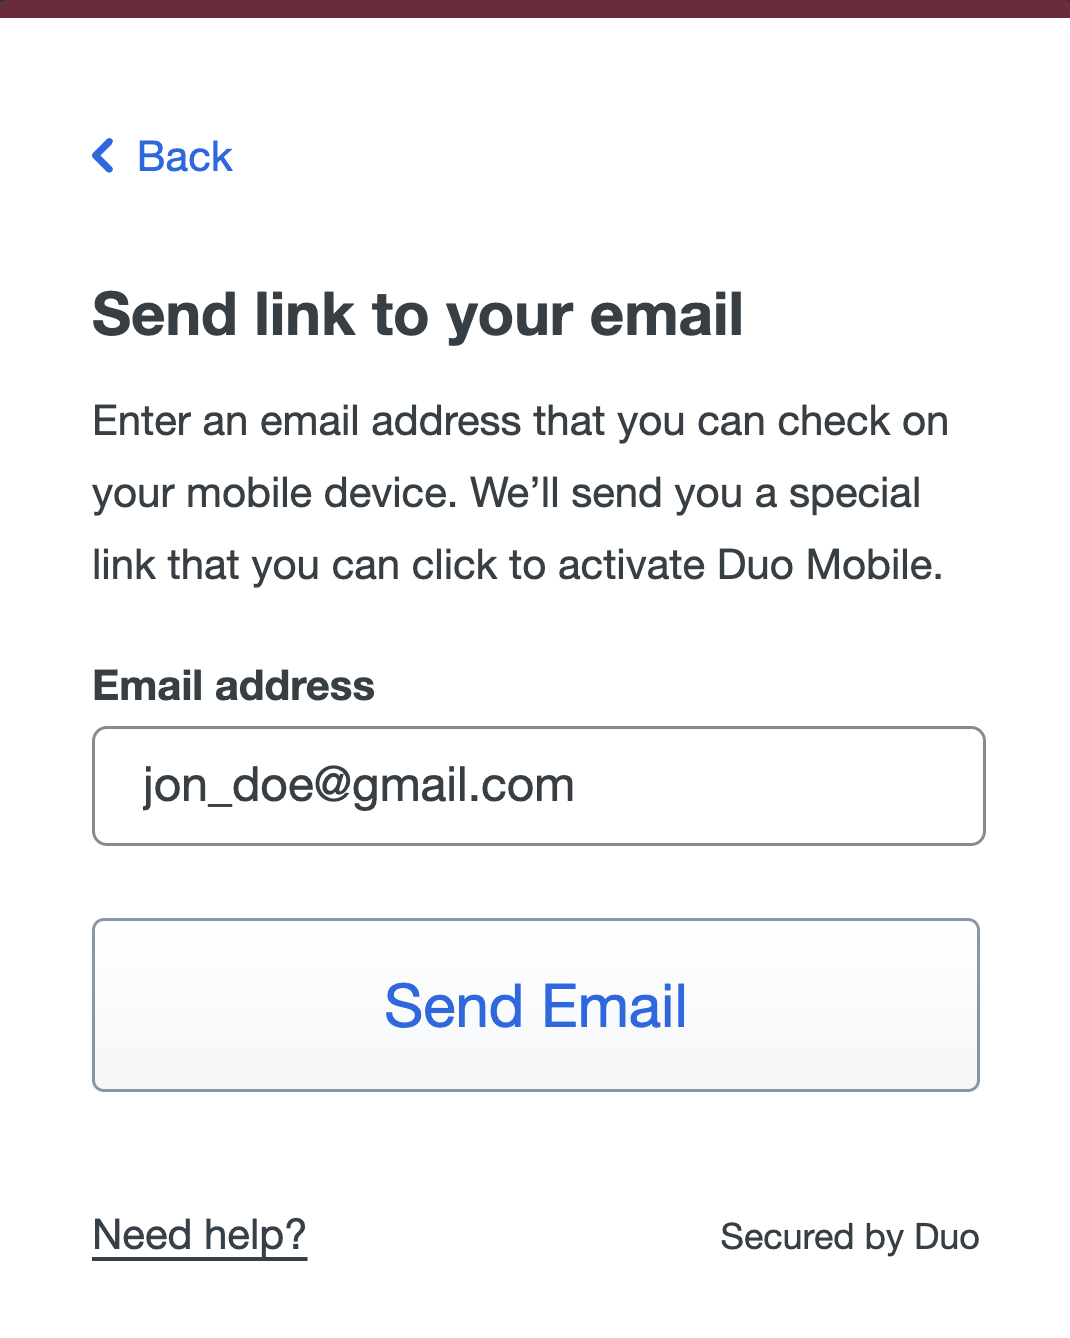
- If you are completing activation on your phone, click “Get an activation link instead” to send a link to your recovery email, then open the email on your phone and use the link to add the account to Duo Mobile automatically
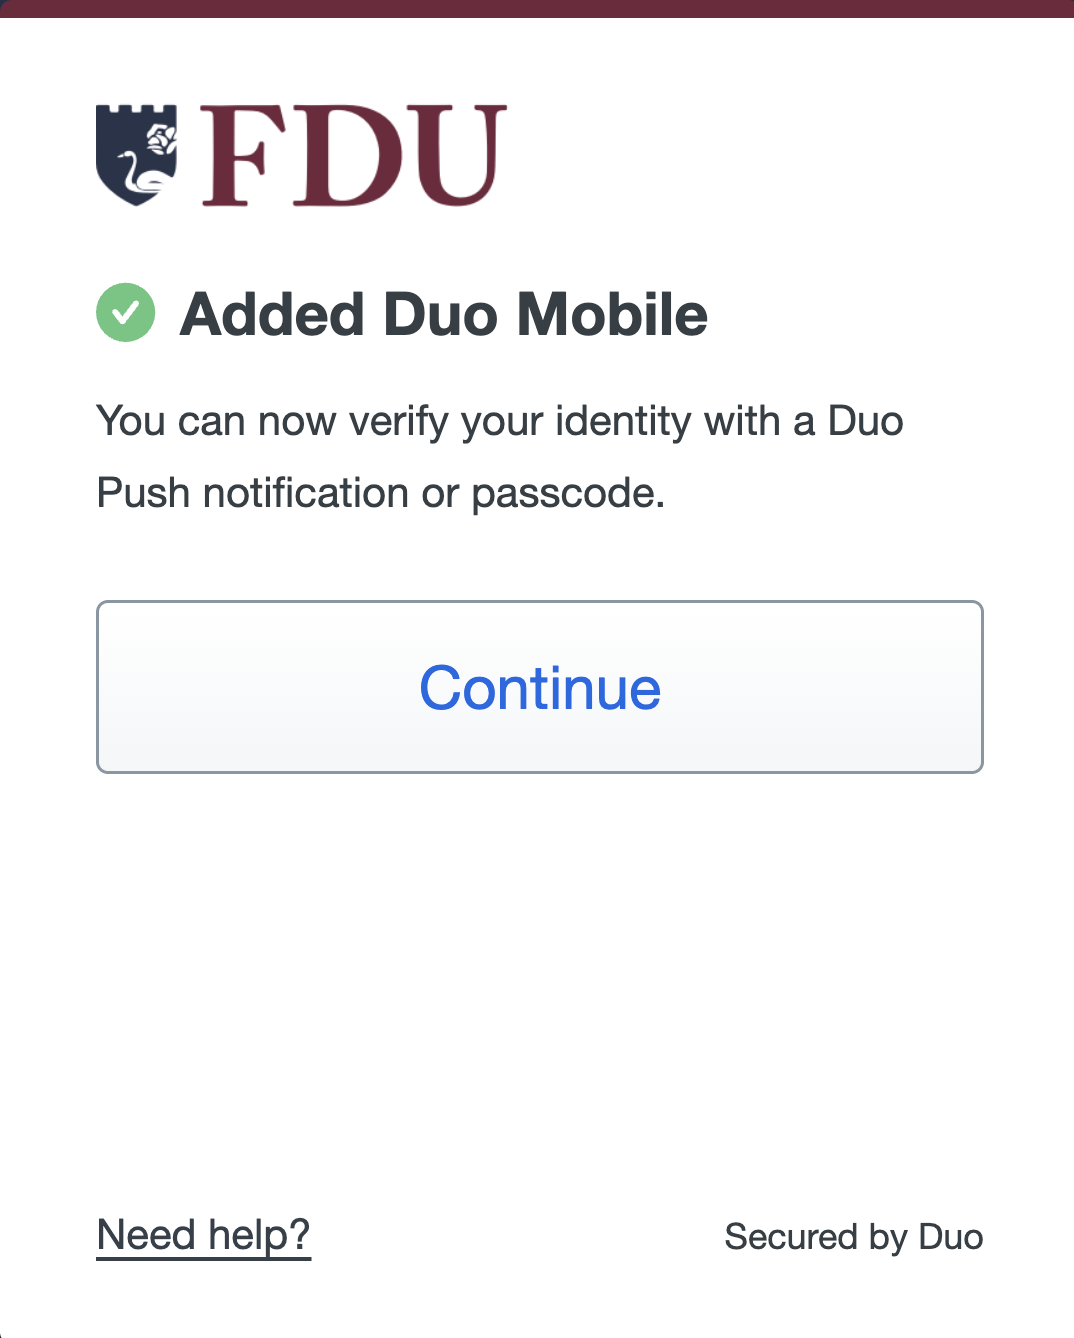
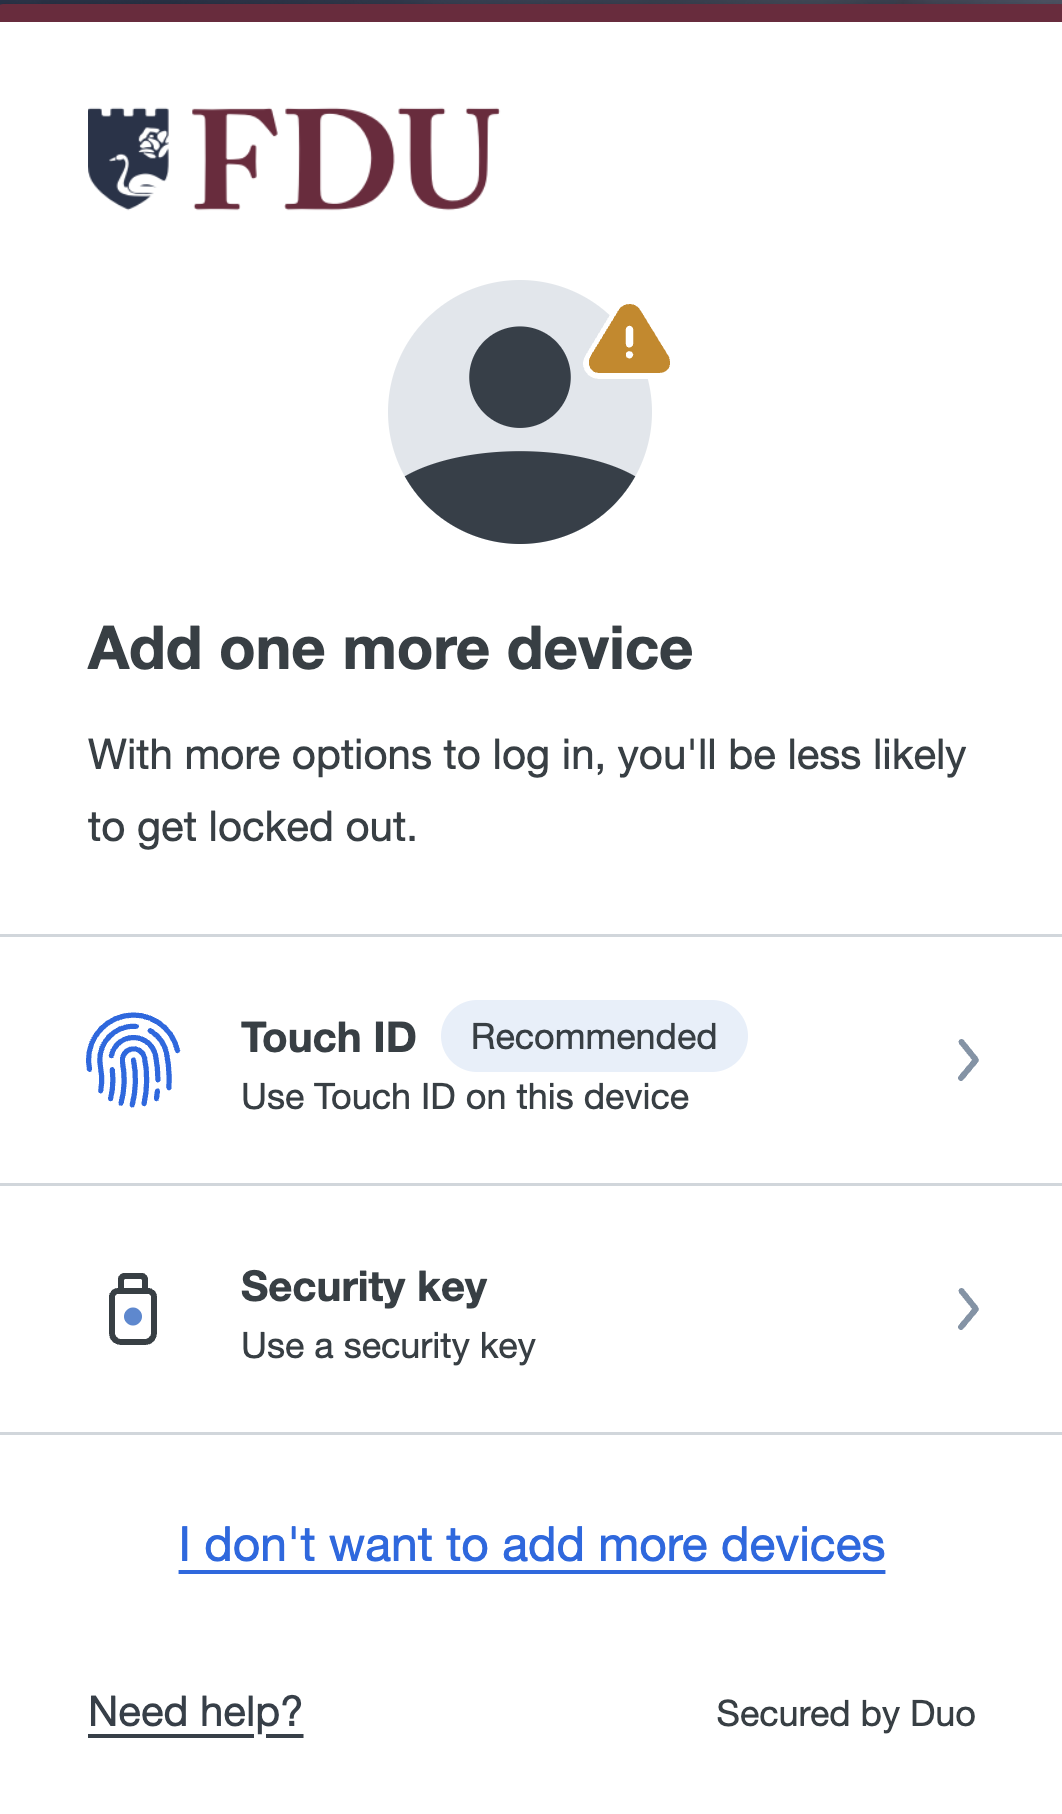
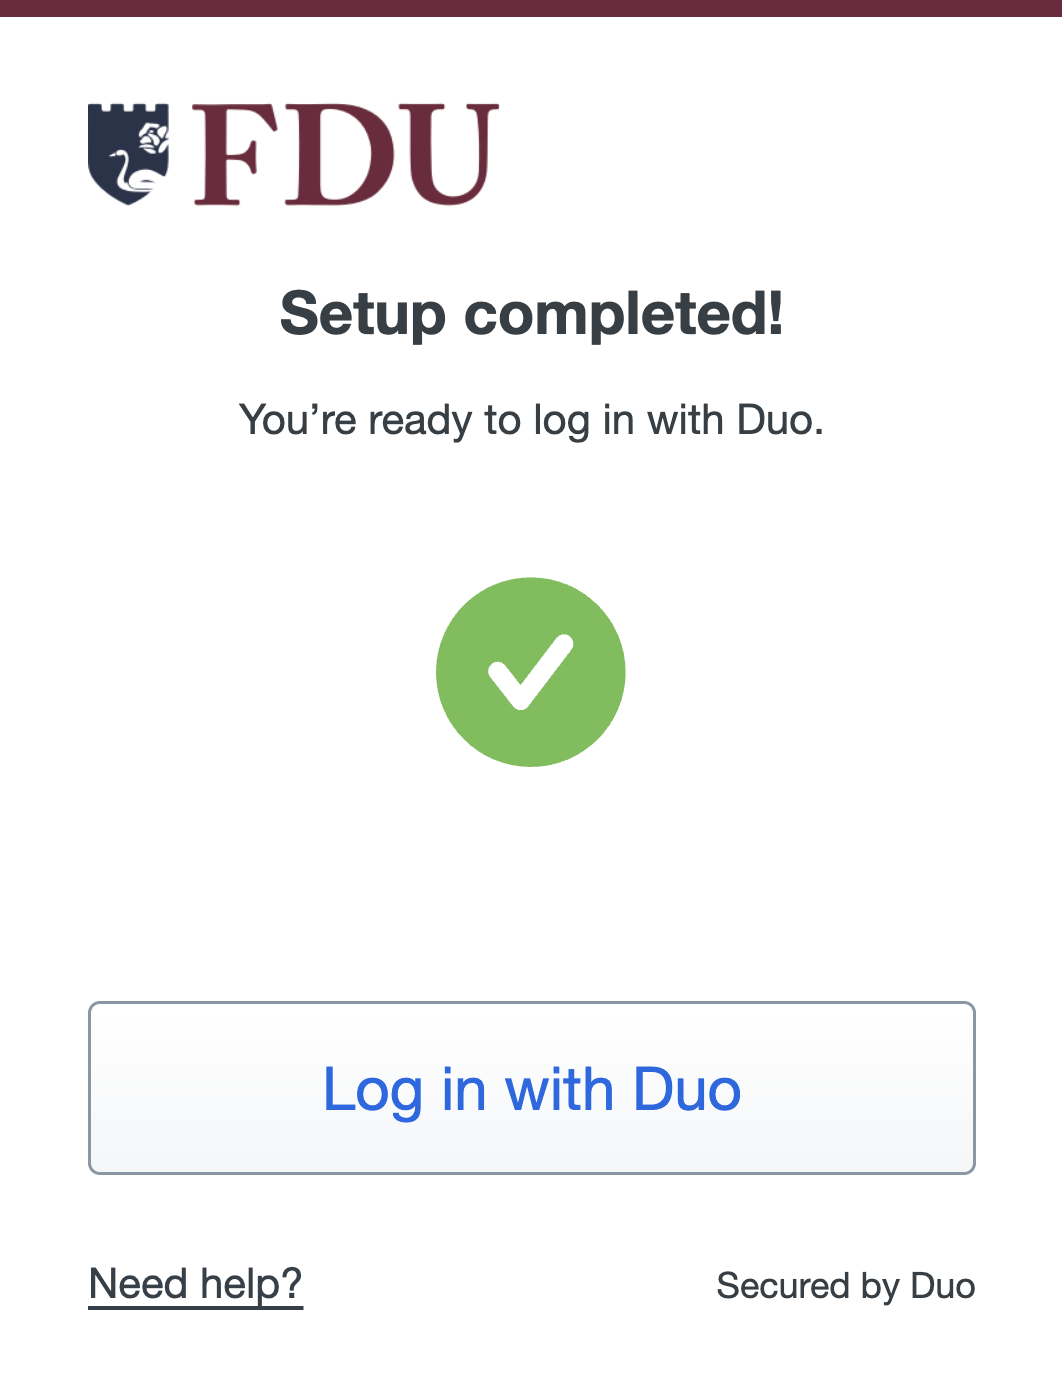
- Once your device is added, click “Continue”, choose whether to add more devices, and then click “Log in with Duo” to return to the FDU portal
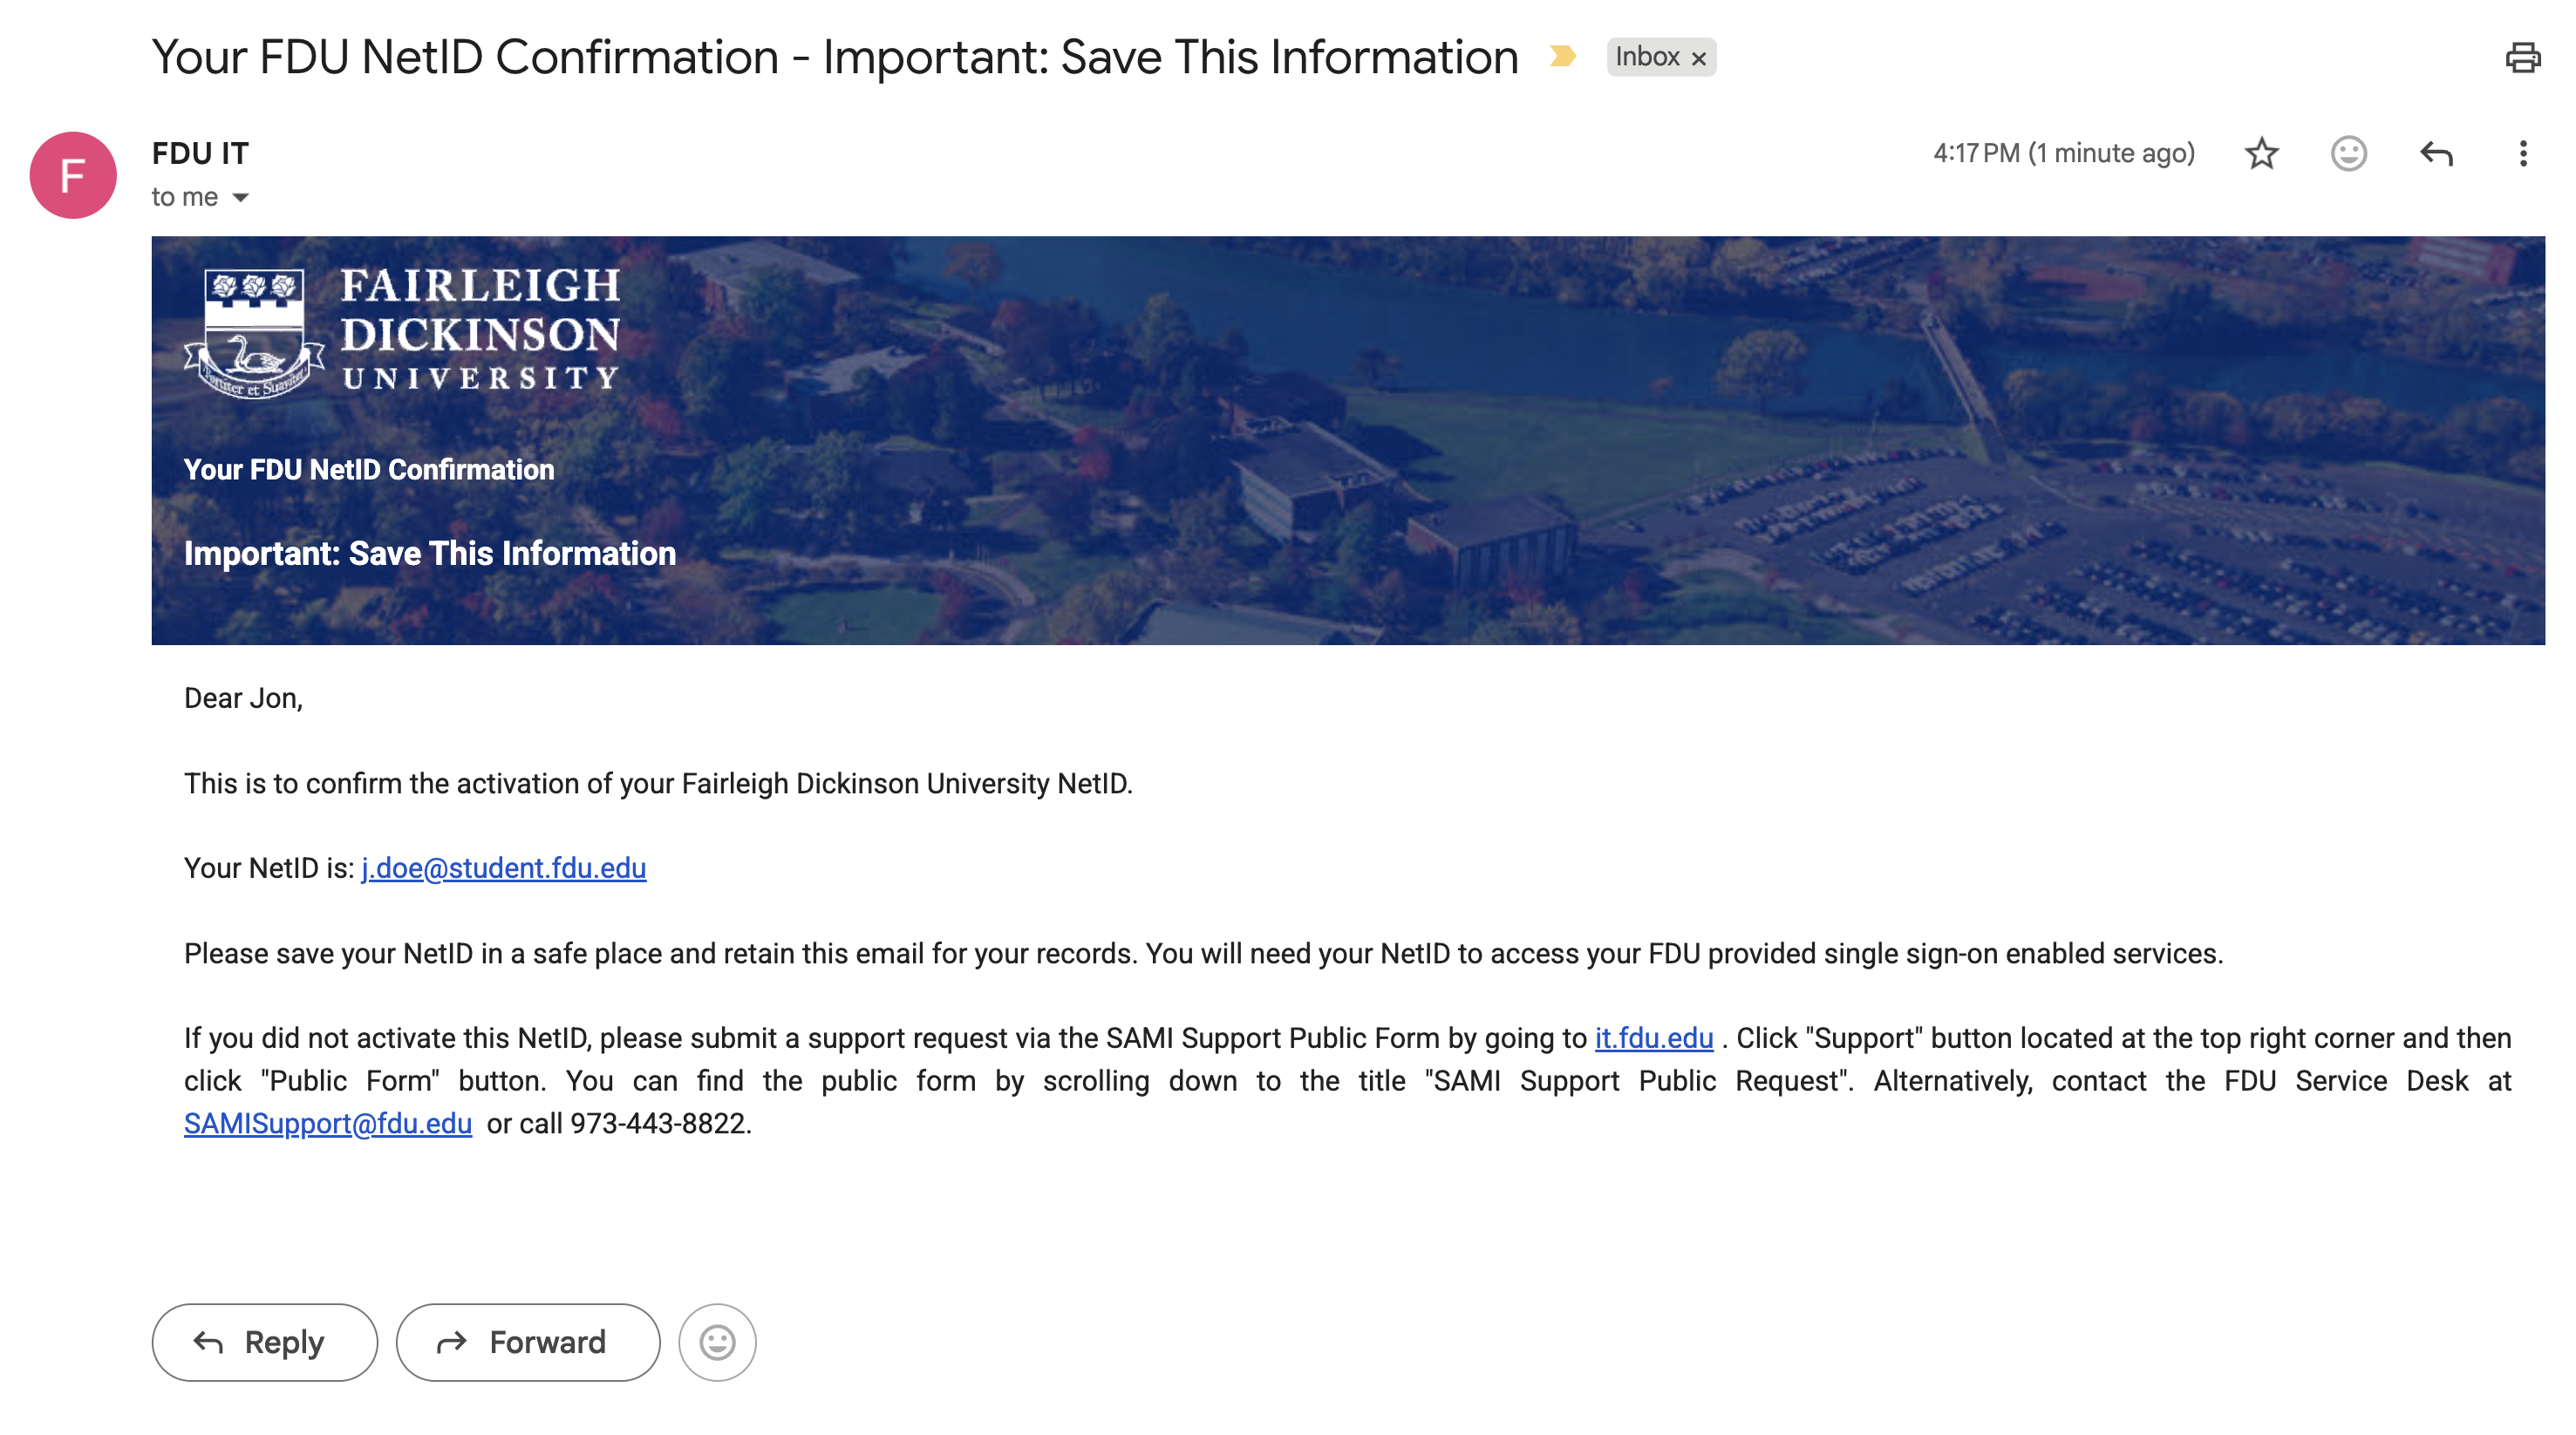
Step 4.5: Confirmation Emails
After you complete the security and Duo steps, the system sends confirmation notices automatically.
- Check your personal recovery email for a confirmation message
- This message confirms that your FDU NetID account is now active and gives you a record of your account details
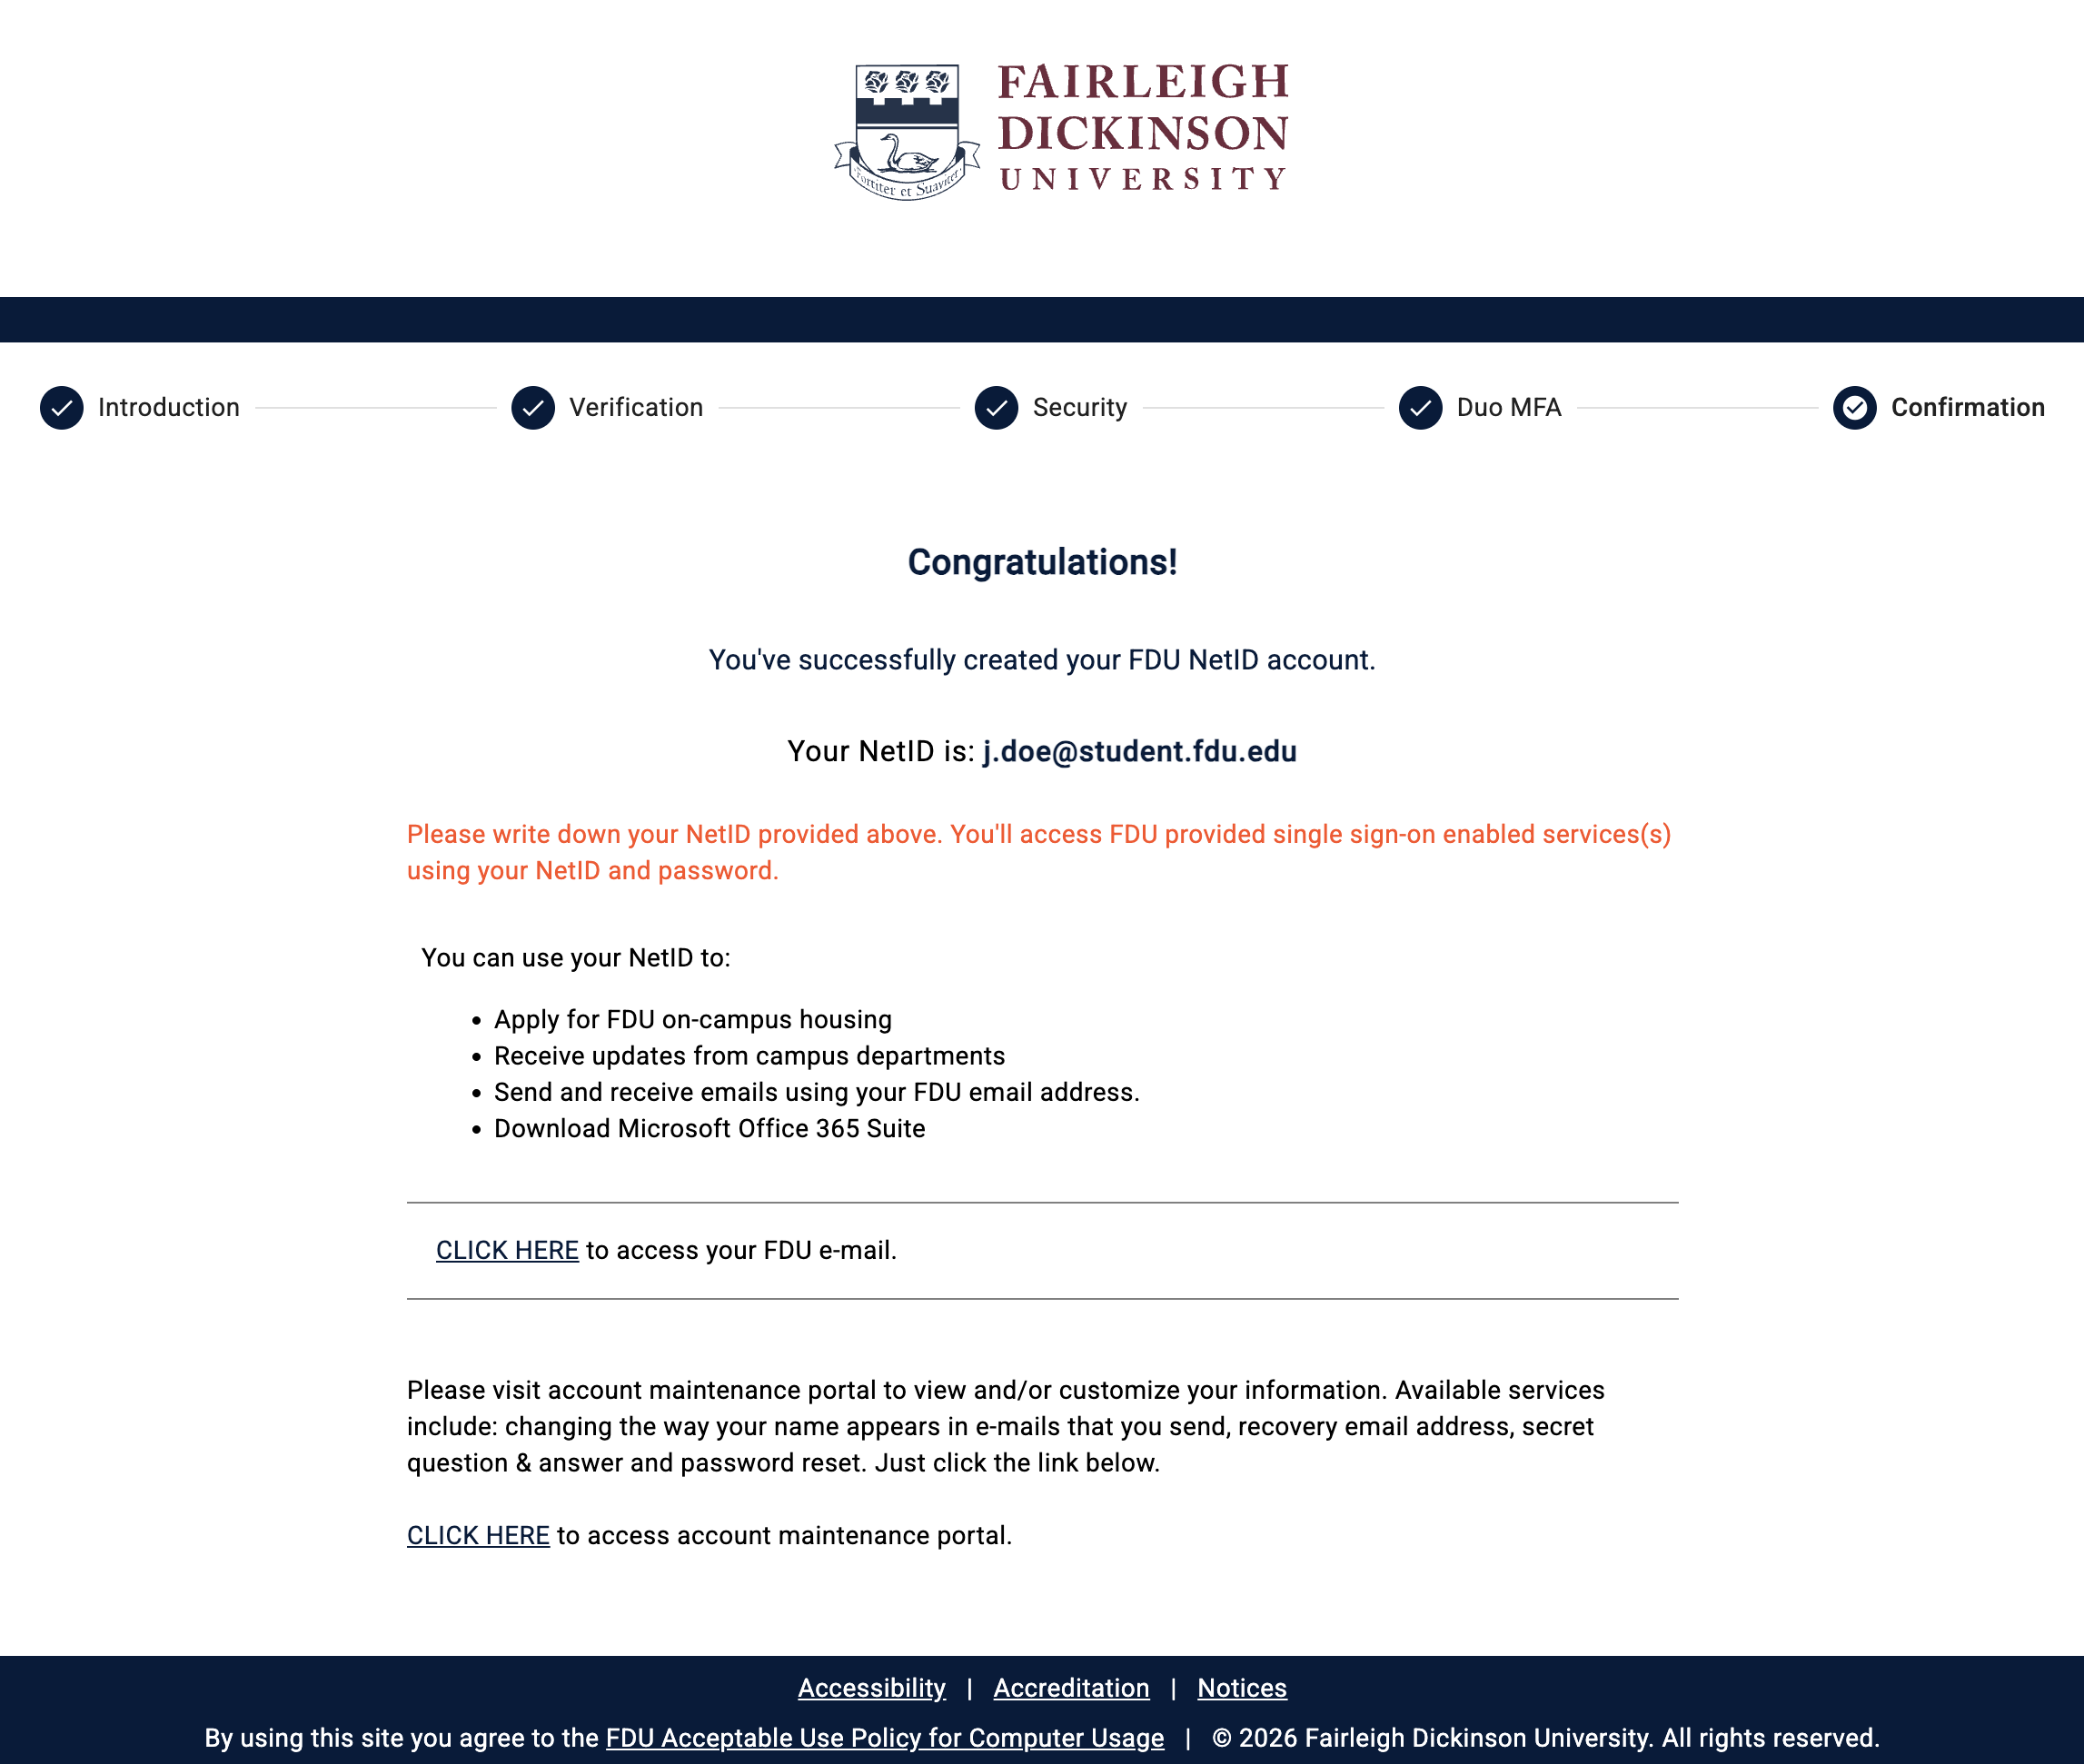
Step 5: Final Confirmation
The final page in the portal shows your account summary.
- Assigned NetID: Your new NetID, for example j.doe@student.fdu.edu, appears on this page
- Accessing Services: Use the links on the page to open your FDU Office 365 mailbox or the Account Maintenance Portal
SAMI Support
If you have any questions or concerns, please visit SAMI Support, where you can request additional information or search our extensive IT knowledge base. While SAMI Support provides the quickest and easiest access for IT support, you can always contact the SAMI Support Desk by phone (973)-443-8822 or email samisupport@fdu.edu.


