

If a student has granted you proxy access to Self-Service, you can create a proxy account and use it to view the information the student has shared with you.
Before you begin, have the Proxy User Invitation email and Invitation Code ready. You will register as a proxy, sign in, complete multifactor verification, and select the student’s profile.
Step 1: Start Proxy Registration
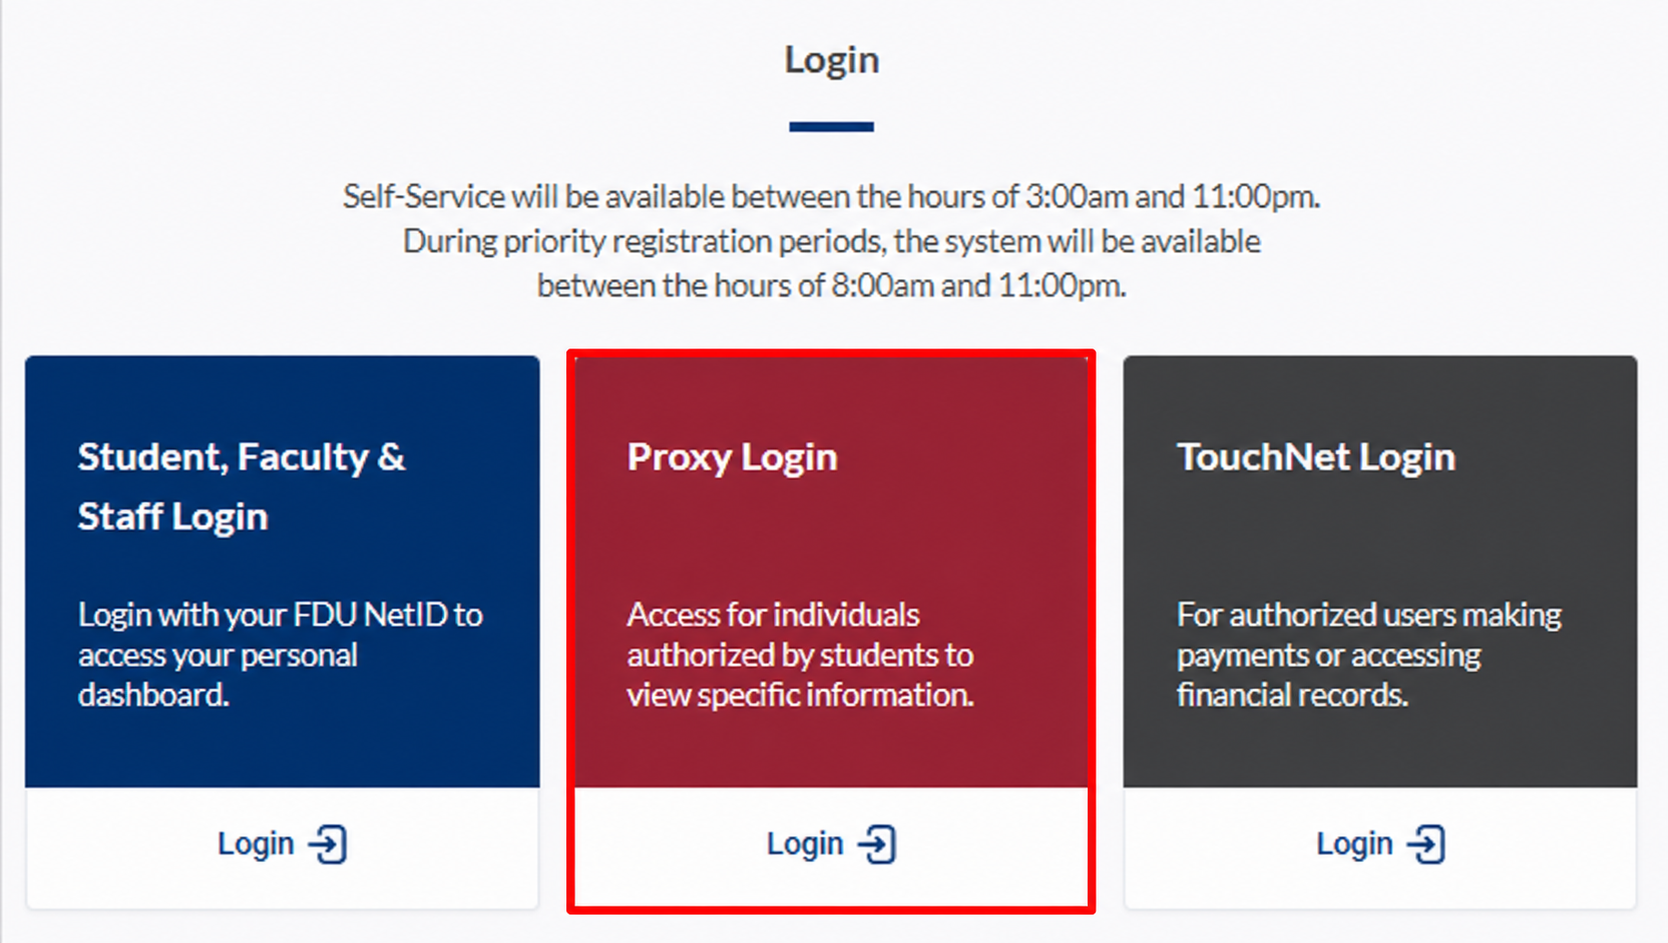
- After you receive a Proxy User Invitation email, go to selfservice.fdu.edu and click “Proxy Login”
Step 2: Create Your Proxy Account
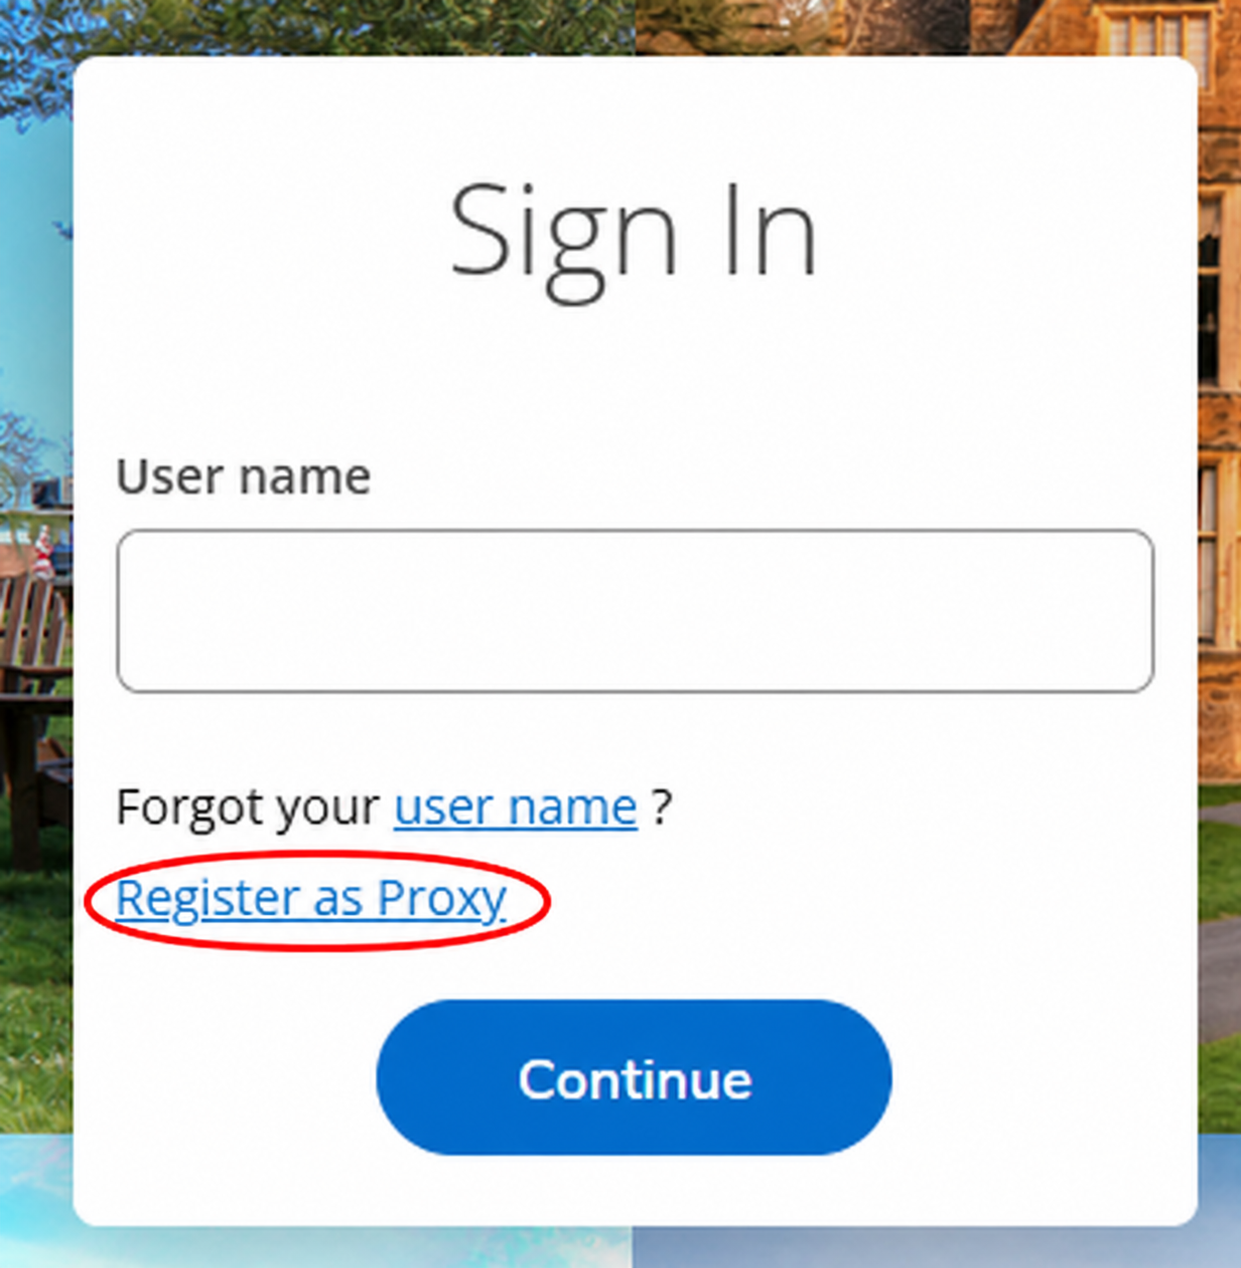
- Click “Register as Proxy”
Note
If you already registered as a proxy and have an account, skip to Step 3: Sign In to Self-Service.
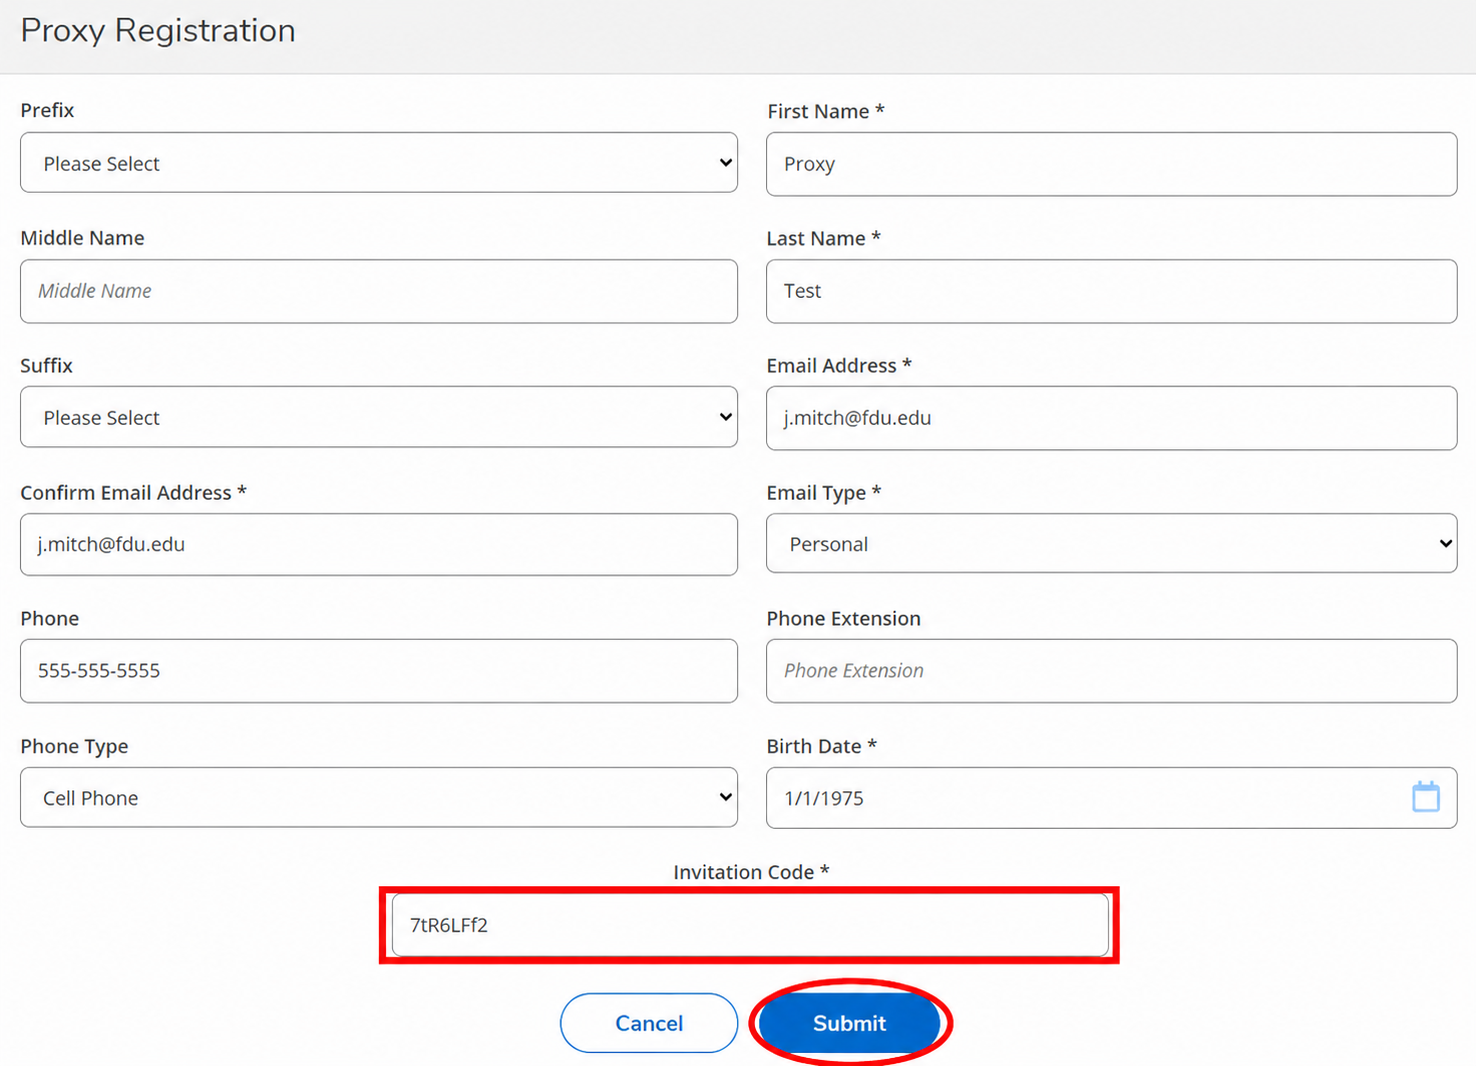
- Fill in all required fields, including the Invitation Code from your email, then click “Submit”
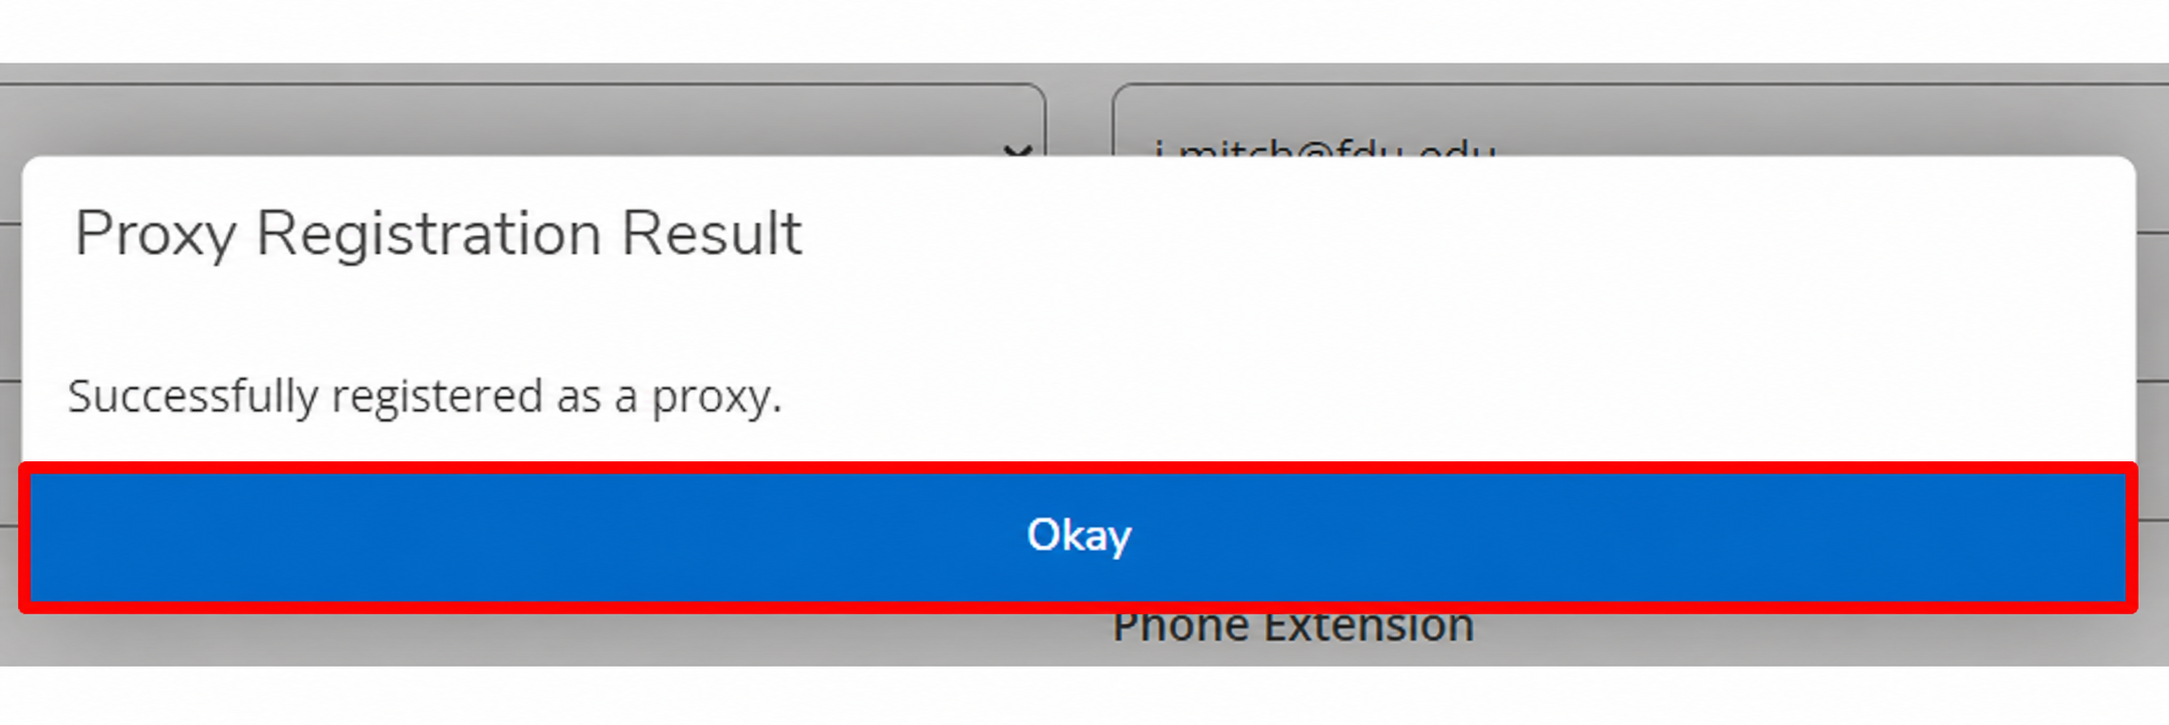
- When the registration confirmation appears, click “Okay” to return to the sign-in page.
Note
Check your email for your username and temporary password.
Step 3: Sign In to Self-Service
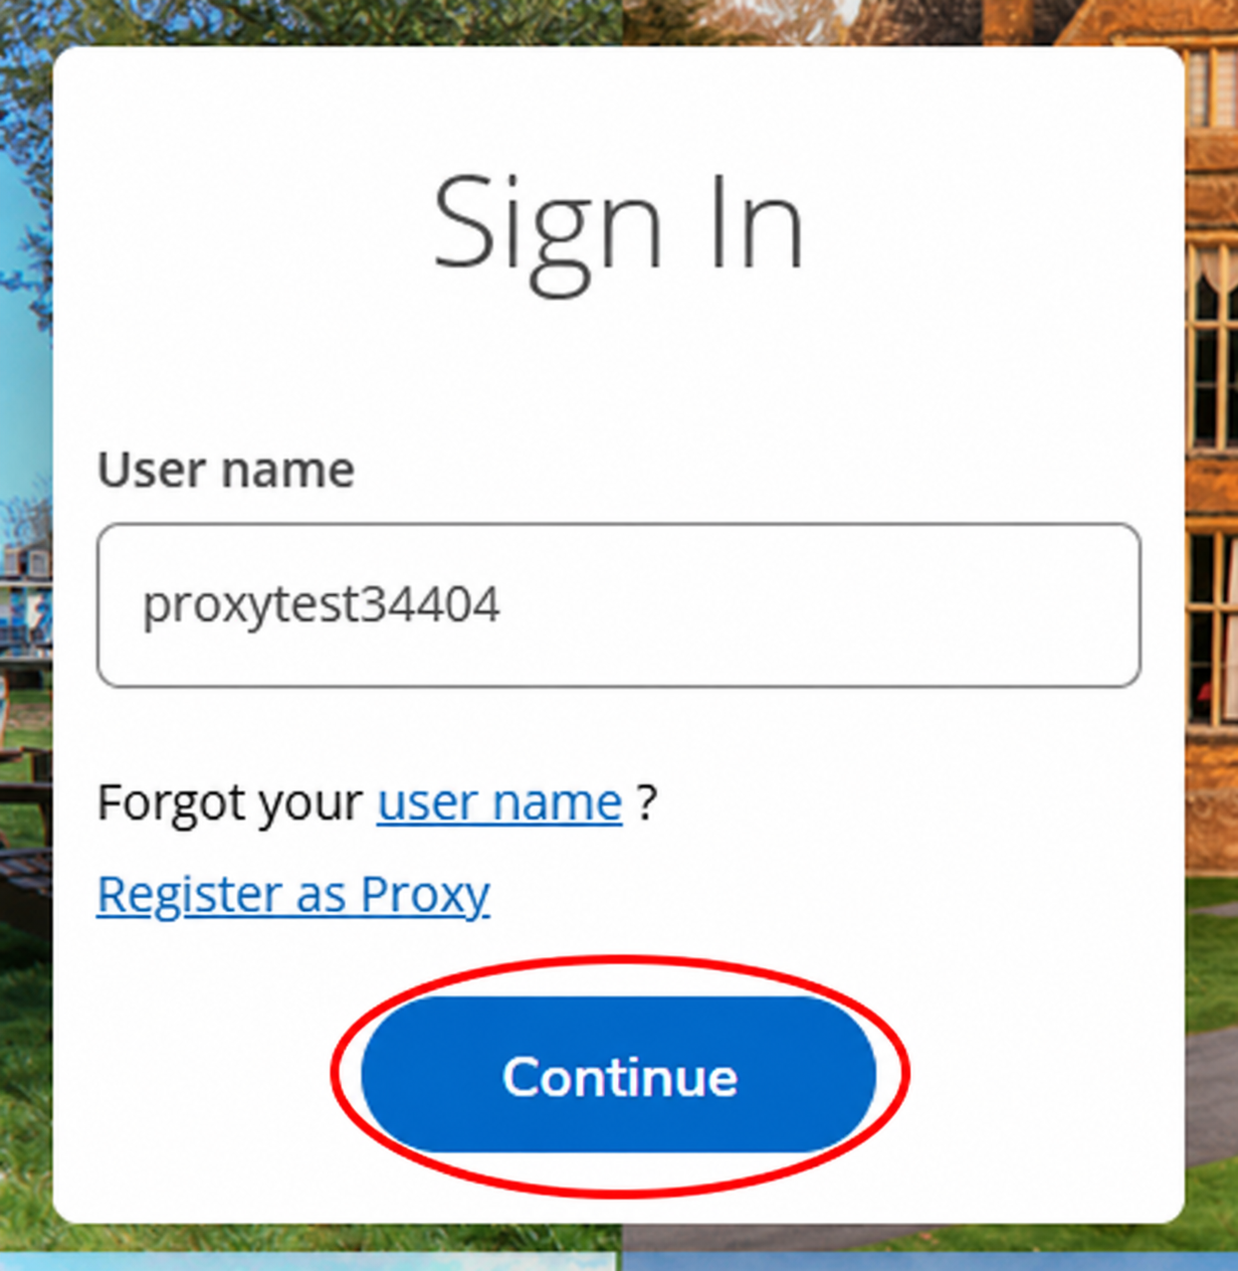
- Type your username and click “Continue”
Tip
If you lost your username, click “Forgot your user name” and follow the prompts to retrieve it.
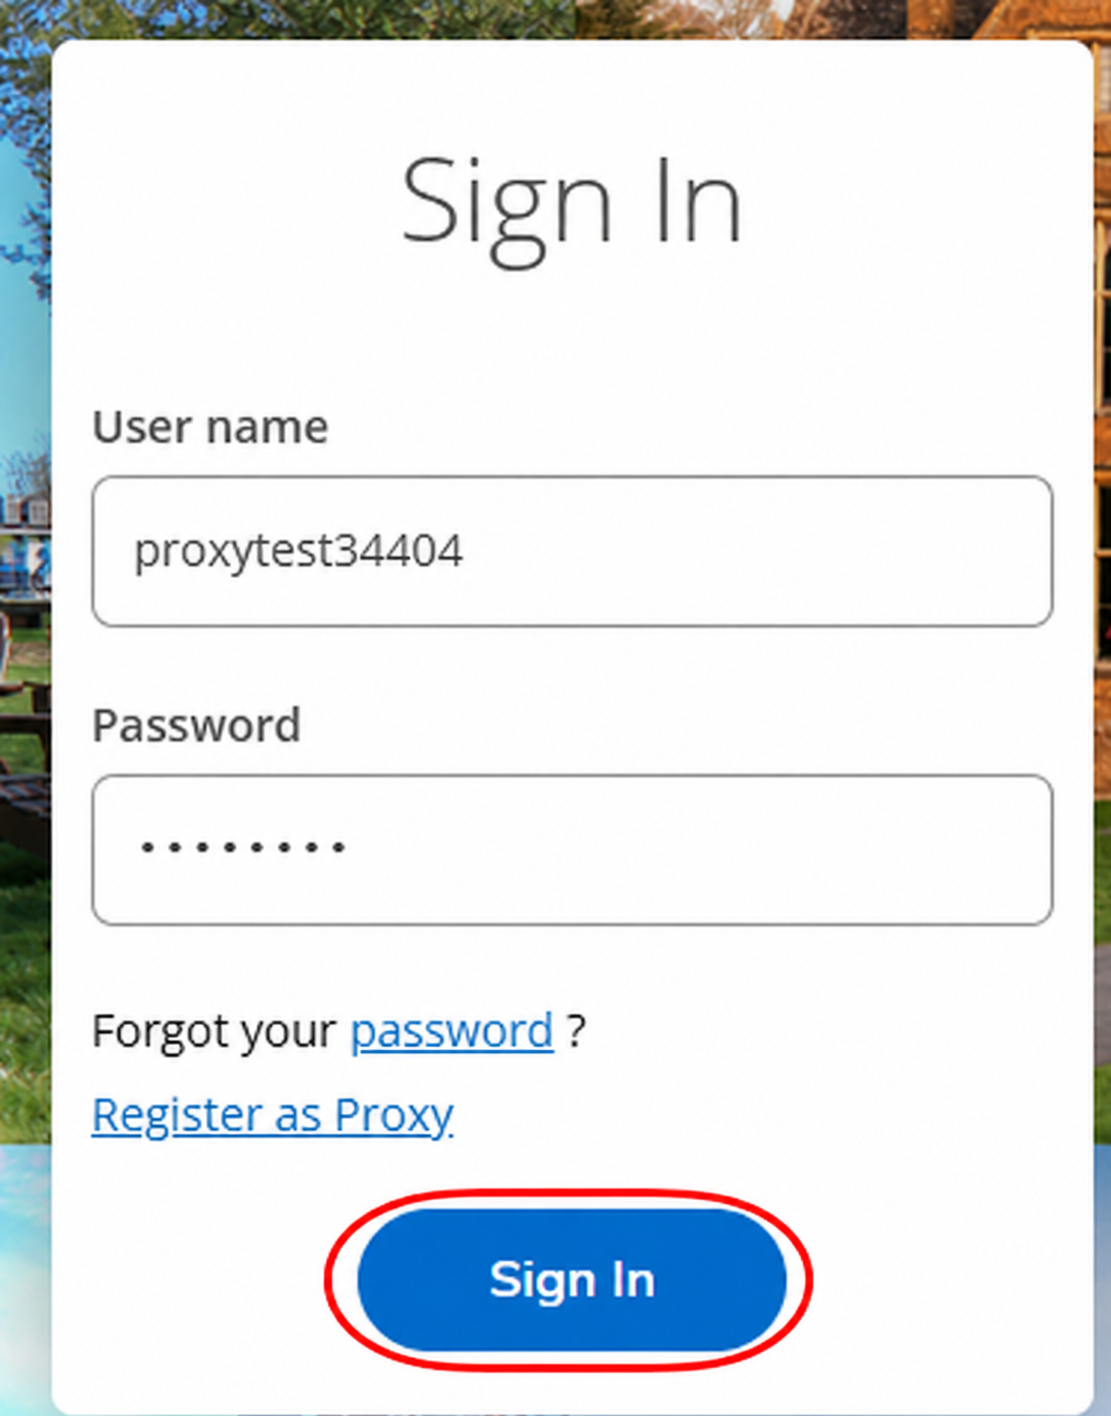
- Type your password and click “Sign In”
Tip
If you do not know your password, click “Forgot your password” and follow the prompts to reset it.
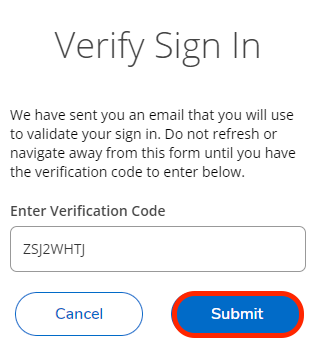
- After you sign in, you will receive an email with a multifactor authentication code. Copy and paste the code into the sign-in page, then click “Submit”
Note
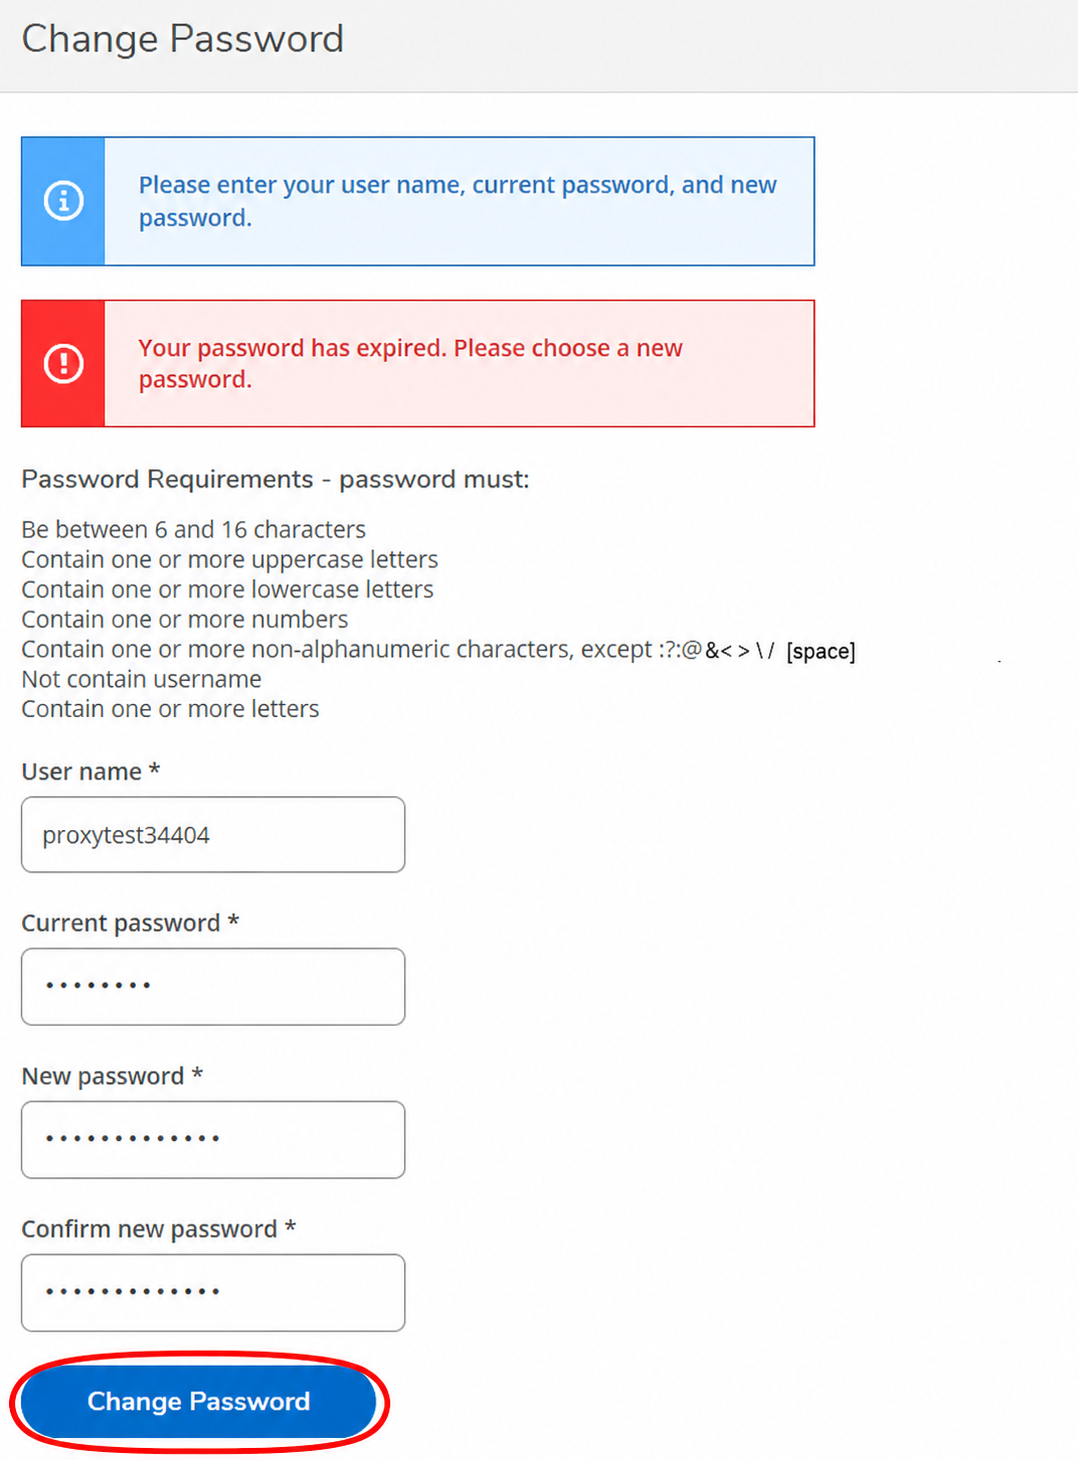
If this is your first time signing in, complete the Change Password screen, then sign in again with your new password.
Step 4: View the Student’s Profile
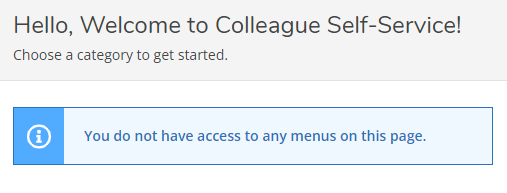
- If you see the message “You do not have access to any menus on this page”, switch to the student’s profile
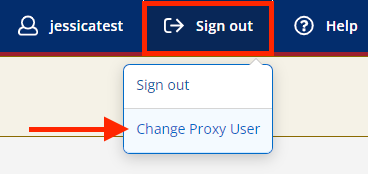
- Click “Sign out” at the top of the page, then select “Change Proxy User”
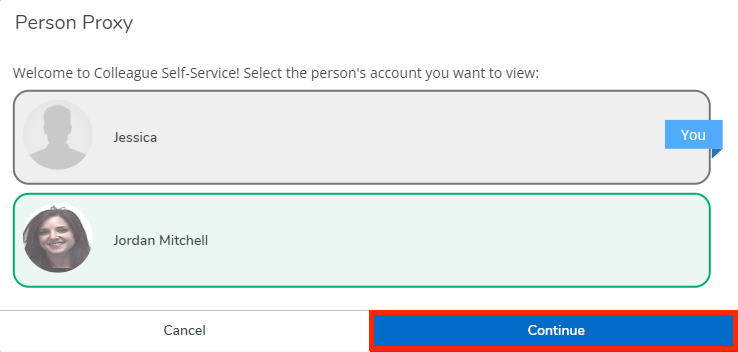
- Select the student’s profile, then click “Continue”
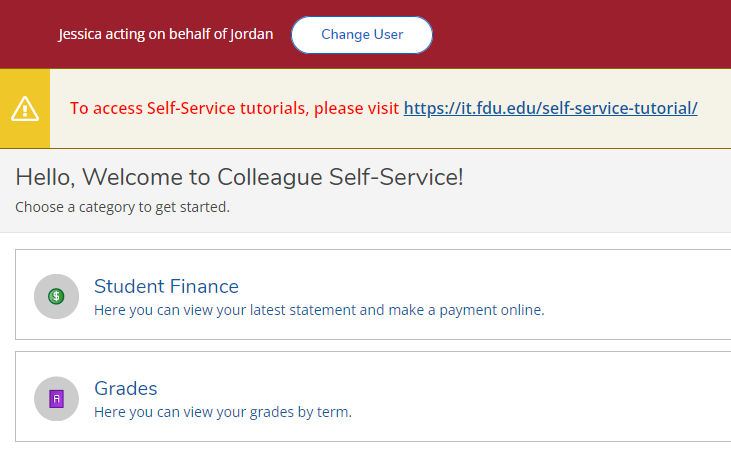
- Once you are viewing the student’s profile, use the menus on the left or the tiles on the homepage to access the information they shared with you
Technical Support
- SAMI Support Form: it.fdu.edu/support
- Phone: (973) 443-8822
- Email: selfserviceadmin@fdu.edu
 Feedback
 Copy Link


