The instructions below pertain to any Vancouver user that will use the Secure Print, Scan to email, and Copy functions of the Xerox printers.
Account Balances
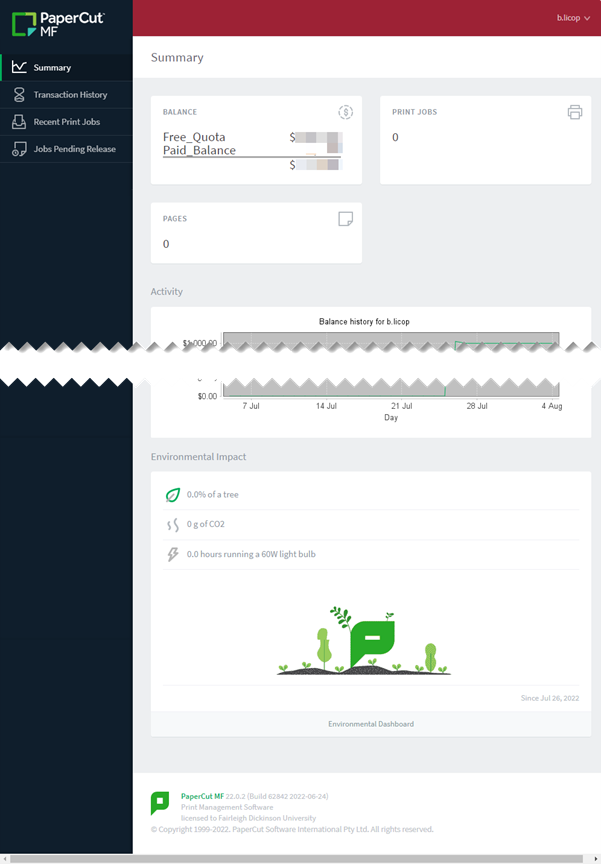
Vancouver users have the following account balances listed below:
- Free Quota, is a designated account balance that is applied to all the students and is auto-replenished on schedule – before the start of the semester. This is the first balance that gets deducted after which the secondary “Paid_Balance” goes into effect.
- Paid Balance is the amount credited onto a student’s account when they pay for extra printing credits.
Free Quota Account Balance Automated Replenishment
Each user listed below has a specified amount of Free Quota replenished according to a schedule:
- Adjuncts: $1000.00 replenished at the start of the school year
- Student IT Assistants And Student Workers: $200.00 replenished at the start of every school term
- Staff and Faculty: $1000.00 replenished at the start of every school term
- Students: $10.00 replenished at the start of every school term
Paid Balance Reload / Replenishment
The instructions below are for Students on how to reload/replenish their Paid Balances:
- Go to Enrollment Services to pay for the amount they wish to recharge
- Bring the receipt to IT Office to request the reload for their Paid Balance
- Users can either swipe their badge or use their FDU NetID and password to log in. To use your credentials press the “Keyboard” button on the top right of the screen
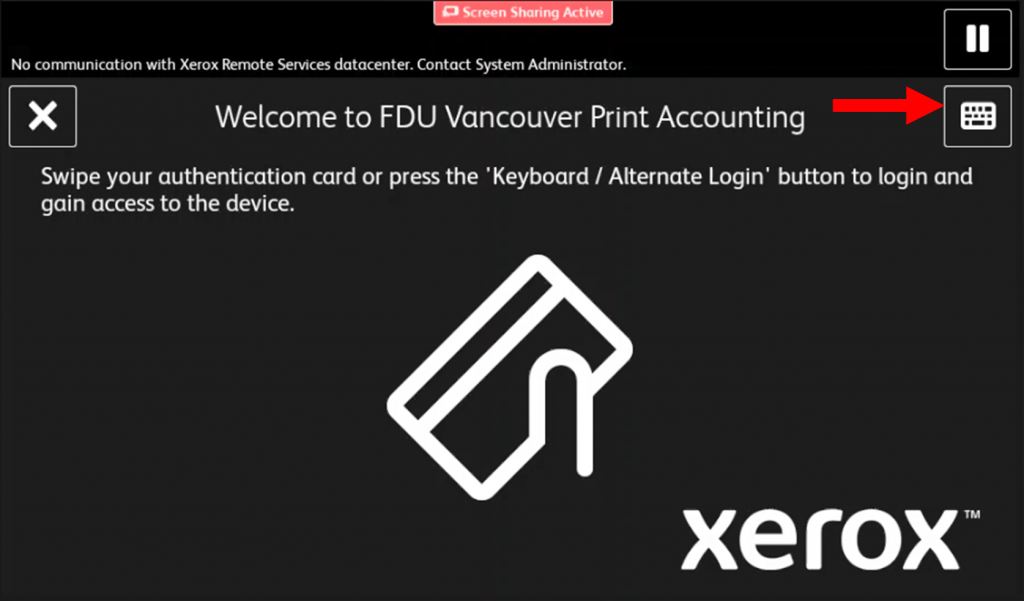
- If upon swiping your badge the following screen appears on the Xerox printer screen. Enter your credentials to associate them with your account. For a detailed walkthrough, play the video below:
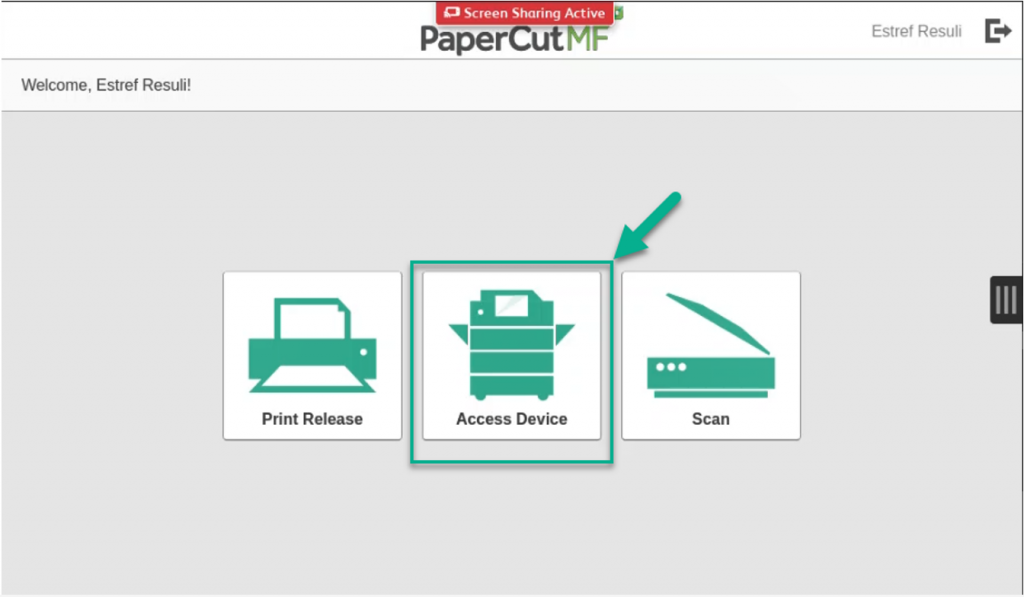
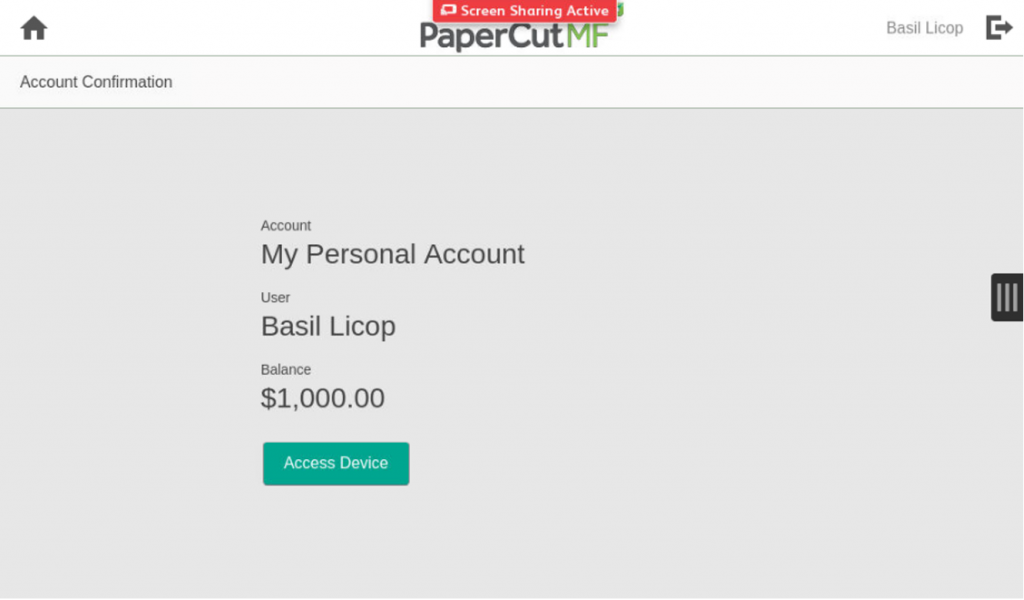
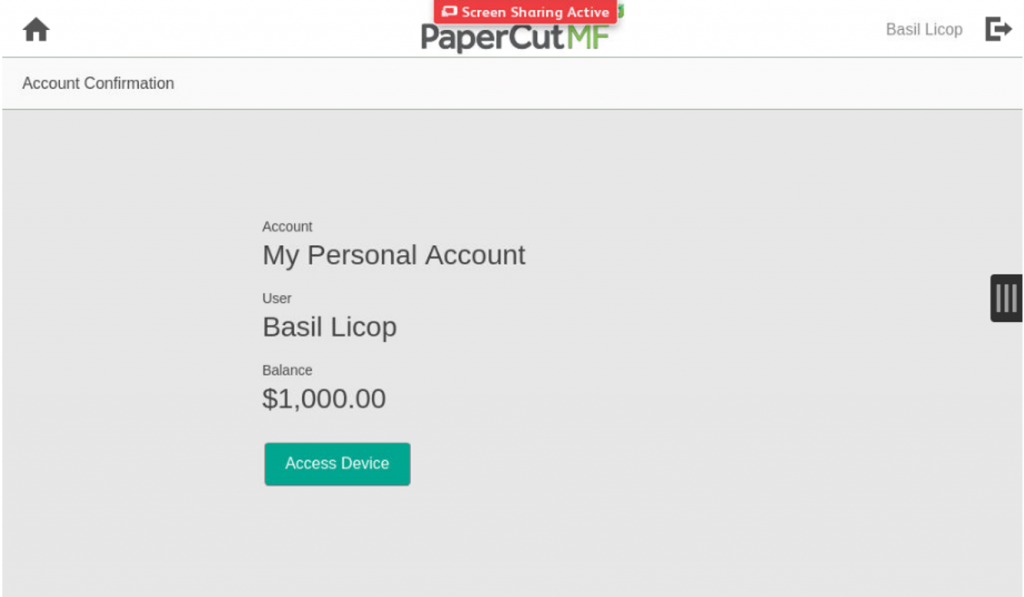
To check your total balance from the printer, log into that printer and press the “Access Device” button. The balance will be displayed on the screen.
- To release a print job after you have sent a print job to the appropriate printer and logged into that printer. Press the “Print Release” button
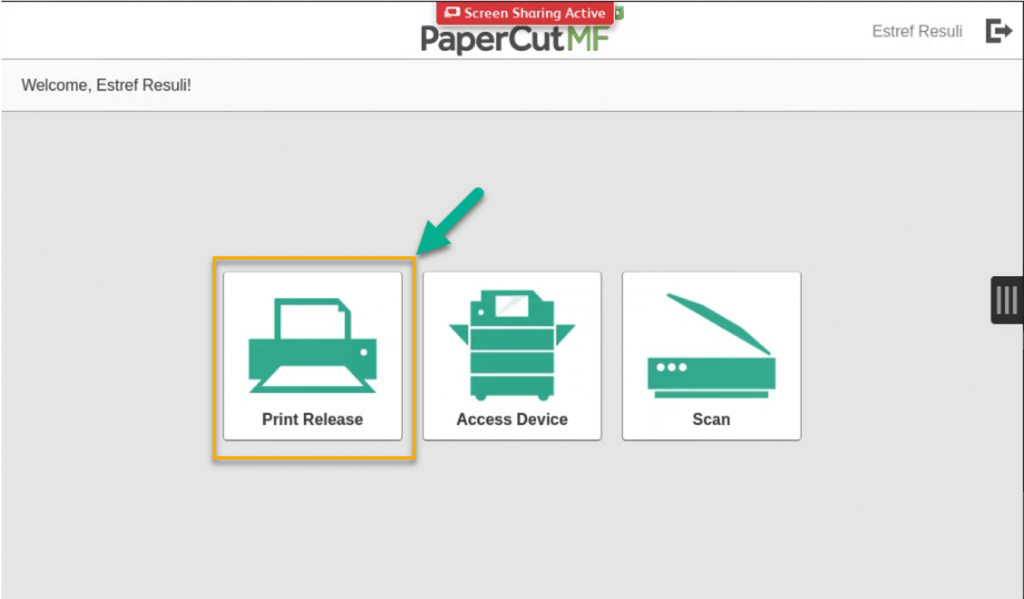
- To print all jobs under the queue press the checkbox above all the jobs (2) then press the “Print” button (5)
- To print a selection of the jobs, select the appropriate checkbox beside the jobs you want to print (3), then press the “Print” button (5)
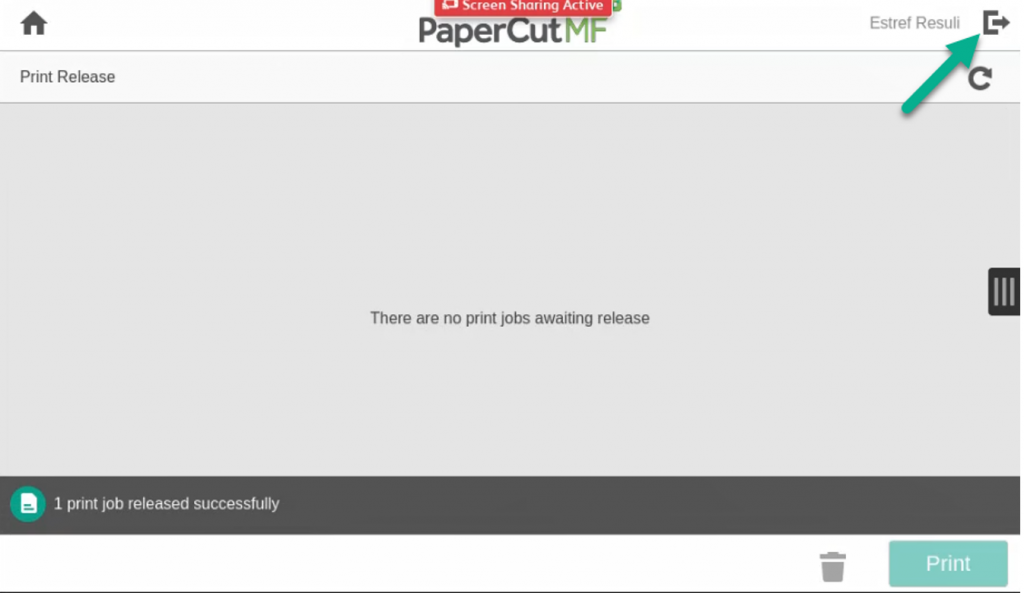
- To delete jobs from the printer’s queue, select the appropriate checkbox beside the jobs you want to delete (3), then press the “Trashcan” button (4)
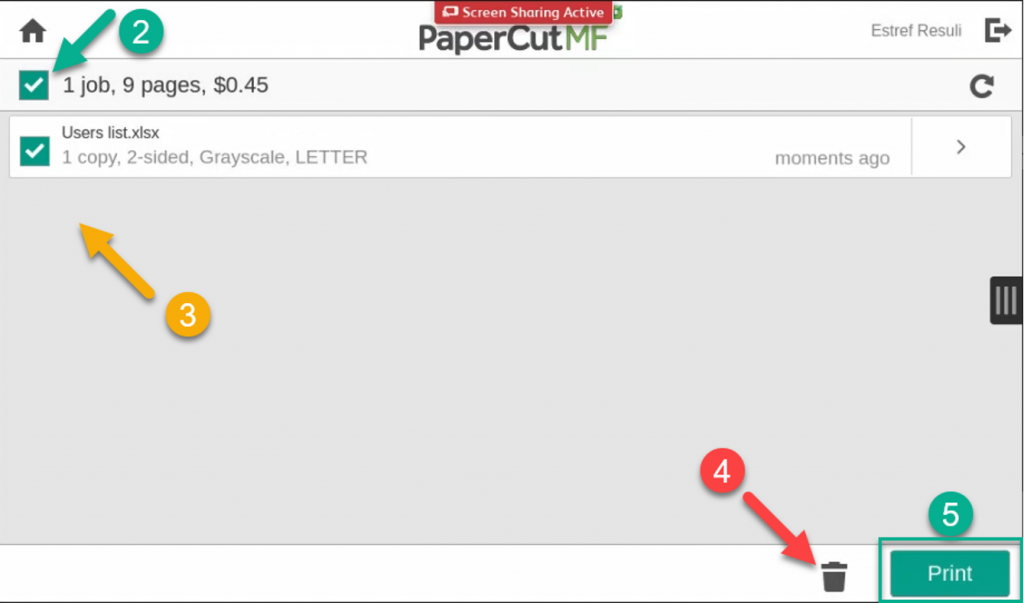
- To log off of the printer, press the “Log Out” icon on the top right next to your name
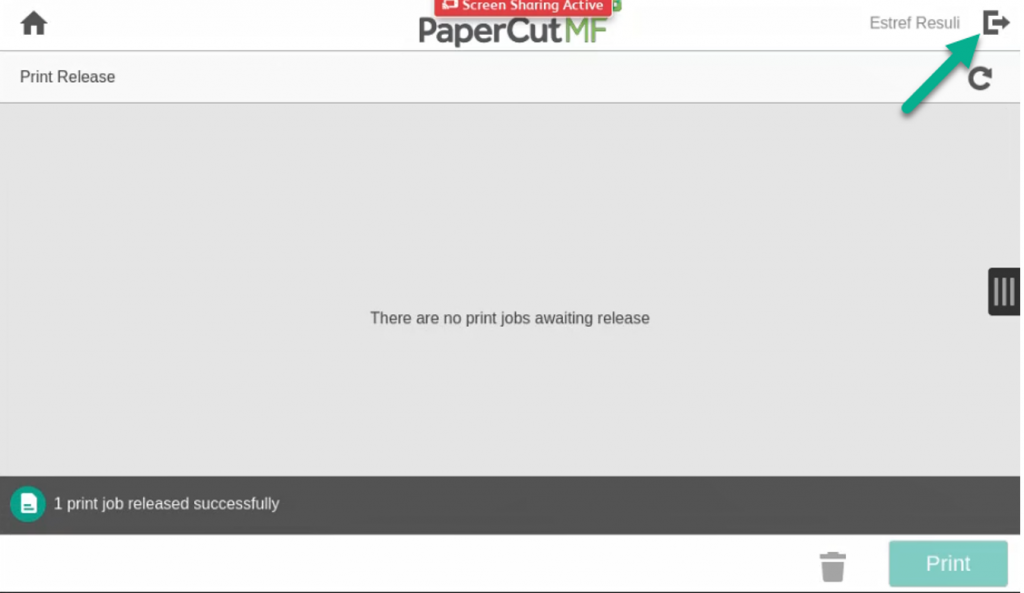
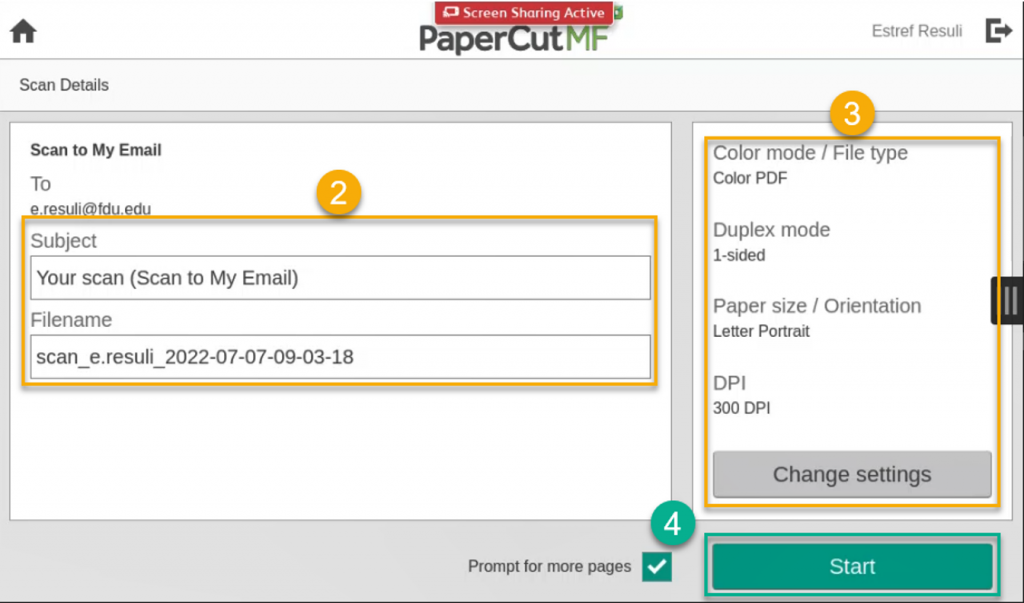
- To start a scan-to-email job, log into a printer and press the “Scan” button
- You can press the “Star“’ button (4) immediately to start scanning
- Optionally you can edit the Subject and Filename entries (2) and the scan settings (3)
- To log off of the printer, press the “Log Out” icon on the top right next to your name
- To start a copy job, log into a printer and press the “Access Device” button
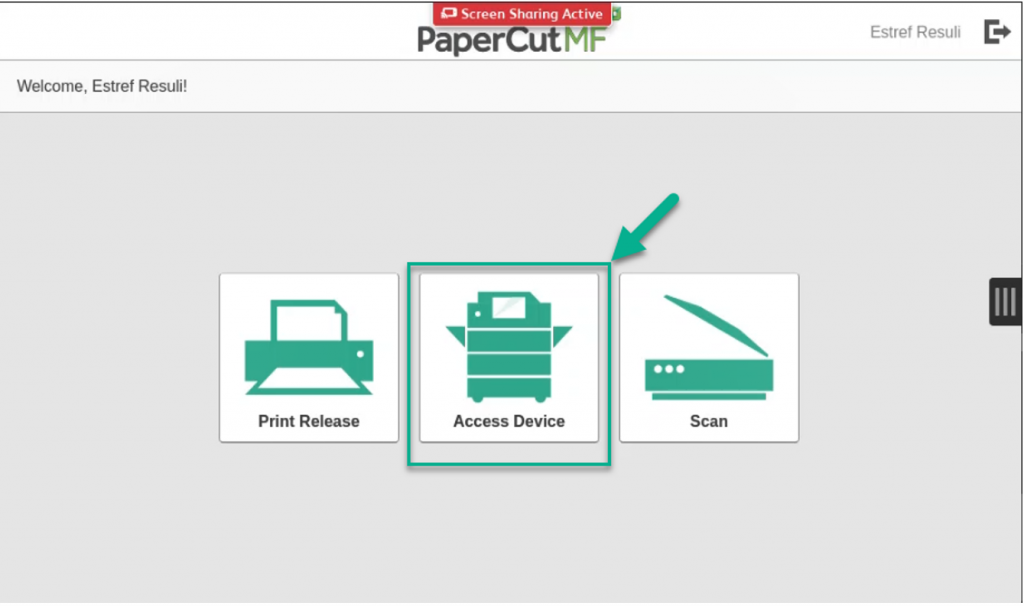
- Press “Access Device“
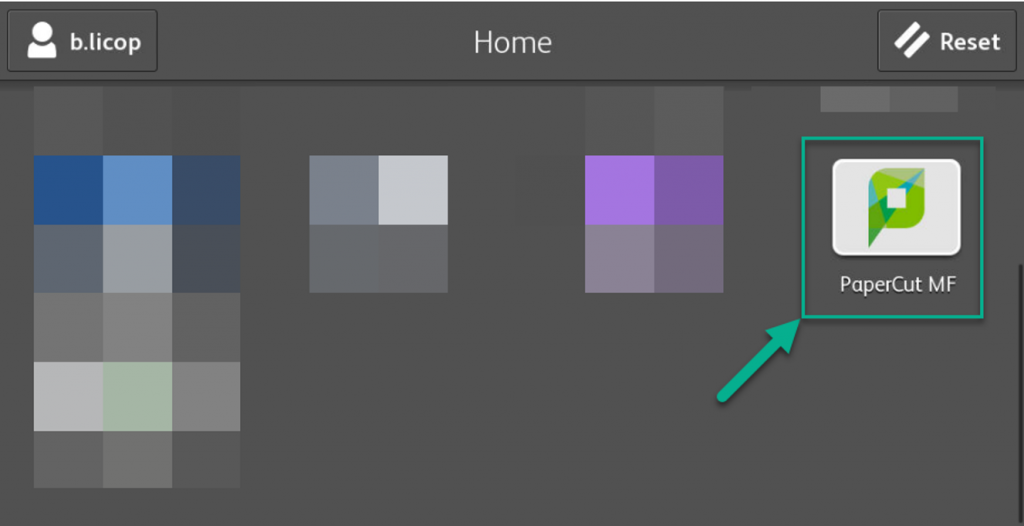
- To return to the PaperCut MF main screen, press the “PaperCut MF” button
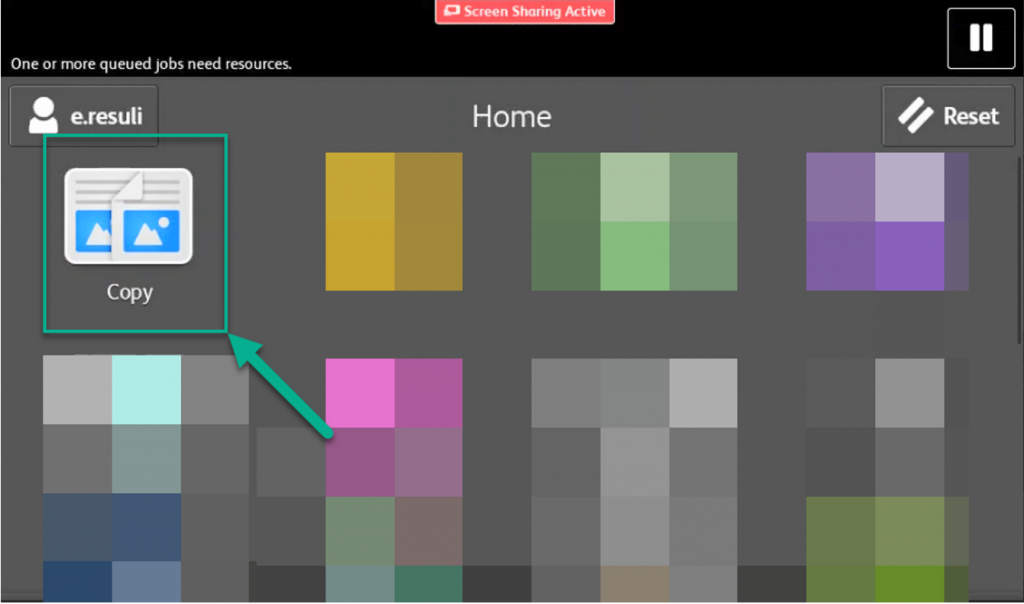
- To copy, press the “Copy” button
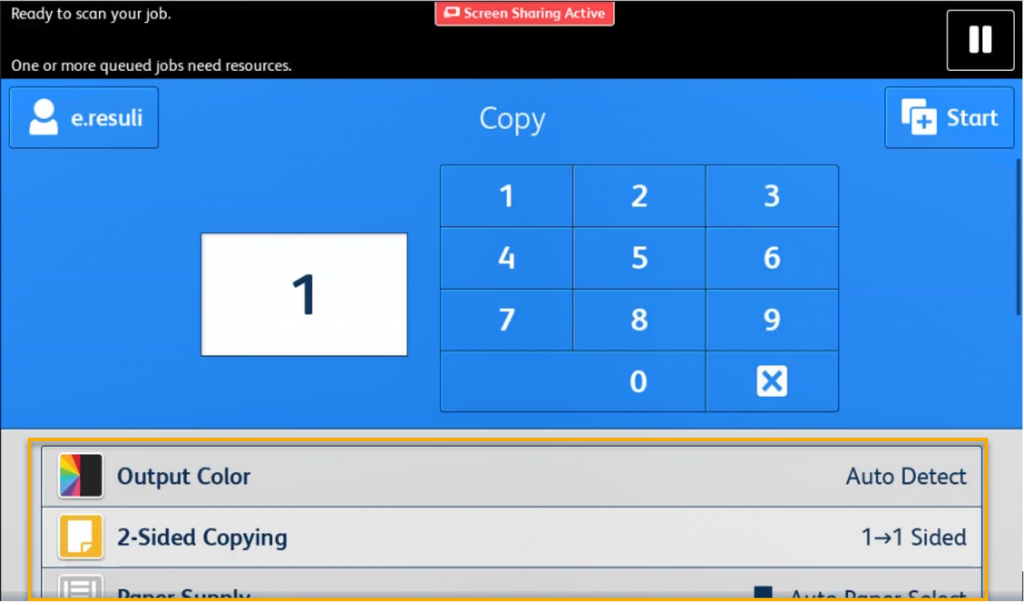
- Enter the number of copies and then press the “Star“’ button for the default selection (Auto Detect Color, 1-1 Sided copies). Optionally you can change the settings shown in the yellow box below, then press the “Star” button
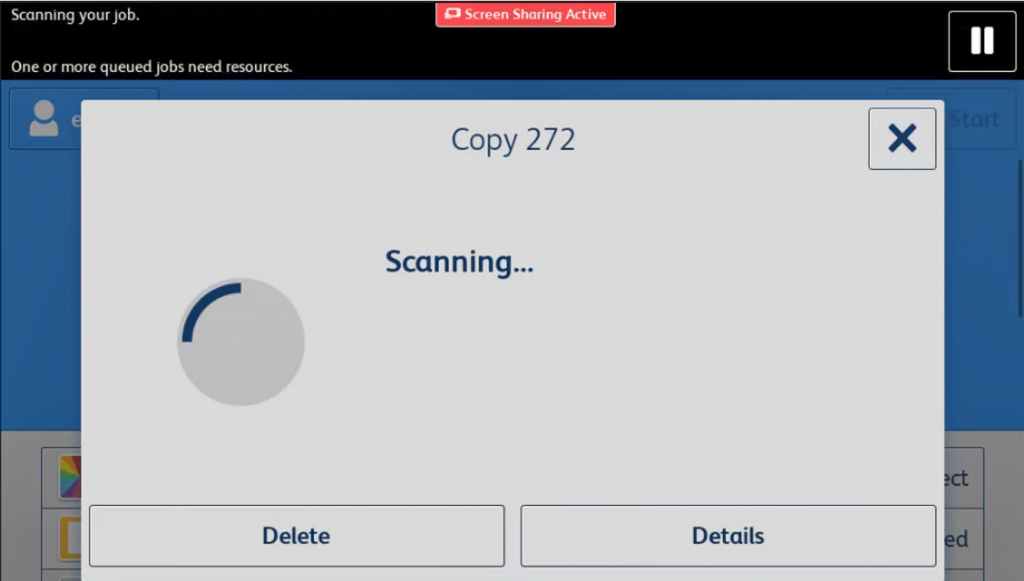
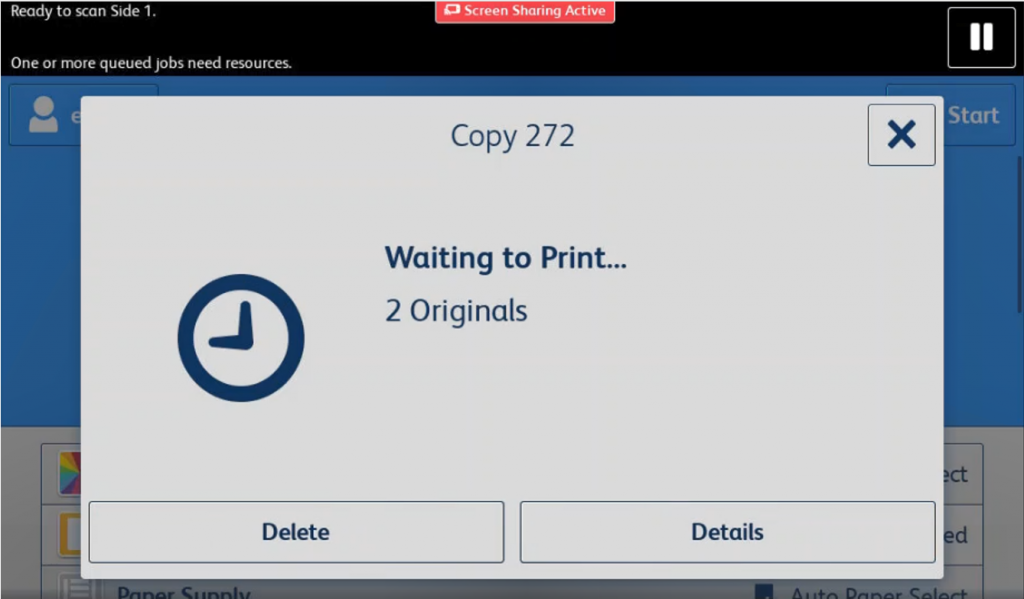
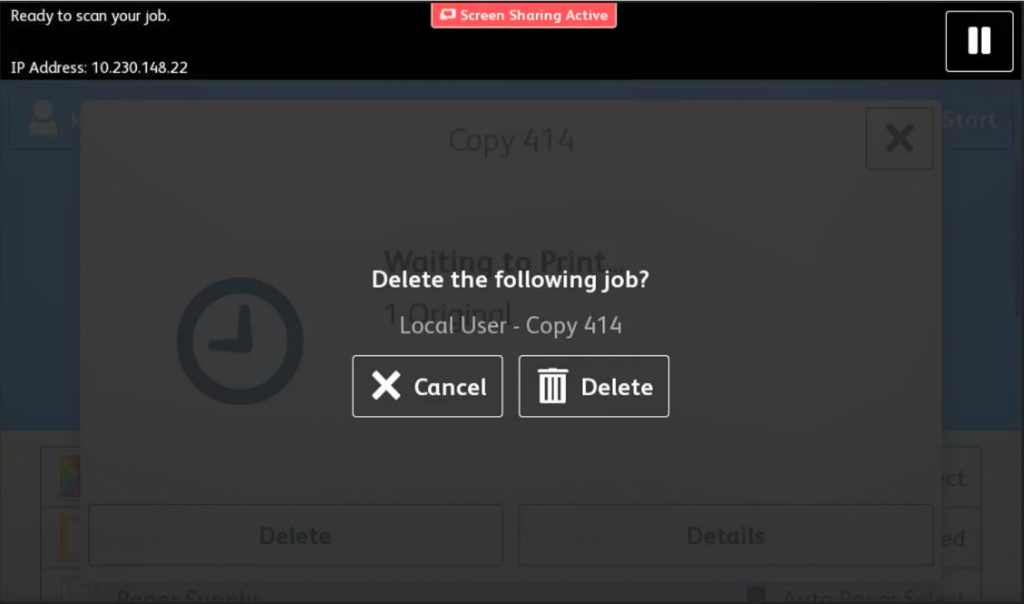
- You can delete the job at any point in the previous screens by pressing the “Delete” button. If only N number of pages have been printed, you will only be charged N times
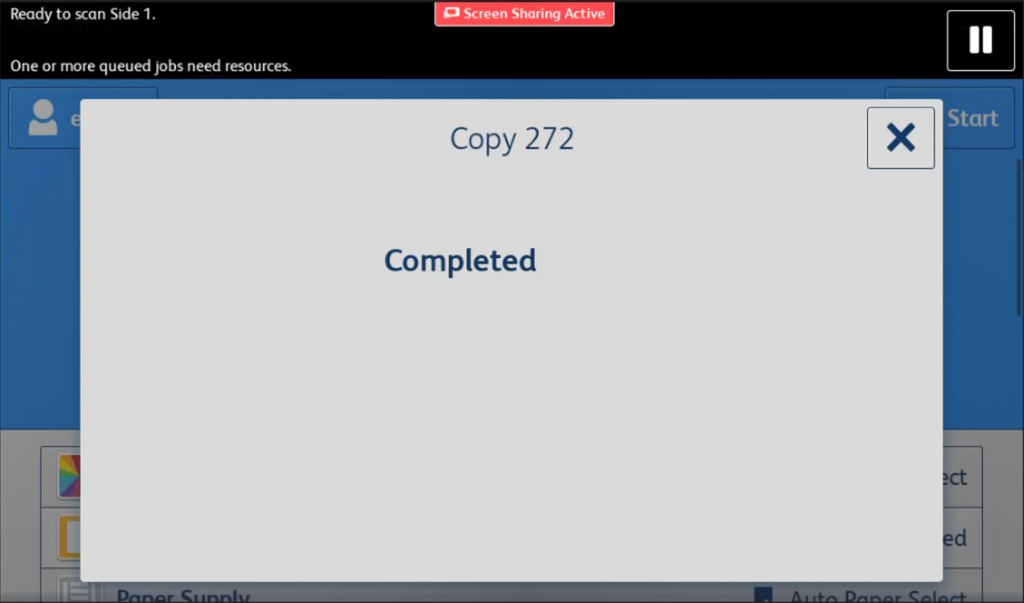
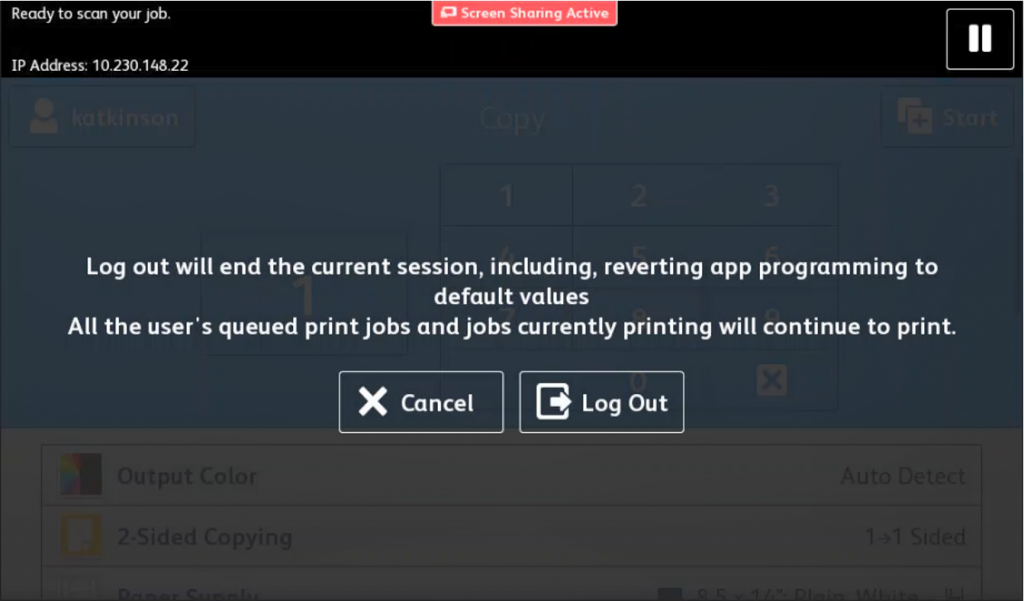
- To log off of the printer, press your username on the top left and then press the “Log Out” button.
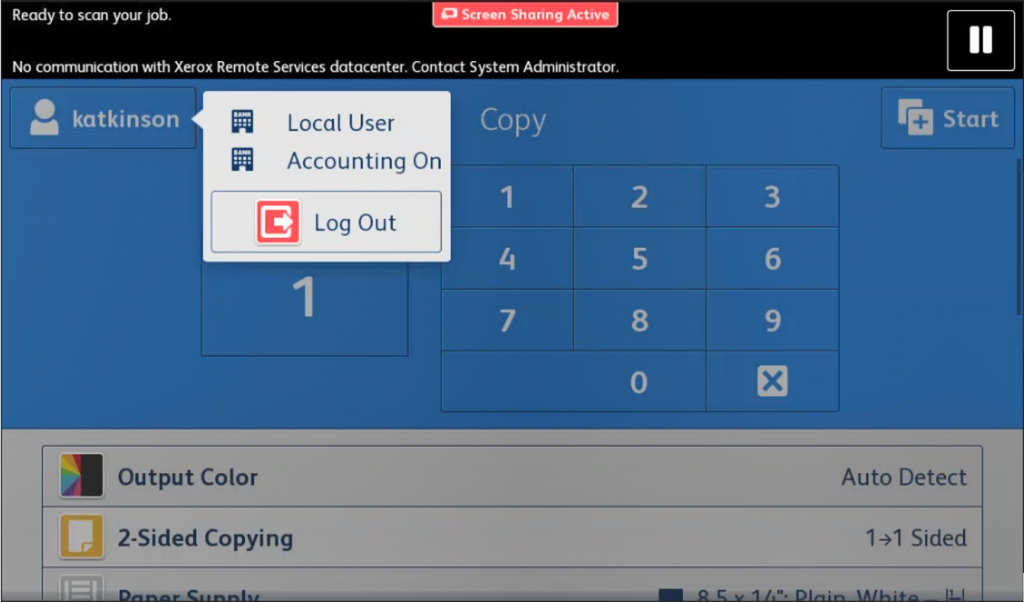
- Press the “Log Out” button again
Accessing your Papercut Account
The user console can be accessed via vanpd-papercut.vancouver.fdu.edu.
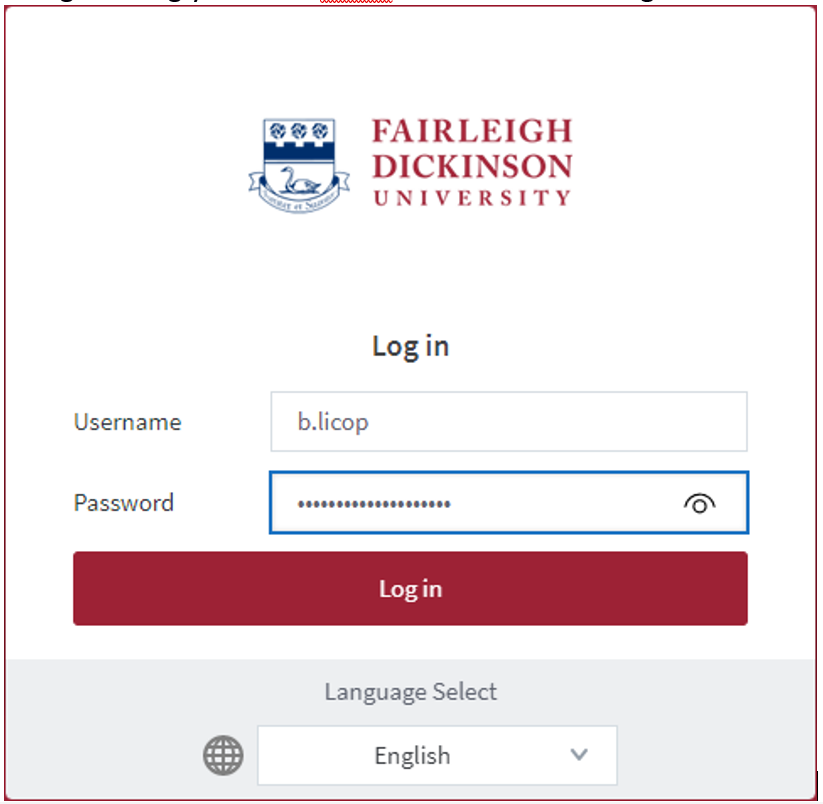
- Log in using your FDU netID then select the “Login” button
- You can review your Transaction History, Balances, Recent Print Jobs & Jobs Pending Release by selecting the appropriate tab on the left-hand side. You can also see your environmental impact according to your print, scan & copy activities
