Fairleigh Dickinson University regularly hosts on-campus visitors requiring access to our wireless network. As a security measure, in order to provide access to our Network, an FDU faculty member, staff member, or student must sponsor the guest(s) that they are providing access to. The sponsor takes responsibility for the Internet usage of their guests and ensures that they adhere to FDU’s Acceptable Use Policy for Computer Usage.
Choosing the Correct Account Type
- Accounts can be created for up to 8 days
- The sponsor can manage accounts (extend time, delete, suspend or reset password)
- Account creation requires a valid FDU NetID to create
- A single Guest Account (Known Guest) can be created or generic accounts (5 devices per account with the ability to create 10 generic accounts at once) can be created through this function
For events that will have a large audience, a Group Account may be needed. If you are a faculty or staff member and you require this account type, please create a sponsored guest account and then create a SAMI Support ticket. This can be accomplished by visiting SAMISupport.fdu.edu.
Please provide the support desk with the following information:
Please provide support desk with the following information:
- Guest account name
- The name that you would like to use for your Group account
- Faculty/staff sponsor name, contact number and e-mail address
- Location for the event (Building, Room, Classroom, etc.)
- Time and date of the event
Once the ticket is created, OIRT (Office of Information Resource Technology) will contact you within 3 business days to complete the Group account activation.
EduRoam
Fairleigh Dickinson is a member of Eduroam (education roaming) which provides secure, world-wide roaming access service for the international research and education community. If your guest is coming from another Higher Education institution that is also a member of Eduroam, they will not require an FDU guest account. Instead, they can gain access to our Network simply by logging into the eduroam network with their regular credentials.
(Available on Metro and Florham Campus Only)
Creating and Managing an FDU Wireless Guest Account
Creating a FDU Wireless Guest Account
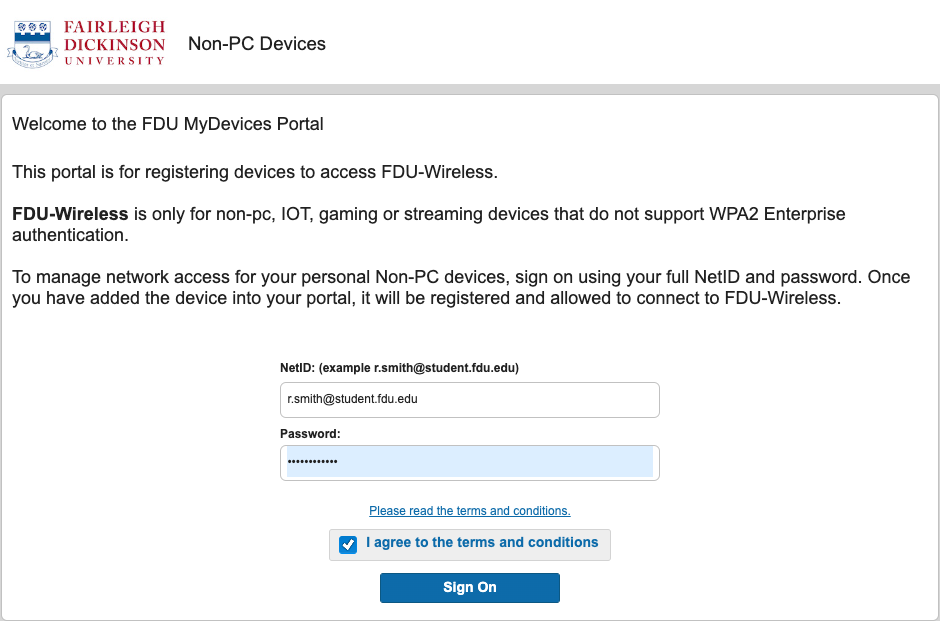
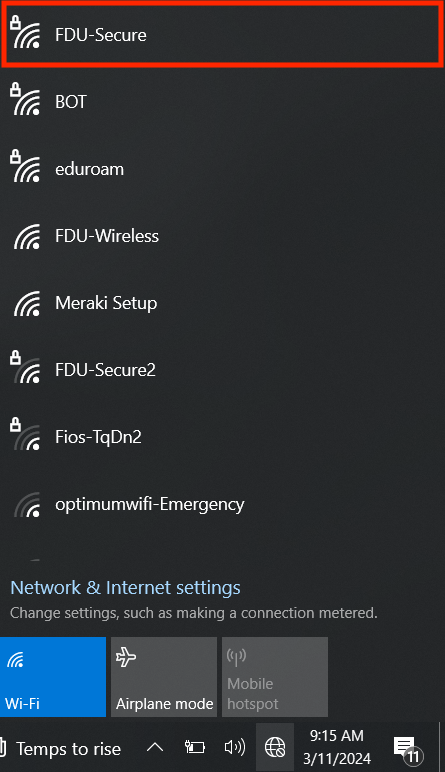
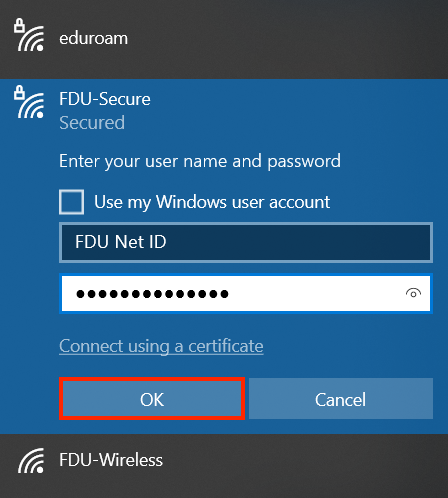
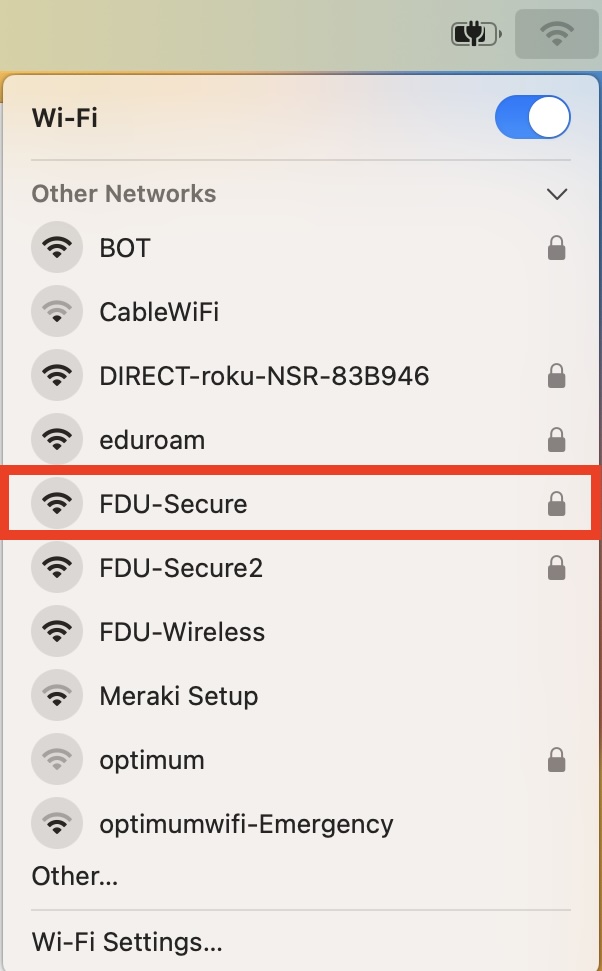
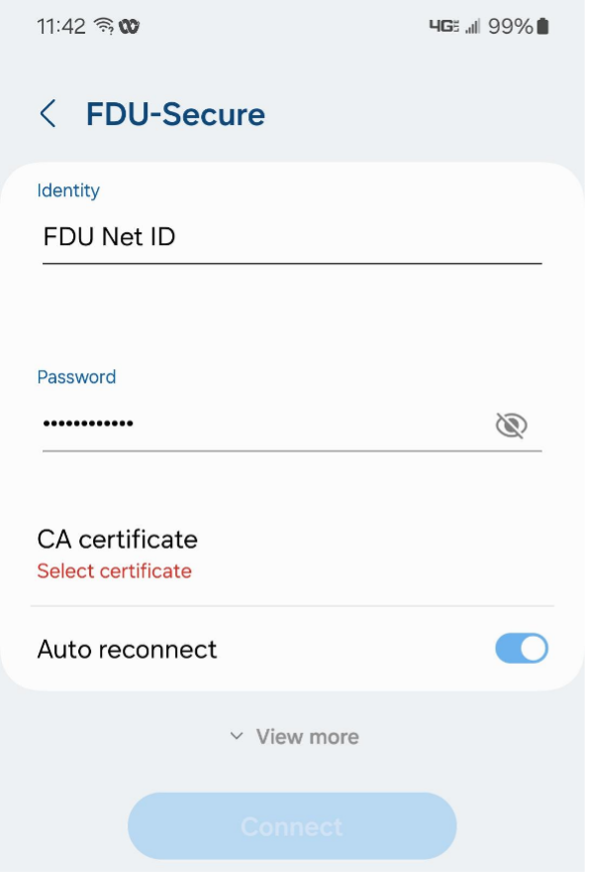
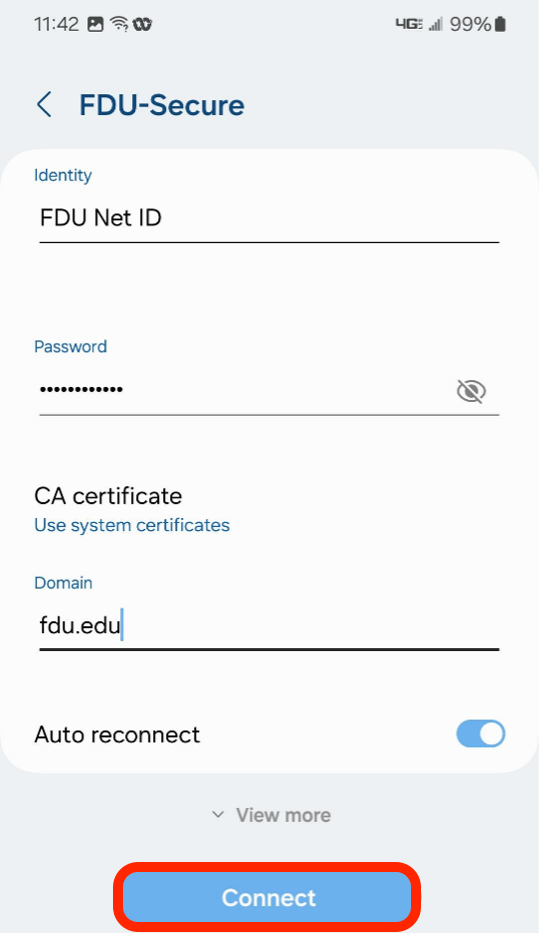
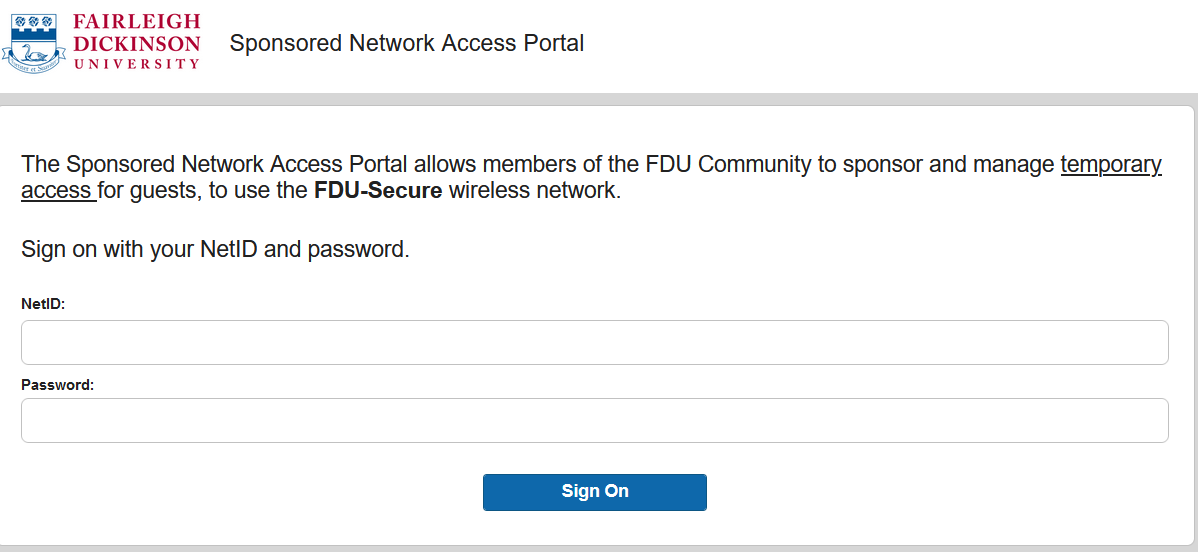
- Log into access.net.fdu.edu using your NetID and password
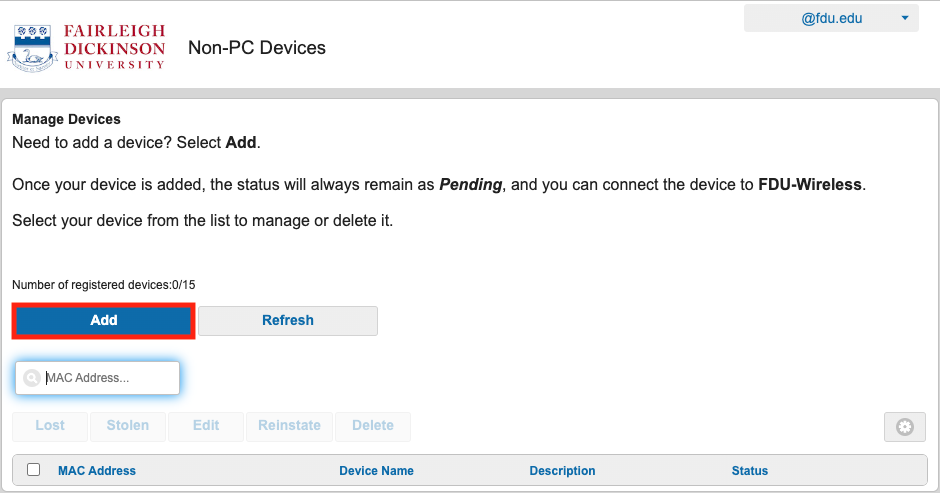
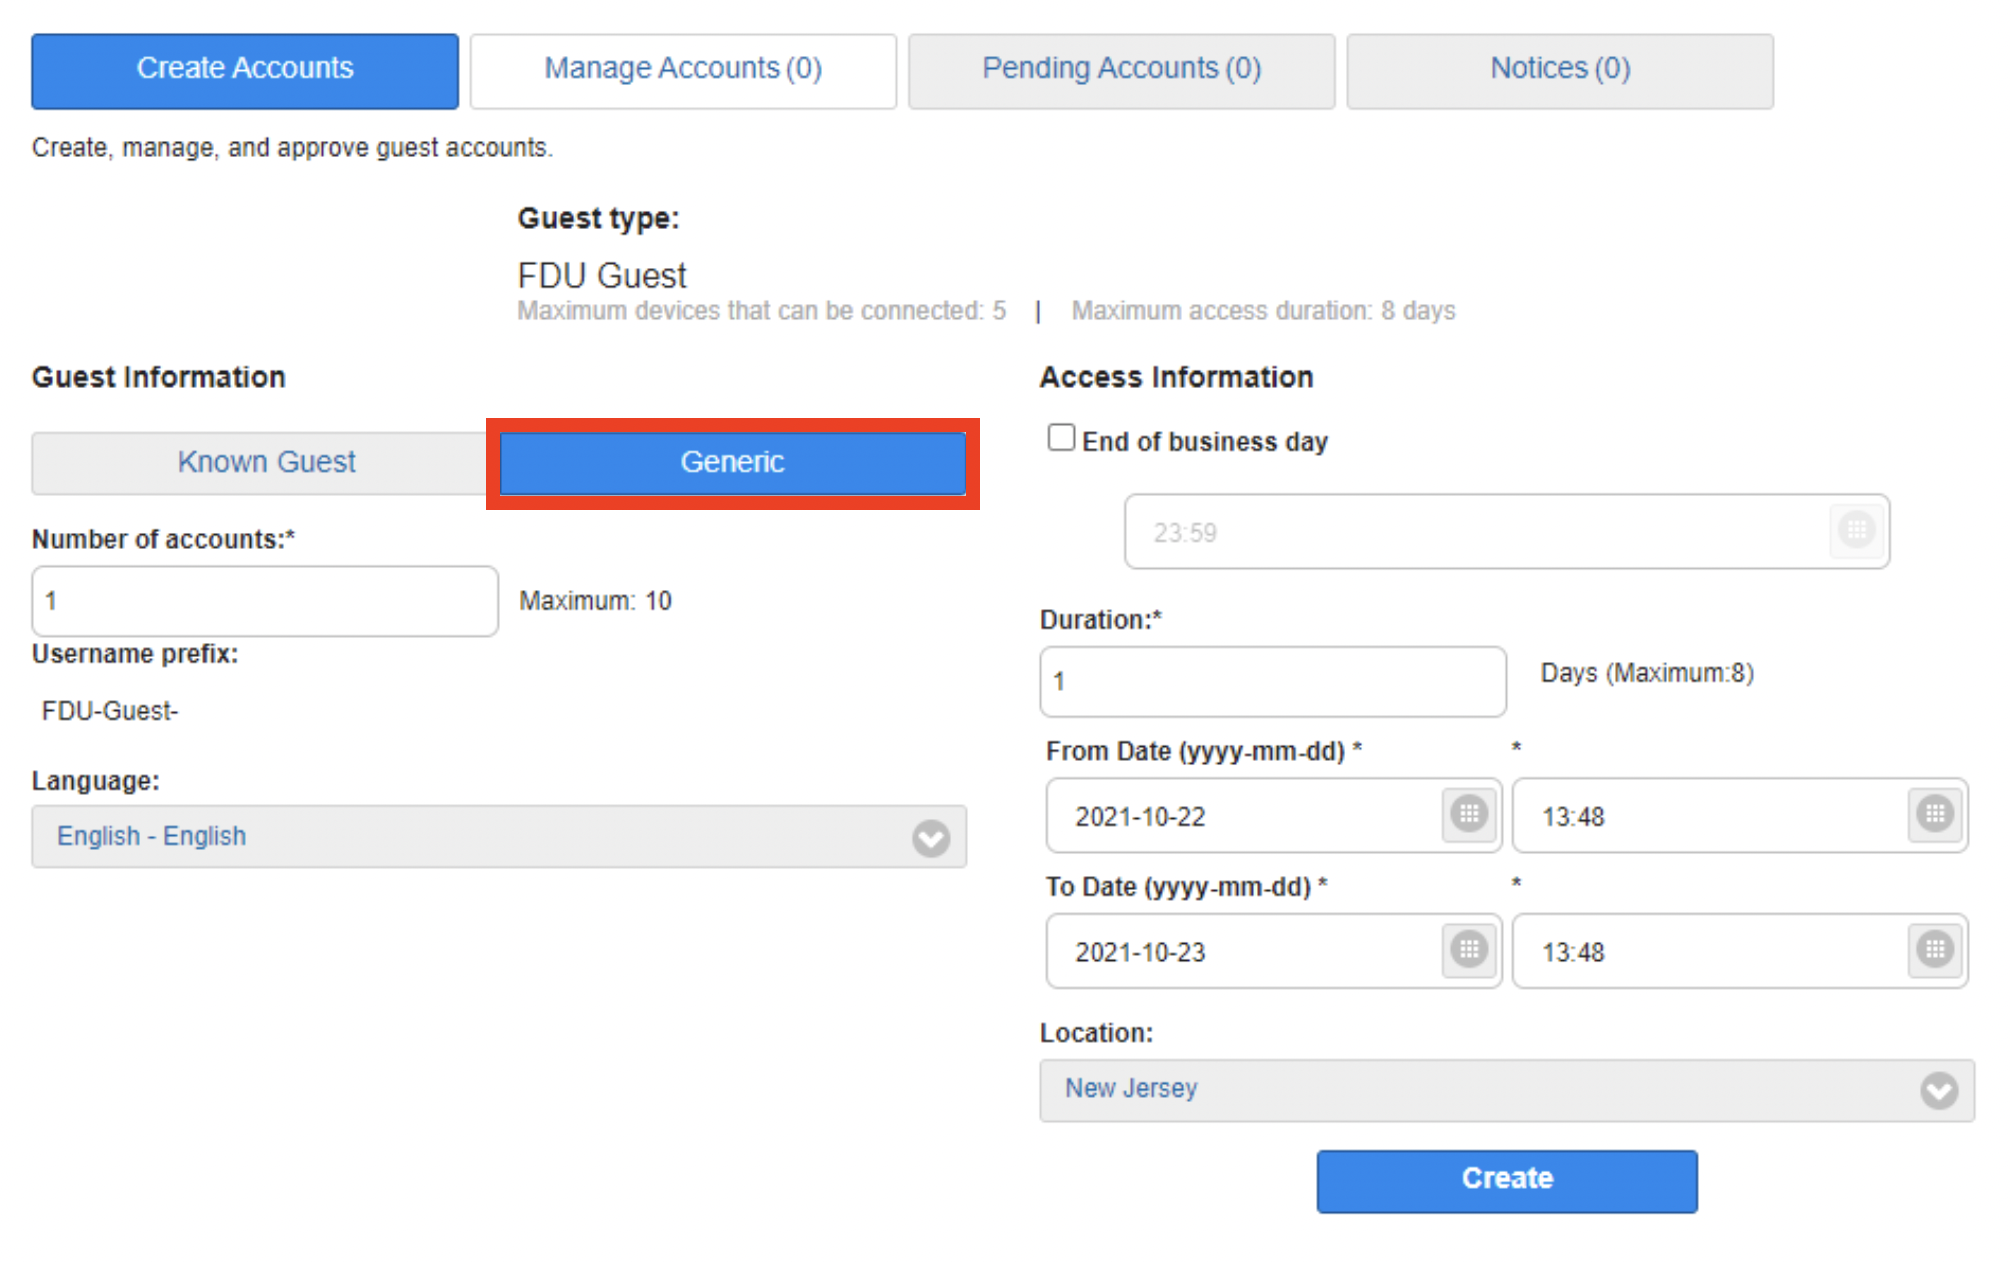
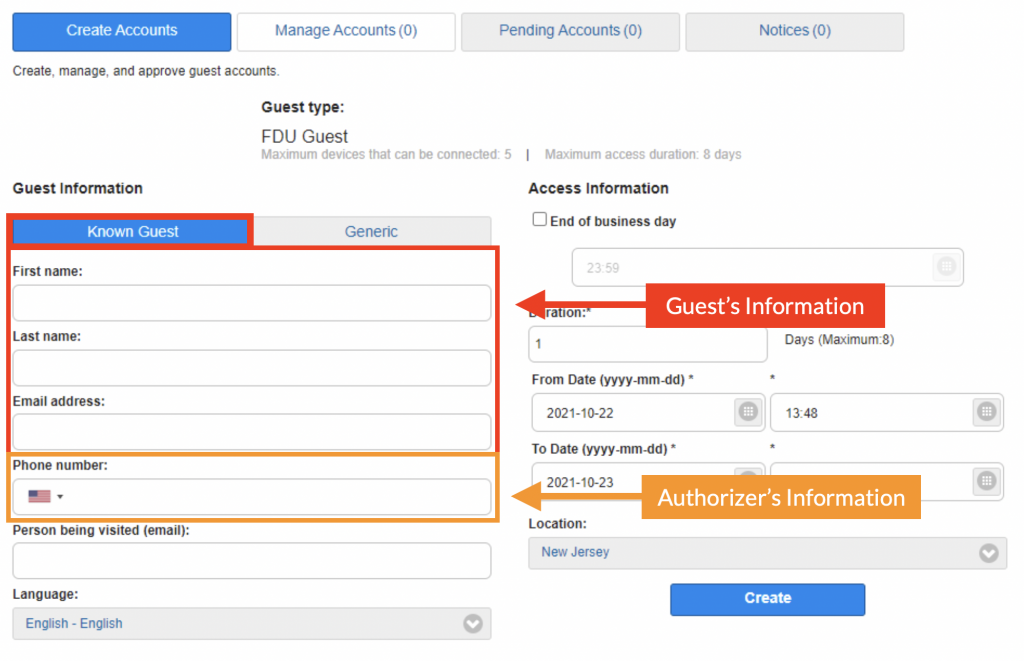
- Click the “Generic” or “Known Guest” button
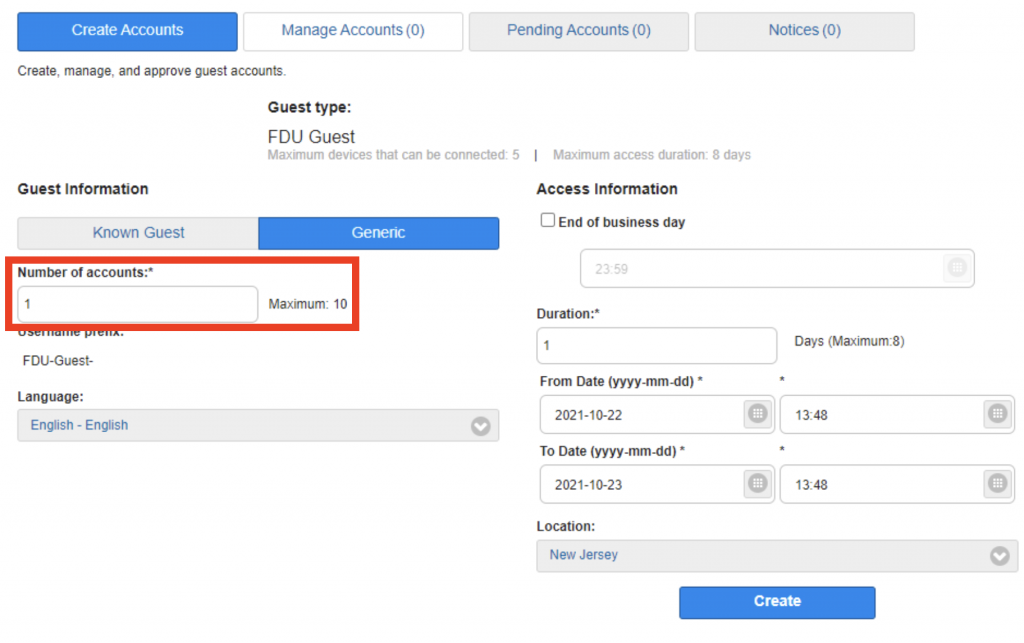
- Generic – This option allows you to create up to 10 accounts concurrently without entering your guest’s information
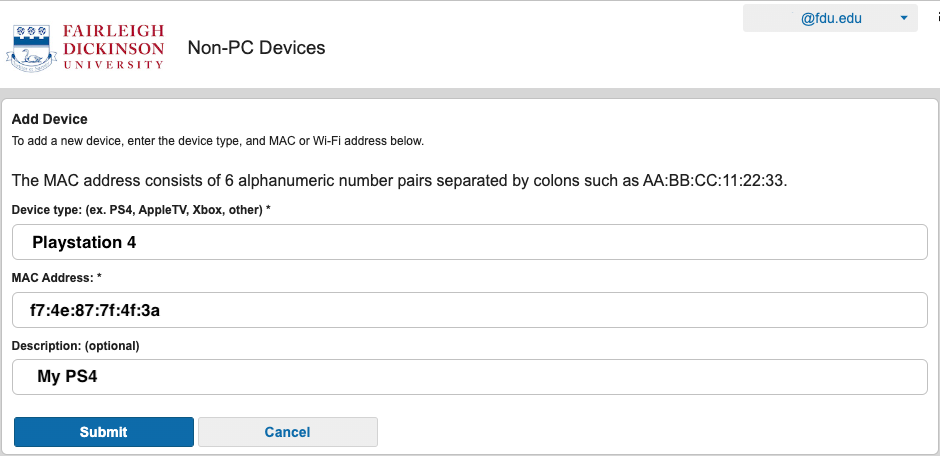
- Known Guest – This option allows you to create an account with guest information. You need to input the guest’s “First name”, “Last name”, “Email address”, and “Phone number”. You also need to enter your own FDU email address
- If you have selected “Generic”, enter the number of accounts that you would like to create (maximum of 10)
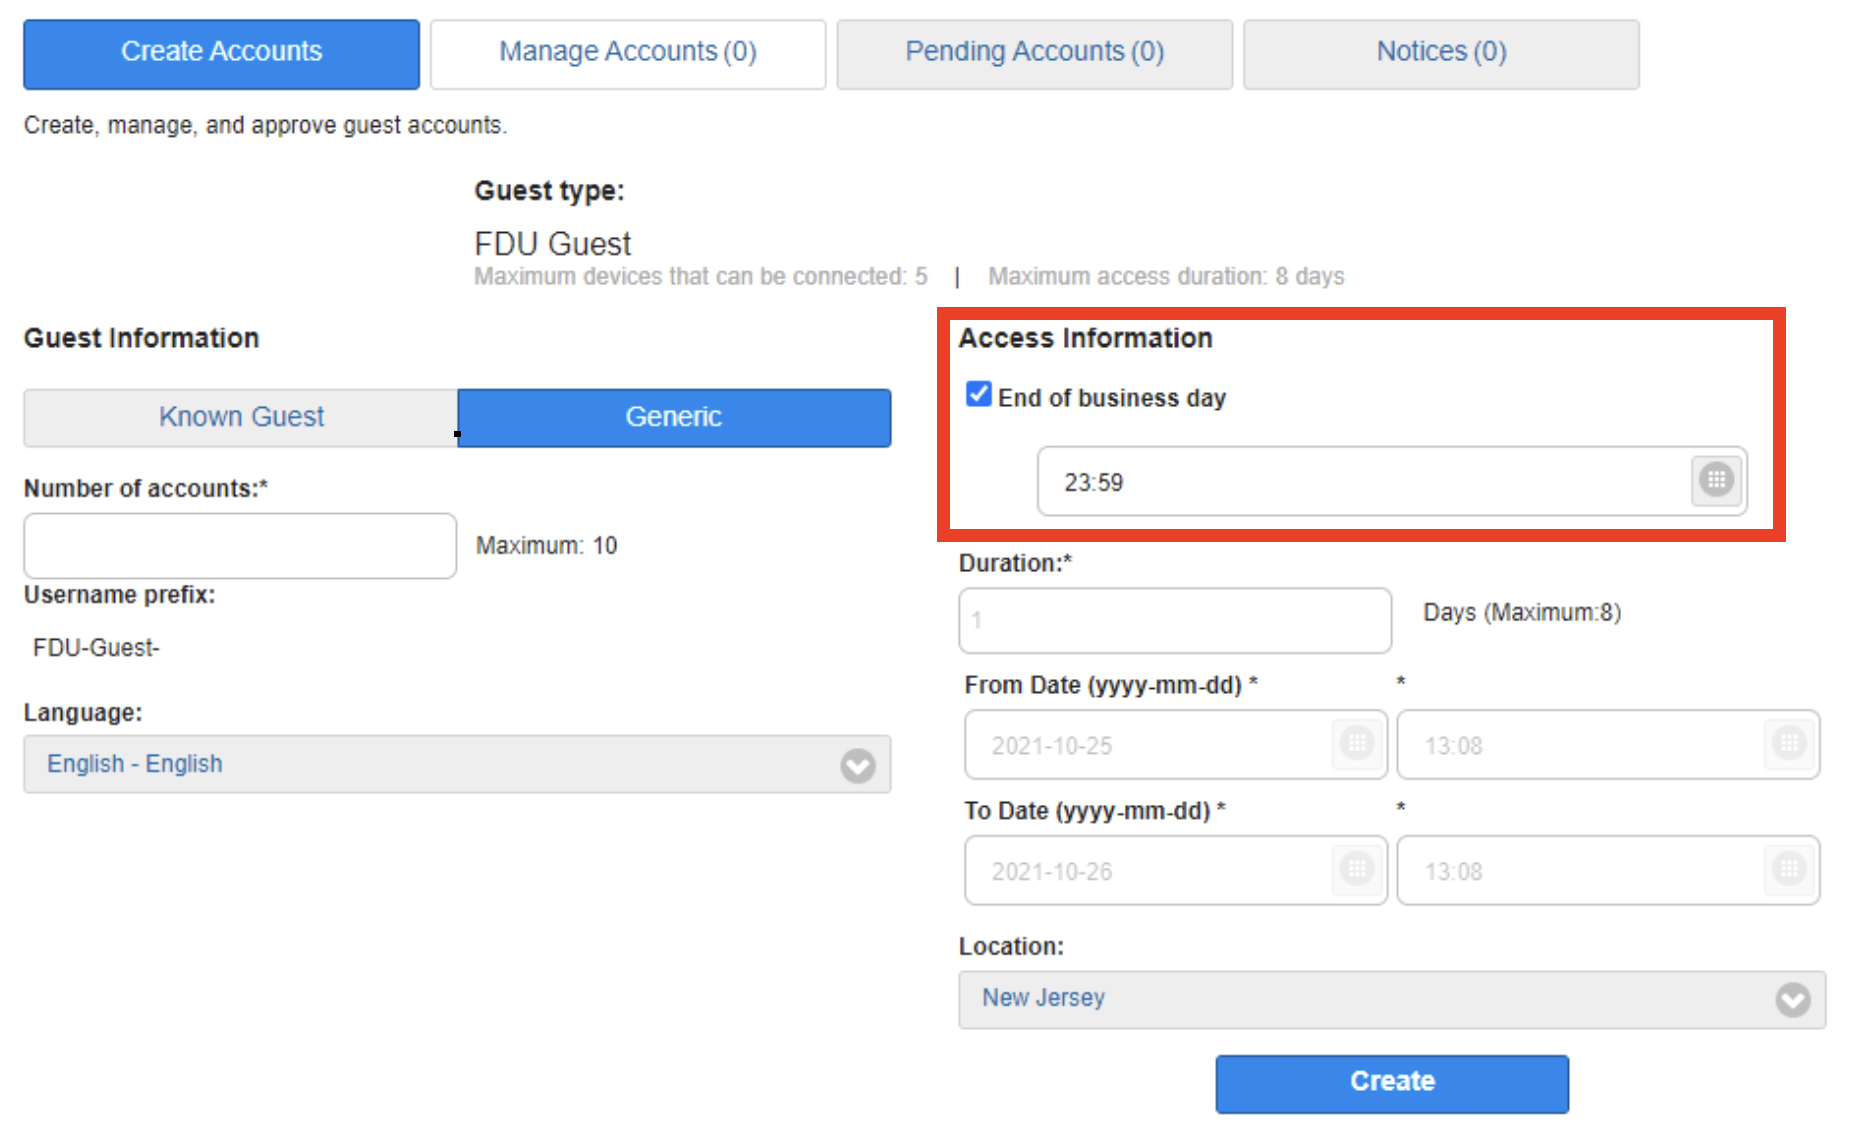
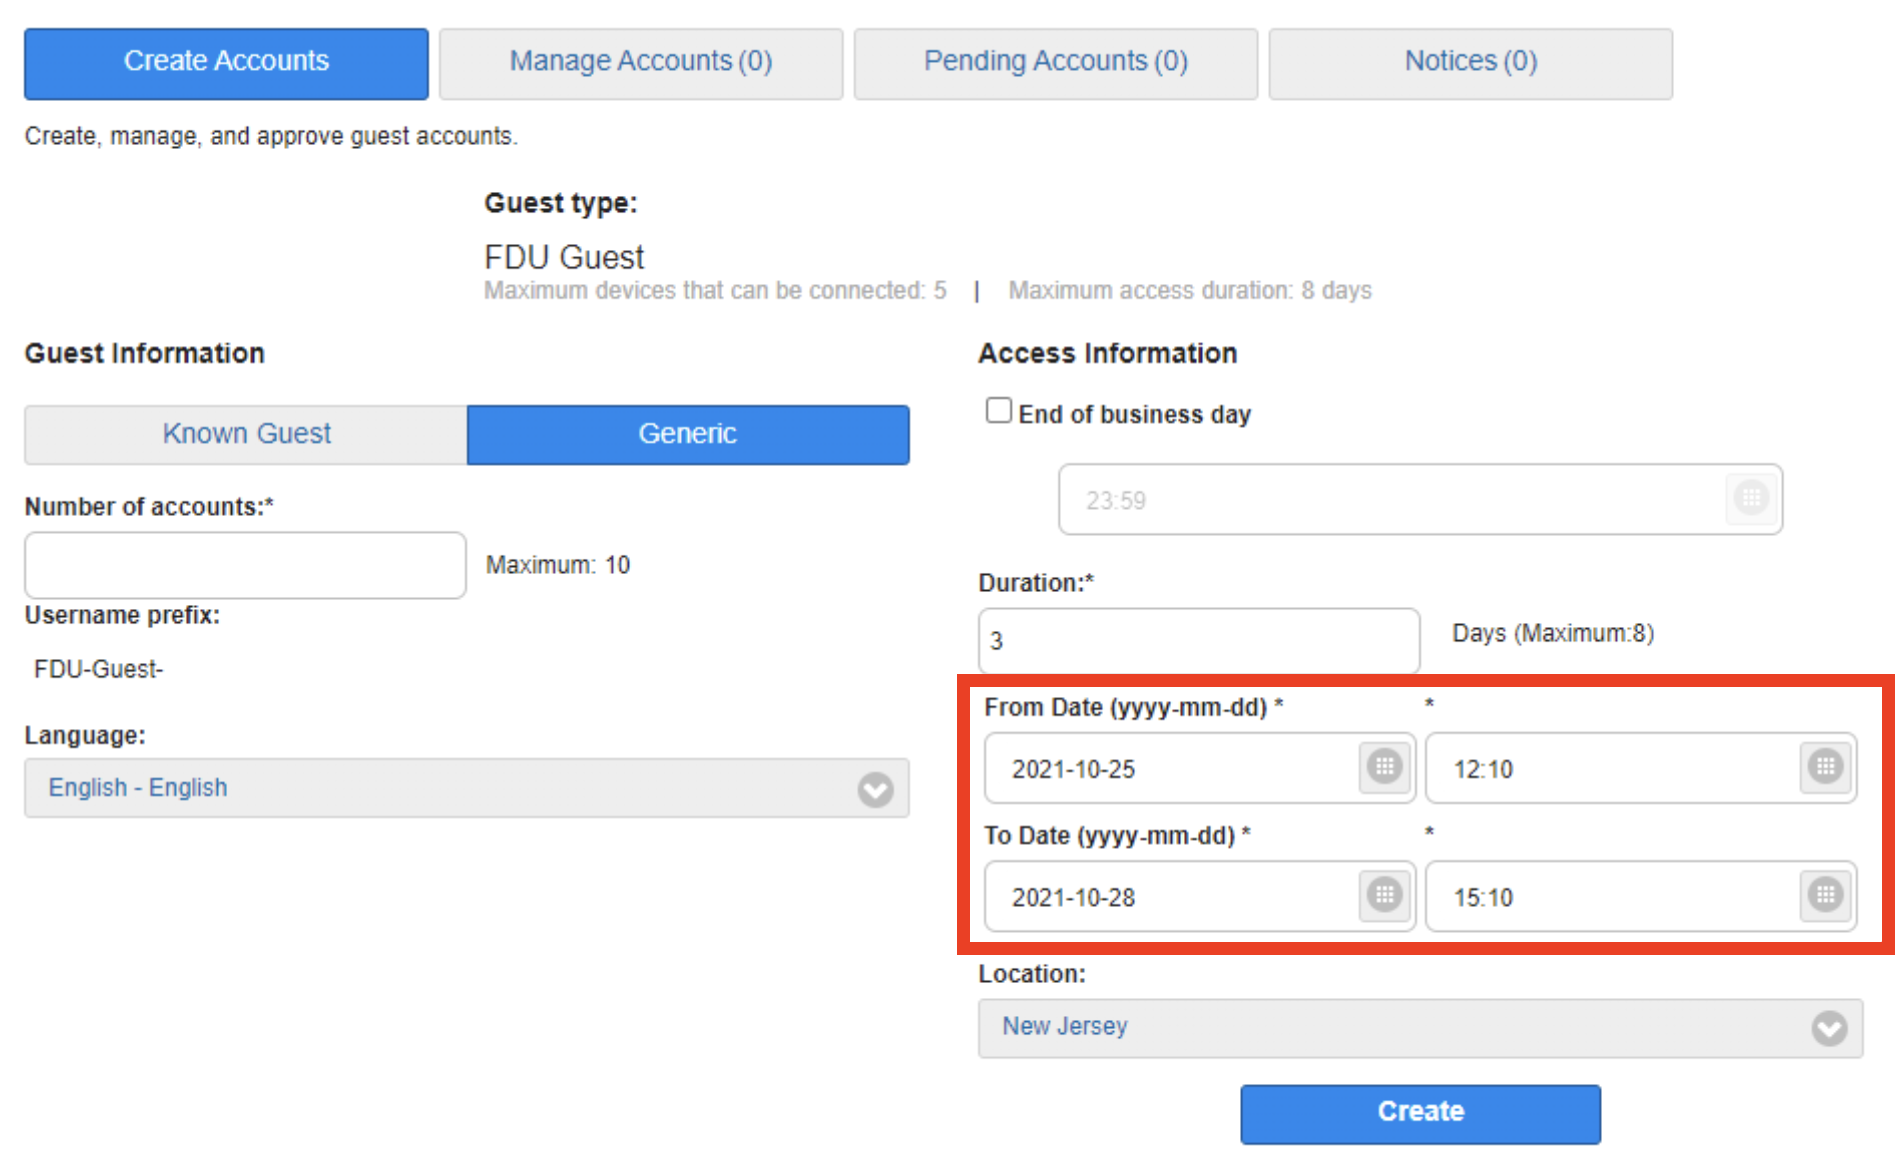
- The remaining instructions are for both known guests and generic accounts. Choose how long you want the guest account to be active
- First Option – Click the box next to “End of business day” if your guest only requires access through the end of the day
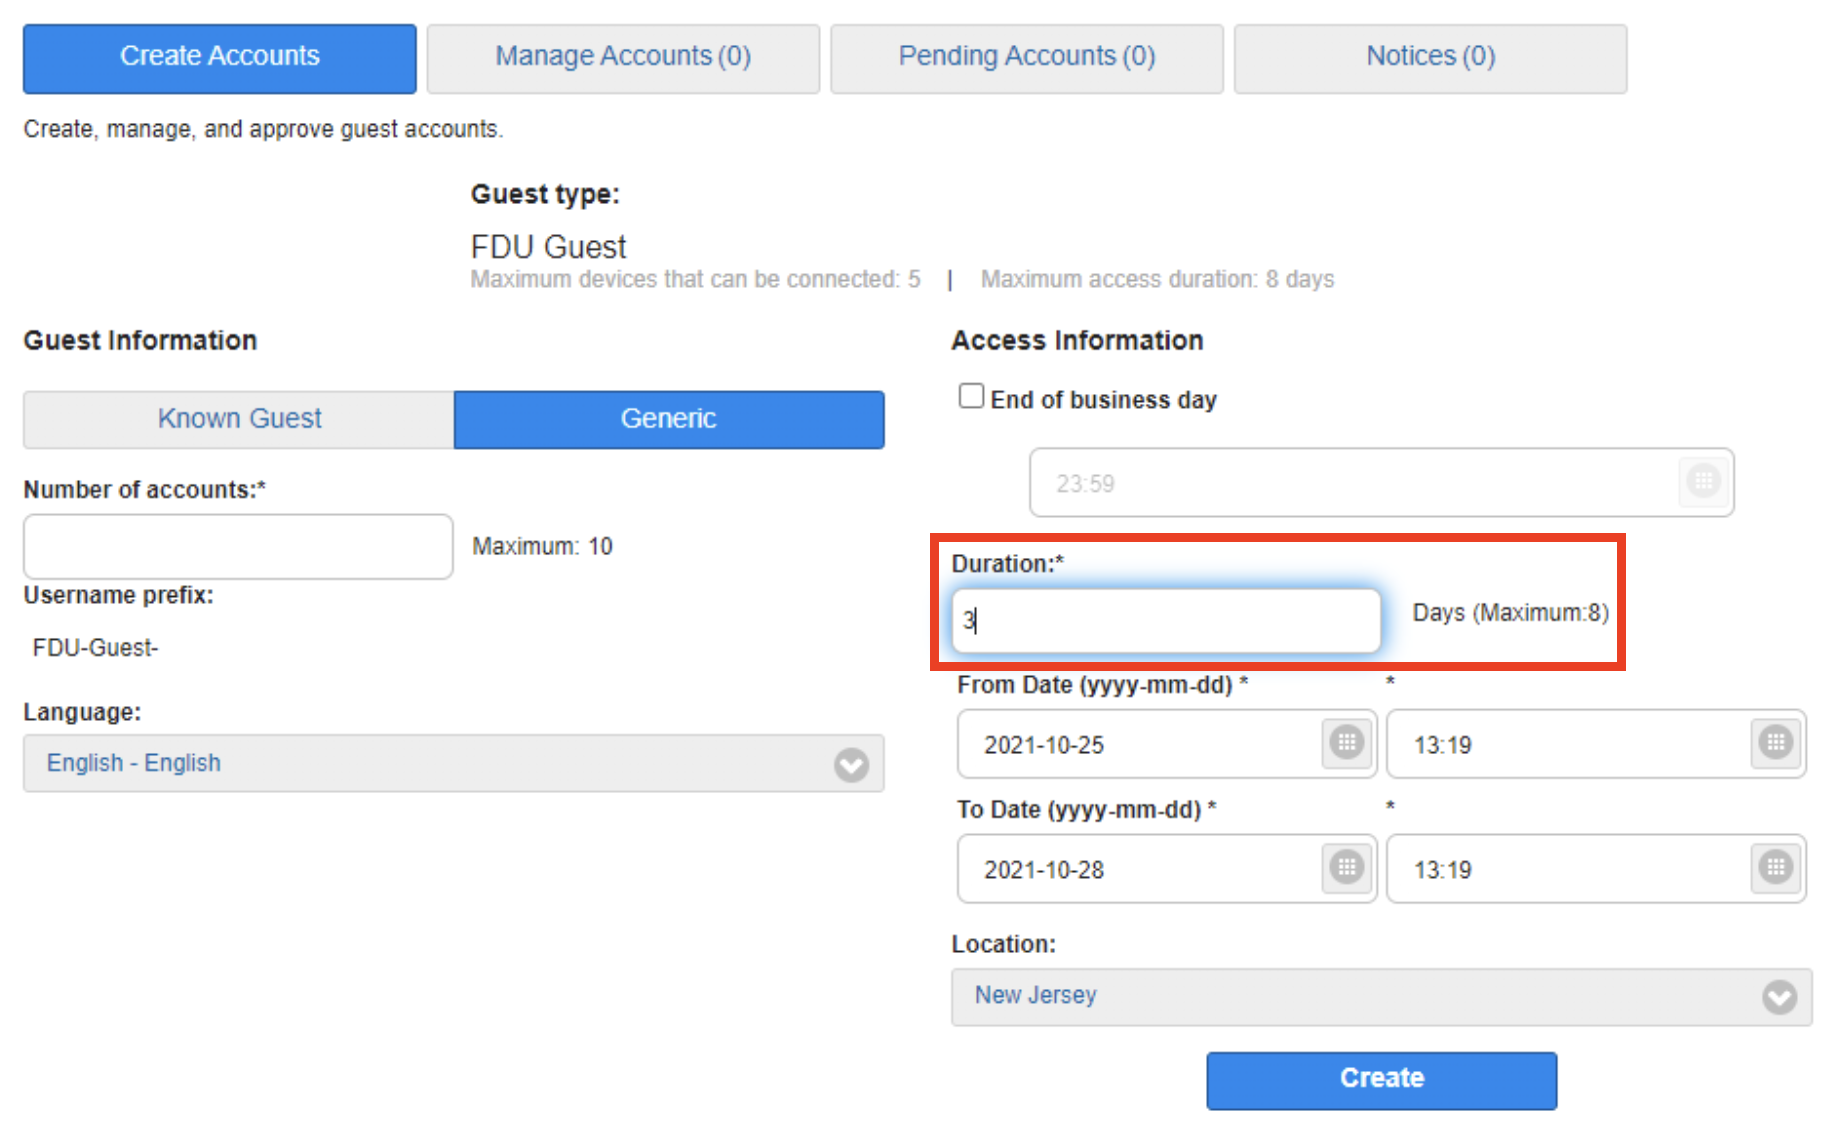
- Second Option – Type the number of days required in the “Duration” box (maximum of 8). The “From Date” and “To Date” will automatically change based on the requested duration
- Optional – If needed, you can select an exact date and time for the guest account access to begin and end (24:00 format)
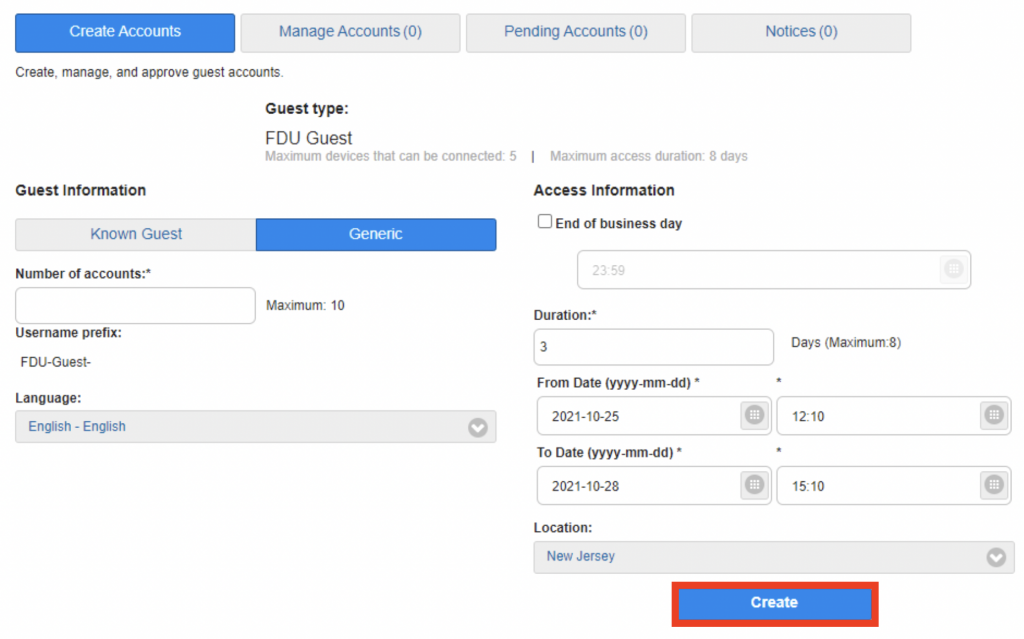
- Click the “Create” button
close
Managing a FDU Wireless Guest Account
- Log into access.net.fdu.edu using your NetID and password
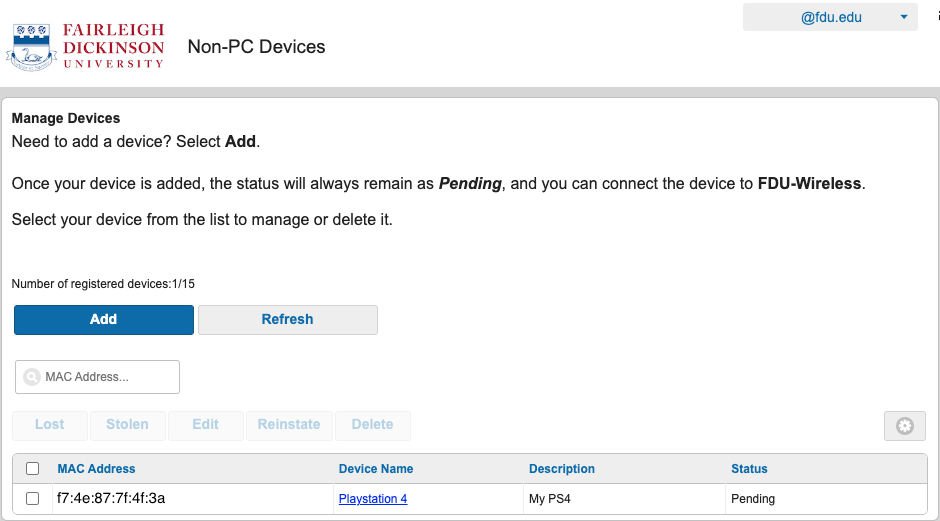
- Click the “Manage Accounts” tab
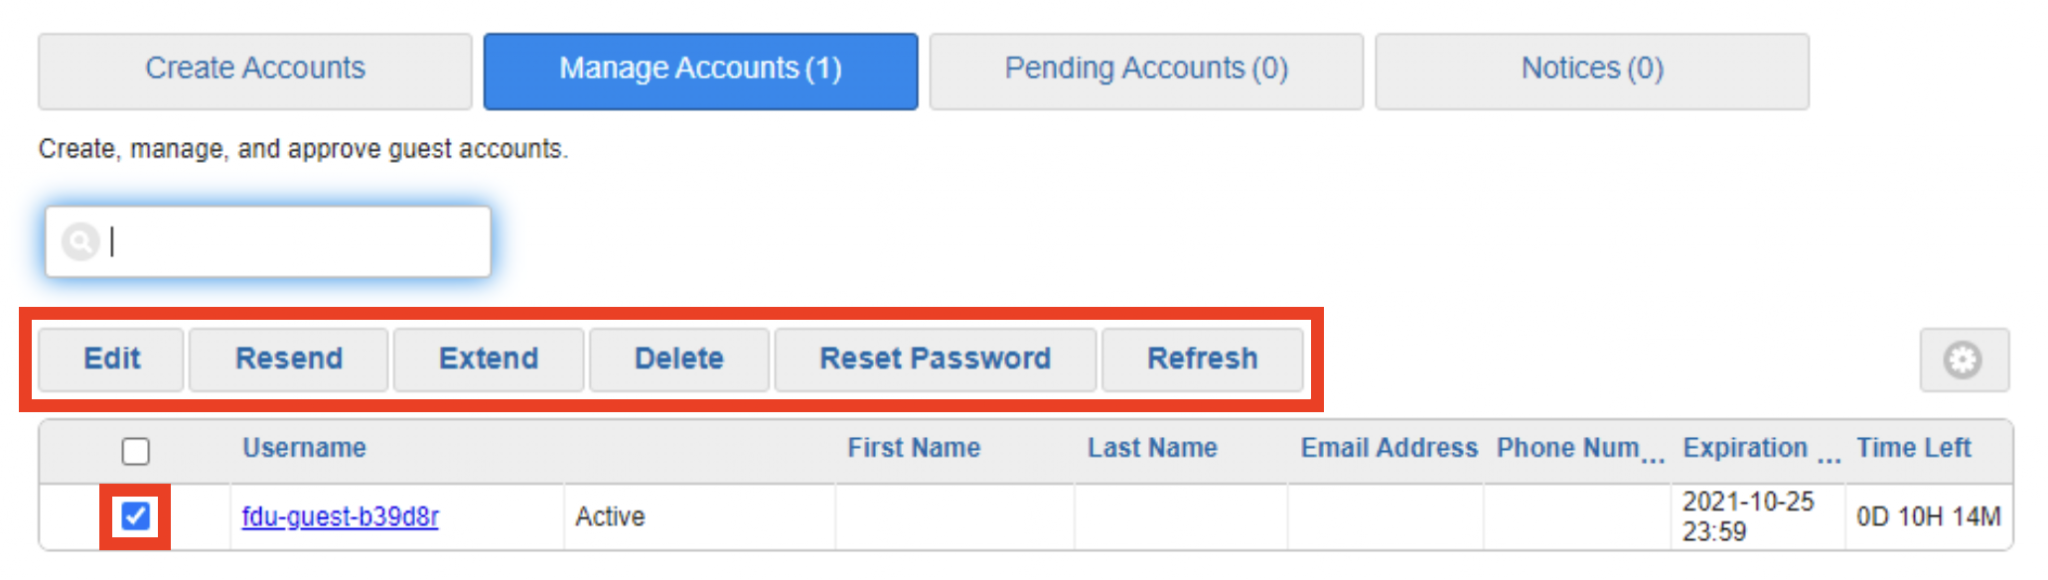
- Check the box next the account that you would like to update. You can now use the following administrative functions
- Edit: Modify any information entered during account creation
- Resend: Print or email the account username and password
- Extend: Add additional time to the account. The maximum total duration of 8 days will still apply
- Delete: Immediately delete the account
- Reset Password: This will reset the password and either print or email the new password
close
Support
For additional support, please contact the SAMI Service Desk.