Before arriving at the classroom, you should have set up your meeting for the class. Make sure your computer is connected to the Wi-Fi “FDU Secure“. Start the meeting from your laptop. Make sure that your microphone is muted and your volume is turned all the way down. Please make note of the meeting ID as it will be needed in the following step.
Your laptop will control the meeting as the host. All operations (sharing your screen, breakout rooms, chat, ECT) are to be done on your laptop as you would when teaching remotely.
- To engage the Zoom equipment in the room, please tap on the FDU logo on the touchscreen. If the FDU logo is not present, tap the home button to the right of the touch screen to bring back the logo. You should see the projector turn on and show the Zoom room screen

You should now be able to see the zoom room screen:
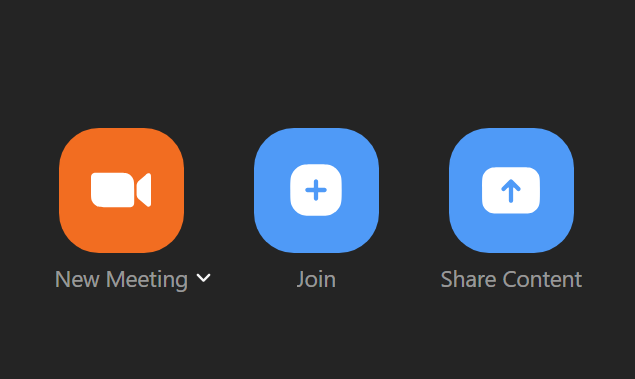
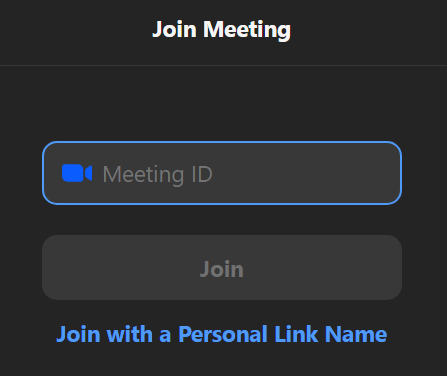
- On the touch screen, make sure that the Join Icon is selected and enter your meeting ID. Once you have done that, you can tap on the join checkmark.
- Depending on the security you have set up for your class, you might have to let your Zoom room in from the waiting room. You can do that from your meeting on your laptop. It may also ask for a password if you set one up for your meeting. If so, enter this when prompted on the touchscreen
Tips
If you have “mute participants on entry” set up for your meeting, you have to unmute when connected. Also, confirm your volume is up on zoom cart by sliding the volume dial all the way to the right.
You can switch to the secondary camera by tapping the “switch camera” button.
If you want to switch the focus of the camera, you can follow the next step. If not, you can continue your meeting as normal from your laptop.
Switch the Focus of the Camera
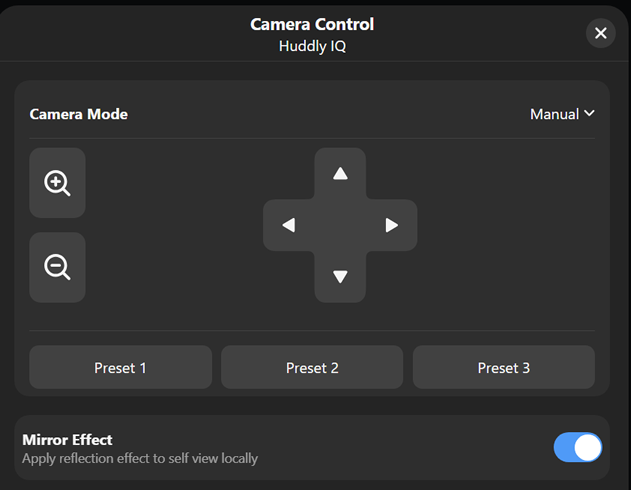
- To change the orientation of the camera, tap the “camera control” button. Using this control, you can pan the camera up, down, right, and left
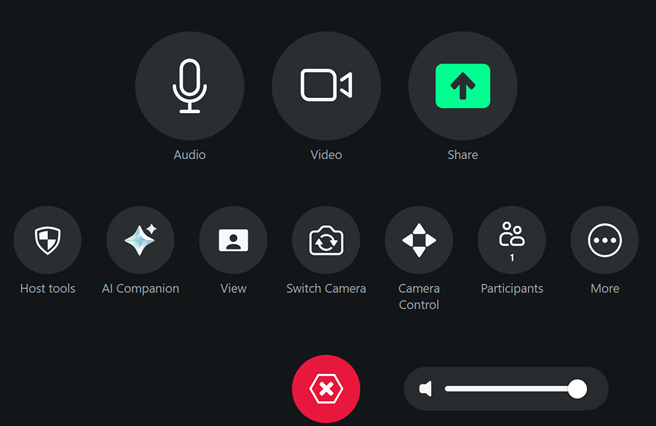
- You can also zoom in and out or switch to the secondary camera in the room by clicking the “switch camera” button on the bottom left
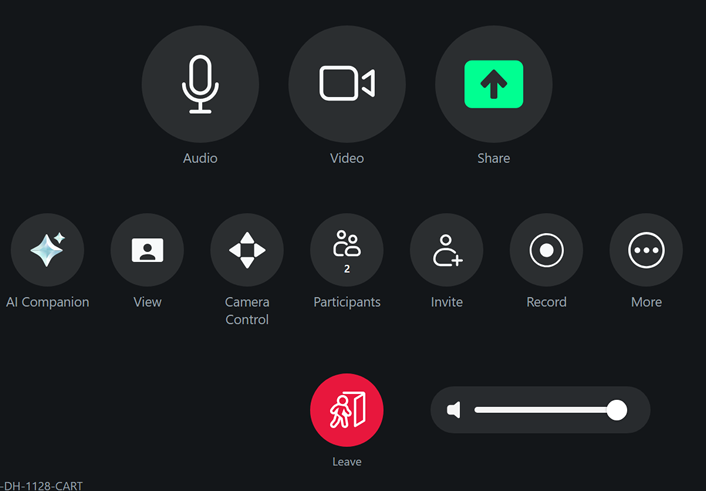
- When your class is over, click on the “Leave” button on the panel
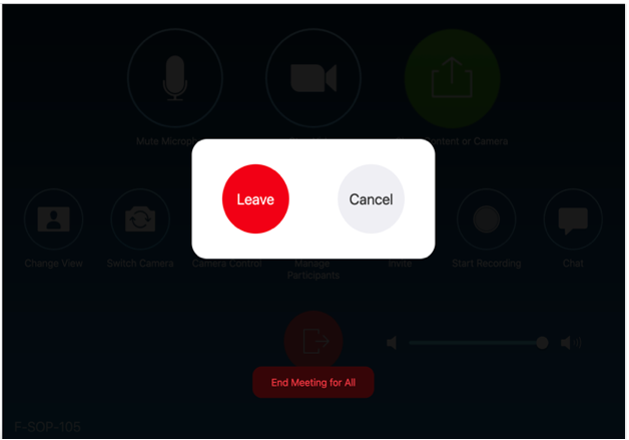
- Click “End meeting for all” and make sure you end the meeting from your laptop as well
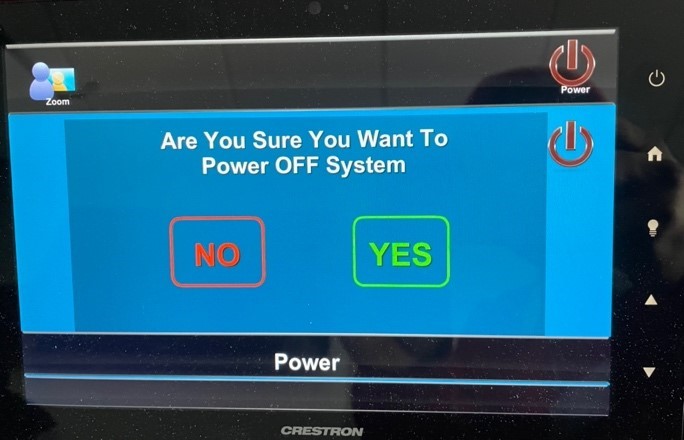
- Also, make sure to turn off the equipment. To do so, press the power button to the right of the touch screen, this will prompt a confirmation message. Please tap “yes” to confirm. You should see the projector turn off and the touchscreen should display the FDU logo again
If after following these instructions you are having trouble, please contact the SAMI Support Desk.


