Make the appropriate connections to the back of the all-in-one.
Plug in the power cable to the power port on the back of the all-in-one.
A physical network connection is only required if you do not want to or can not use wireless.
Both the keyboard and mouse can be plugged into any USB port.
Turn the PC on and sign in as normal.
Connecting to Wi-fi (Skip if Using a Physical Network Cable)
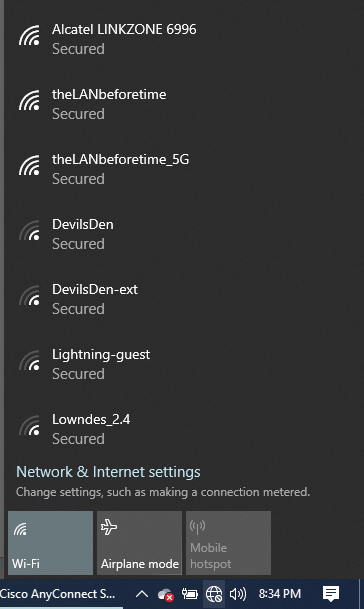
Click on the network icon on the bottom-right hand of the Start bar near the system clock.
A list of available networks will populate. Select your home wireless network.
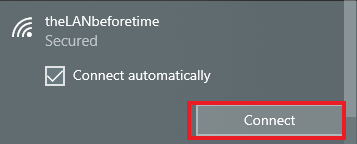
Select your network and click “Connect“.
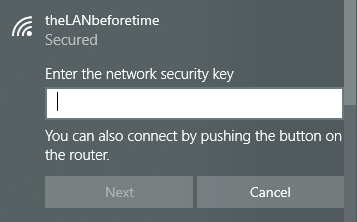
Enter the network key for your wireless router. This can sometimes be located on the side or bottom of your router and/or modem. Click “Next“.
Connecting to VPN from Home
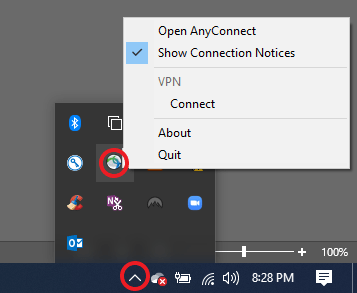
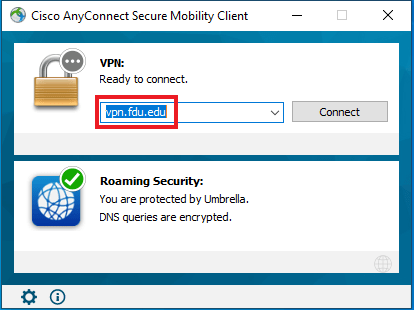
Click on the arrow on the bottom right hand of the Startbar near the system clock and right-click on the “Cisco VPN Access” icon. On the pop-up menu, click “Connect“.
If this is the first time connecting to VPN service please enter the text below as shown into the VPN field and click “Connect“.
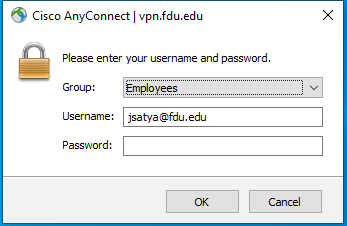
Enter your full NetID information and click “Ok“.
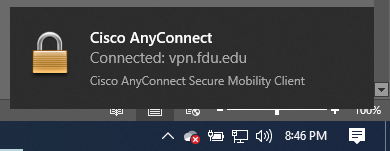
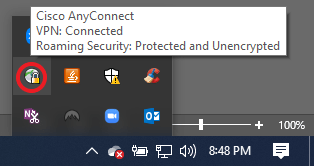
Once a successful connection is made a prompt will appear and the icon for the Cisco VPN Access in the system try will appear with a lock.
The following tutorial will guide you through the process of connecting a printer while on-campus. Faculty and Staff members should review the purchasing process before engaging with the process for connecting a printer.
Note
Wireless printing is not permitted on campus. The information below is for wired connections only.
Connecting a Printer for Students in the Residence Halls
Most new printers are plug and play compatible with Windows 10. When you receive your new printer, you can unbox it and remove any orange tape you see. After plugging in the power and turning the printer on, allow the printer to initialize (most new printers will have a display to show you it’s progress). When the printer finishes initializing, just connect the usb printer cable from the printer to your computer. Windows 10 should automatically install the printer for you.
close
Printer Purchasing Process for Faculty and Staff
All printer purchases for faculty and staff on-campus use must appear on OIRT’s list of approved printer models. For the most up to date list of approved printer models, please contact the Purchasing Department. The purchase of any printer not on the list must be pre-approved by the CIO.
Determining if a Printer will be Directly Connected or On-Network
Faculty and Staff Members have the option of either making a direct or network connection to the printer. A direct connection is when a printer is connected to a single computer and an on-network printer means that multiple parties can print to it. Generally speaking, unless a printer is shared by three or more employees, users should request a direct connect printer.
If you are planning to use a direct connection, simply purchase any printer contained on the Purchasing Department’s list of approved models and follow the instructions for “Installing a Local Printer” in the “Connecting a Printer for Faculty and Staff Members” section below.
If your new printer will be on-network, please ask your department to contact the SAMI Service Desk for USAN to investigate the viability of any data jacks in the vicinity of where the printer will be located. The full workflow for this process is shown in the following diagram.
Most new printers are plug and play compatible with Windows 10. When you receive your new printer, you can Most new printers are plug and play compatible with Windows 10. When you receive your new printer, you can unbox it and remove any orange tape you see. After plugging in the power and turning the printer on, allow the printer to initialize (most new printers will have a display to show you it’s progress). When the printer finishes initializing, you can just connect the usb printer cable from the printer to your computer. Windows 10 should automatically install the printer for you.
Connecting to a Network Printer
Employees are able to add network printers to their own machines.
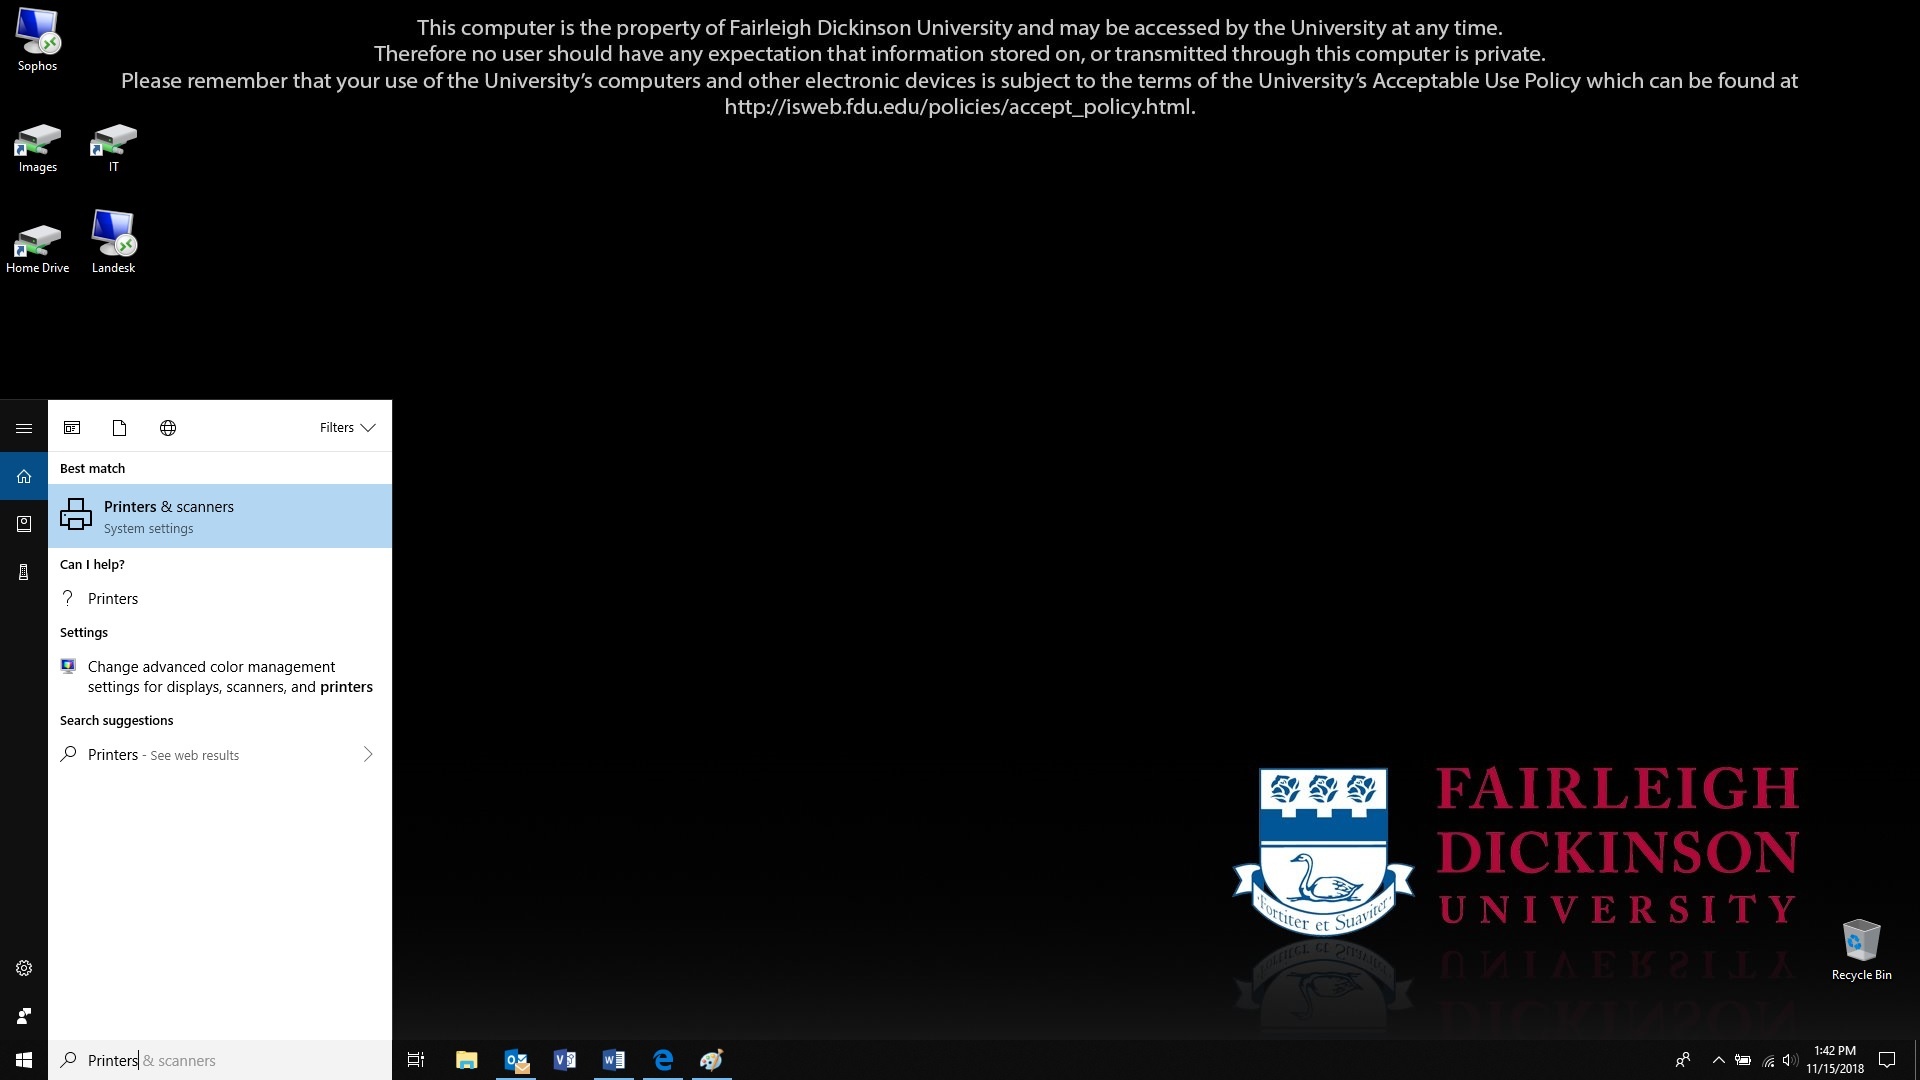
Do a search for printers, and click on “Printers & Scanners”
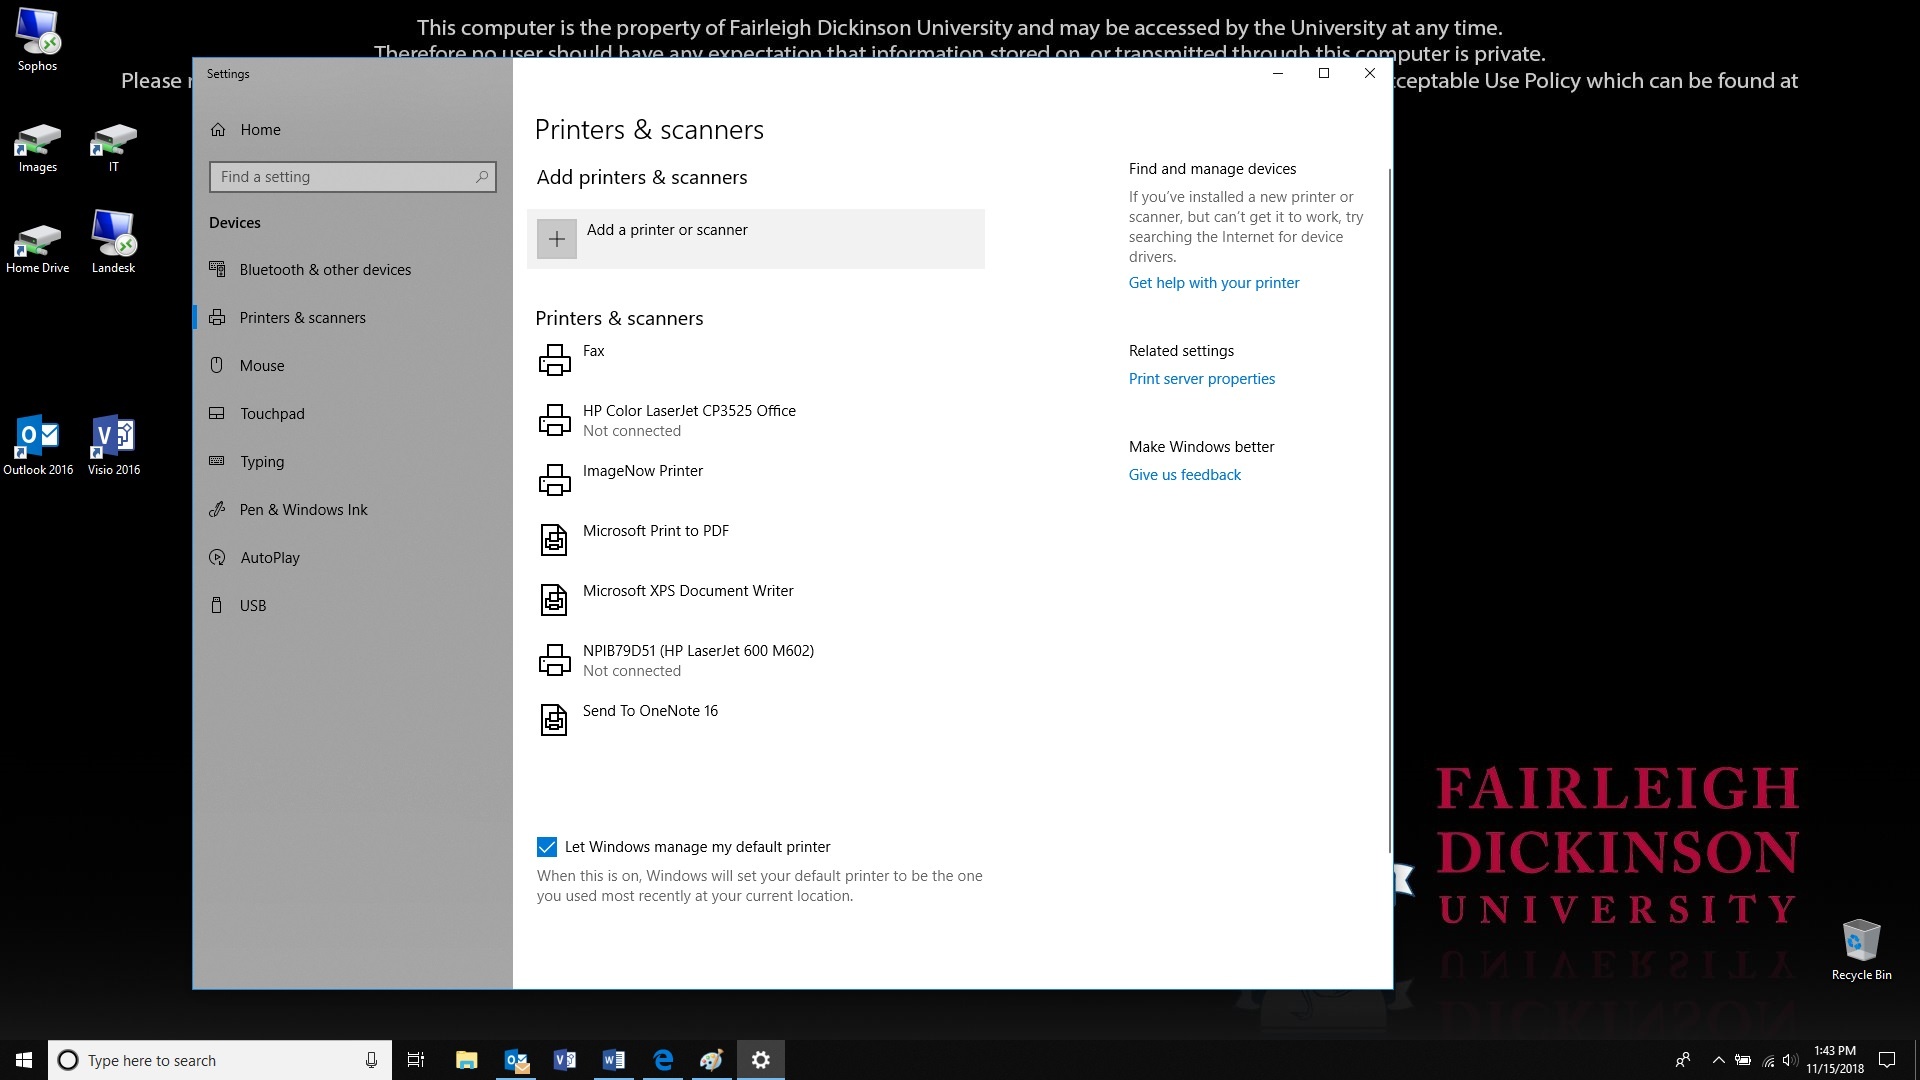
Click on “Add a printer or scanner”
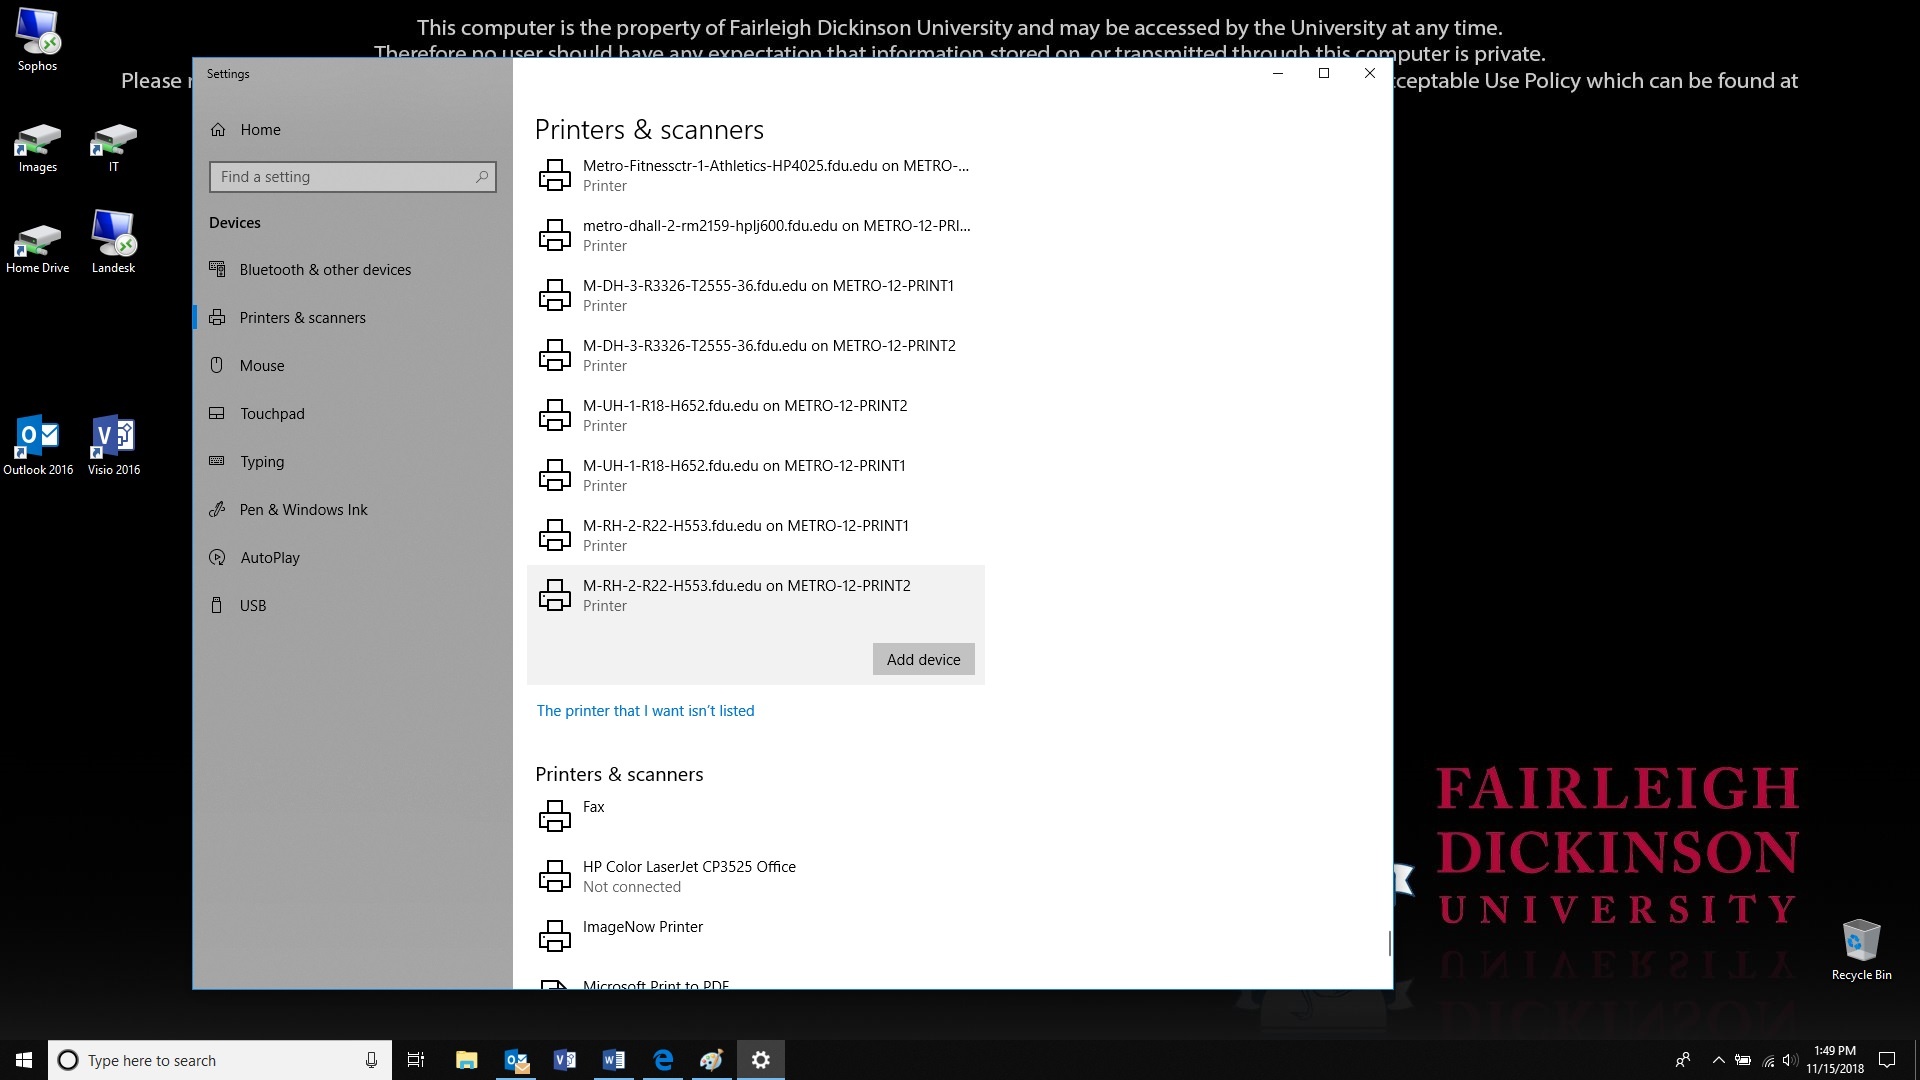
The list will start to populate and if you find your printer you can click on it and then click on “Add device”, otherwise scroll down to the bottom of the list and select “The printer I wanted wasn’t listed”
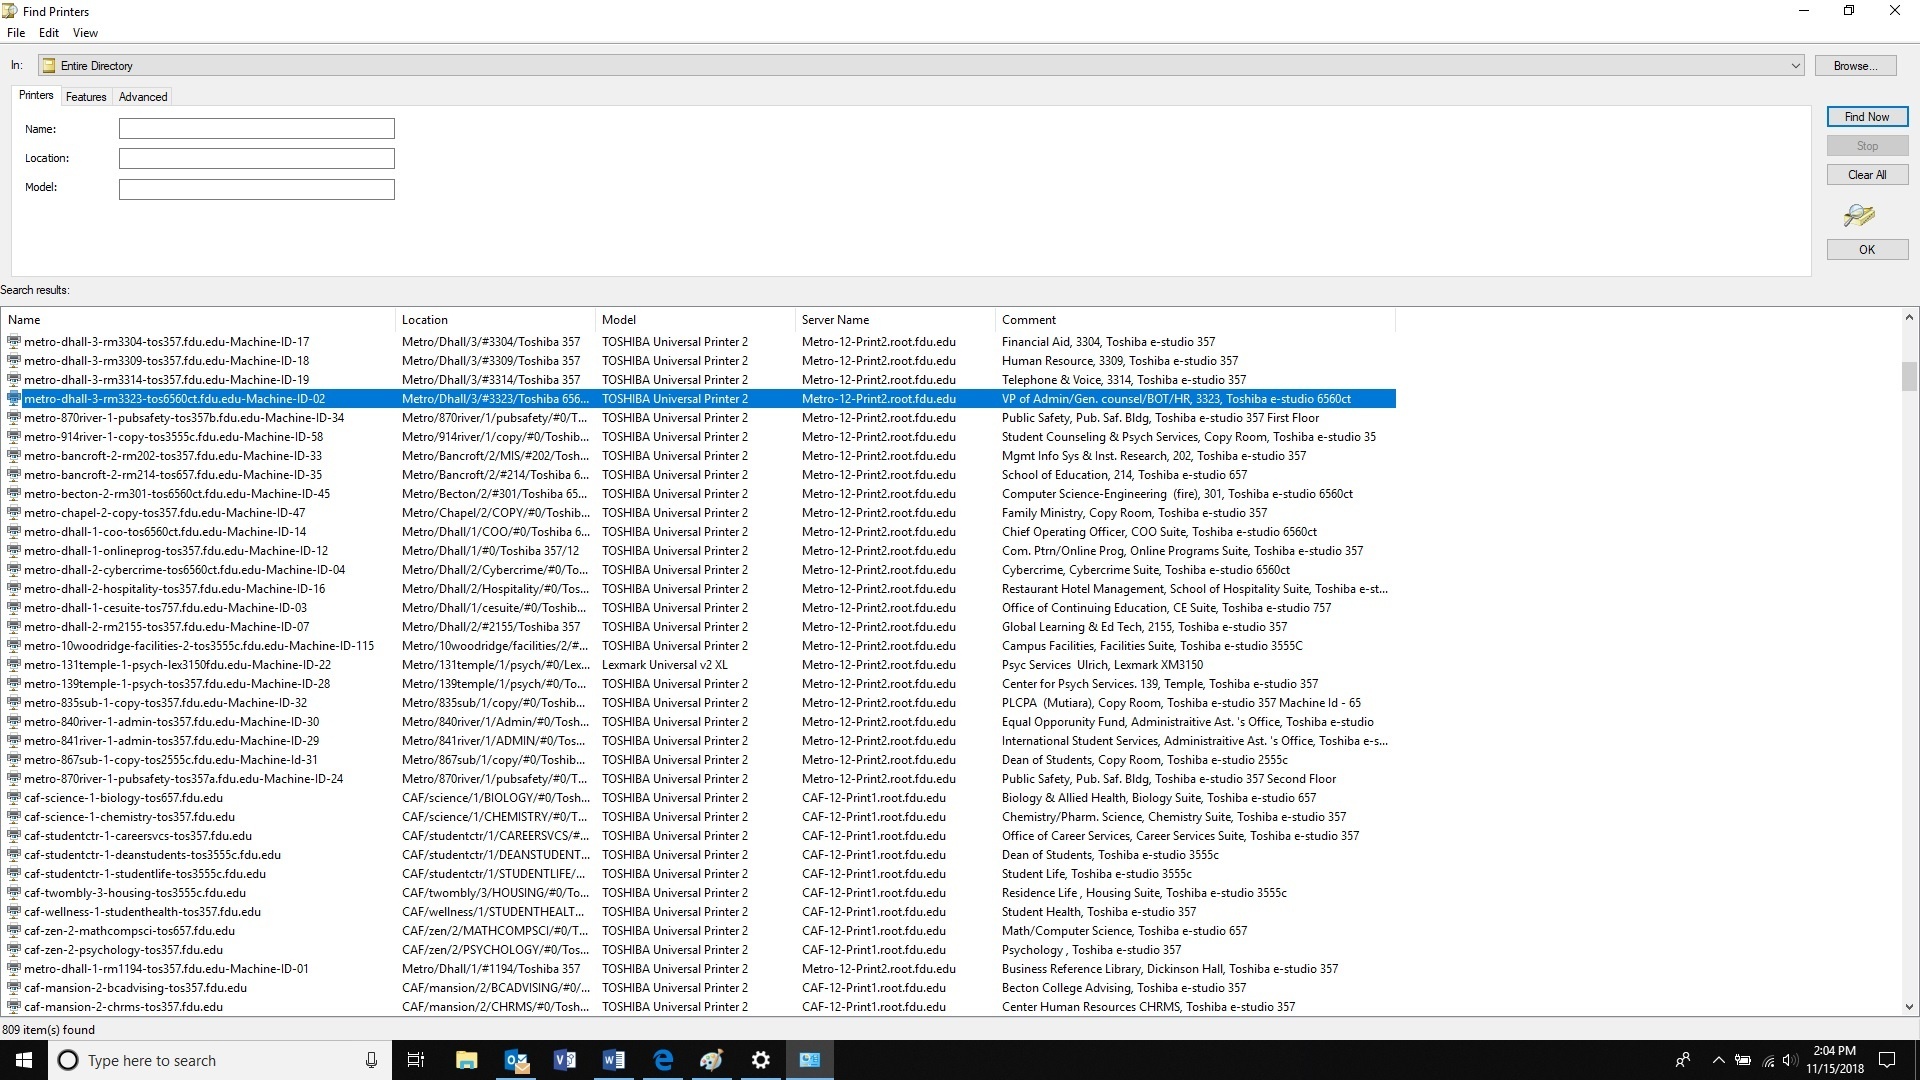
In the new dialog box, select “Find a printer in the directory” and click “Next”
Search for your printer and double click on it when you find it
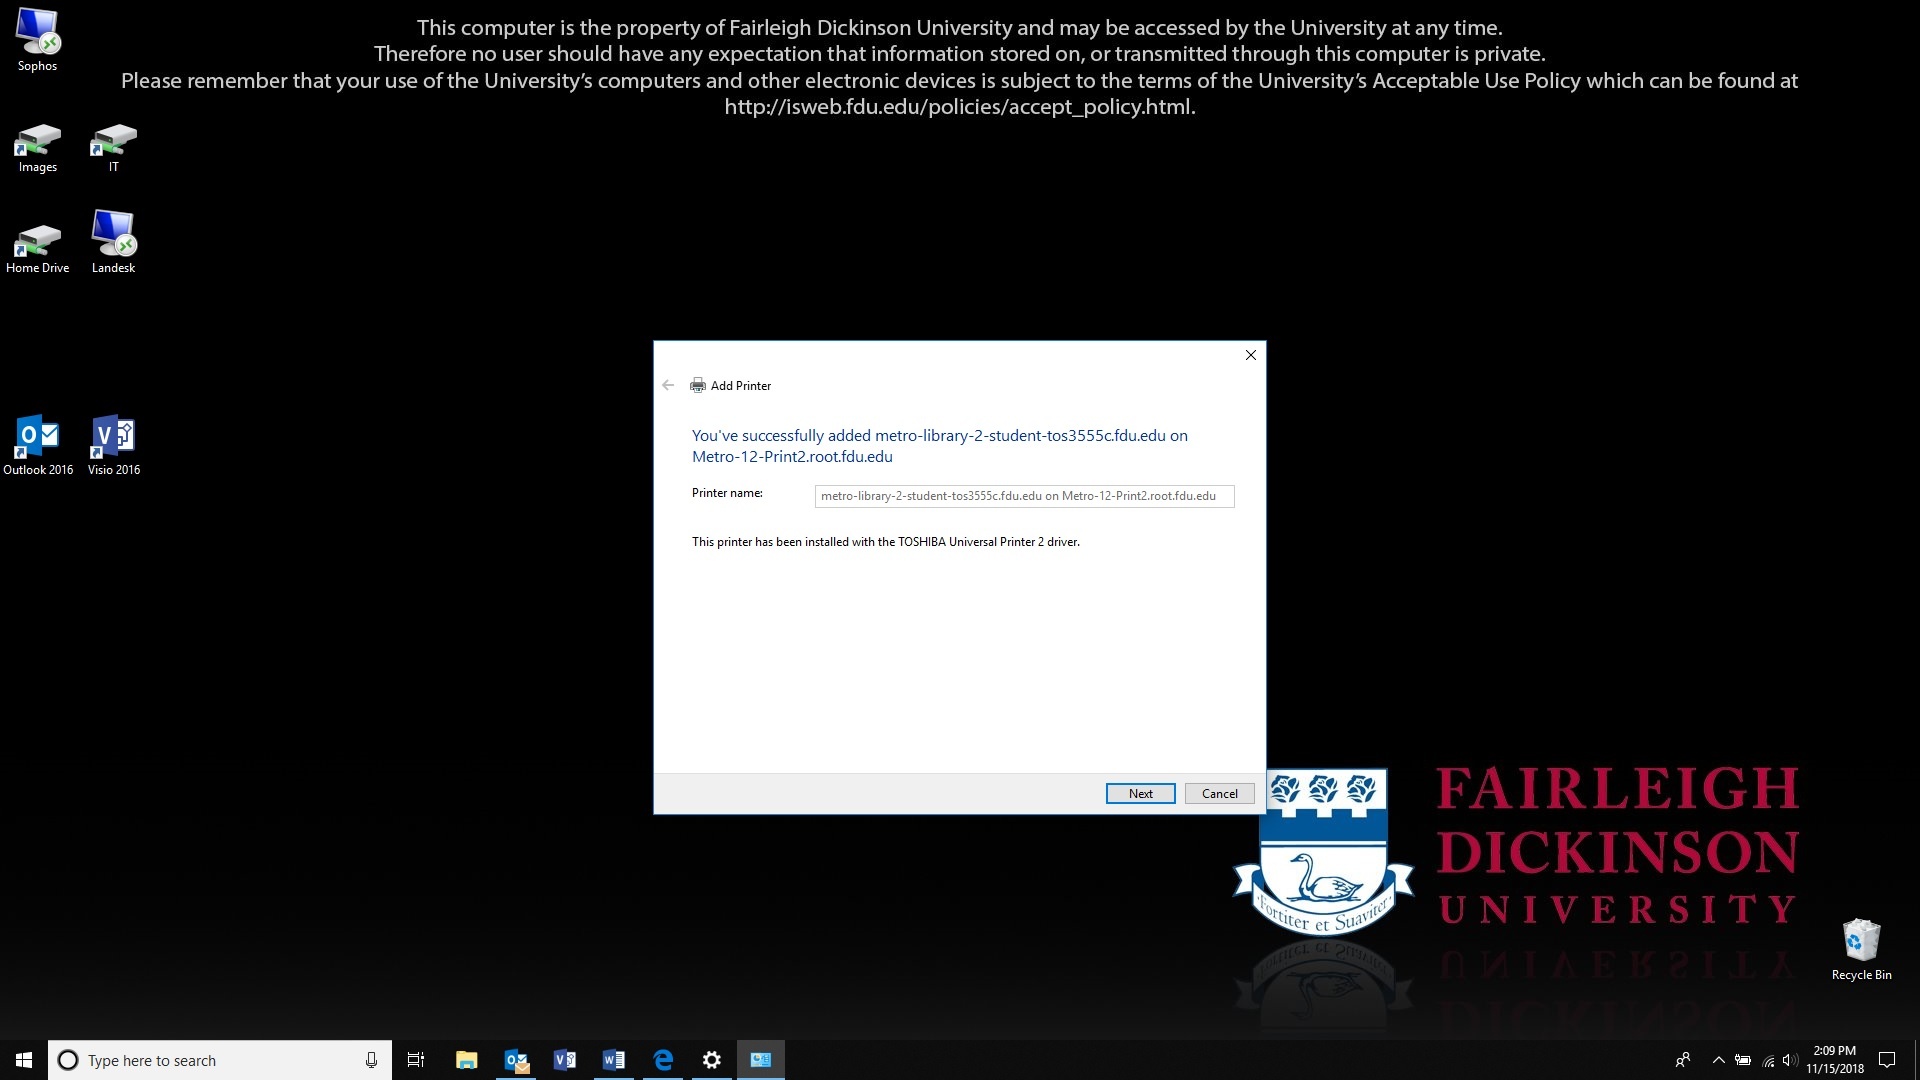
A box will let you know that the printer was successfully installed. Click “Next”
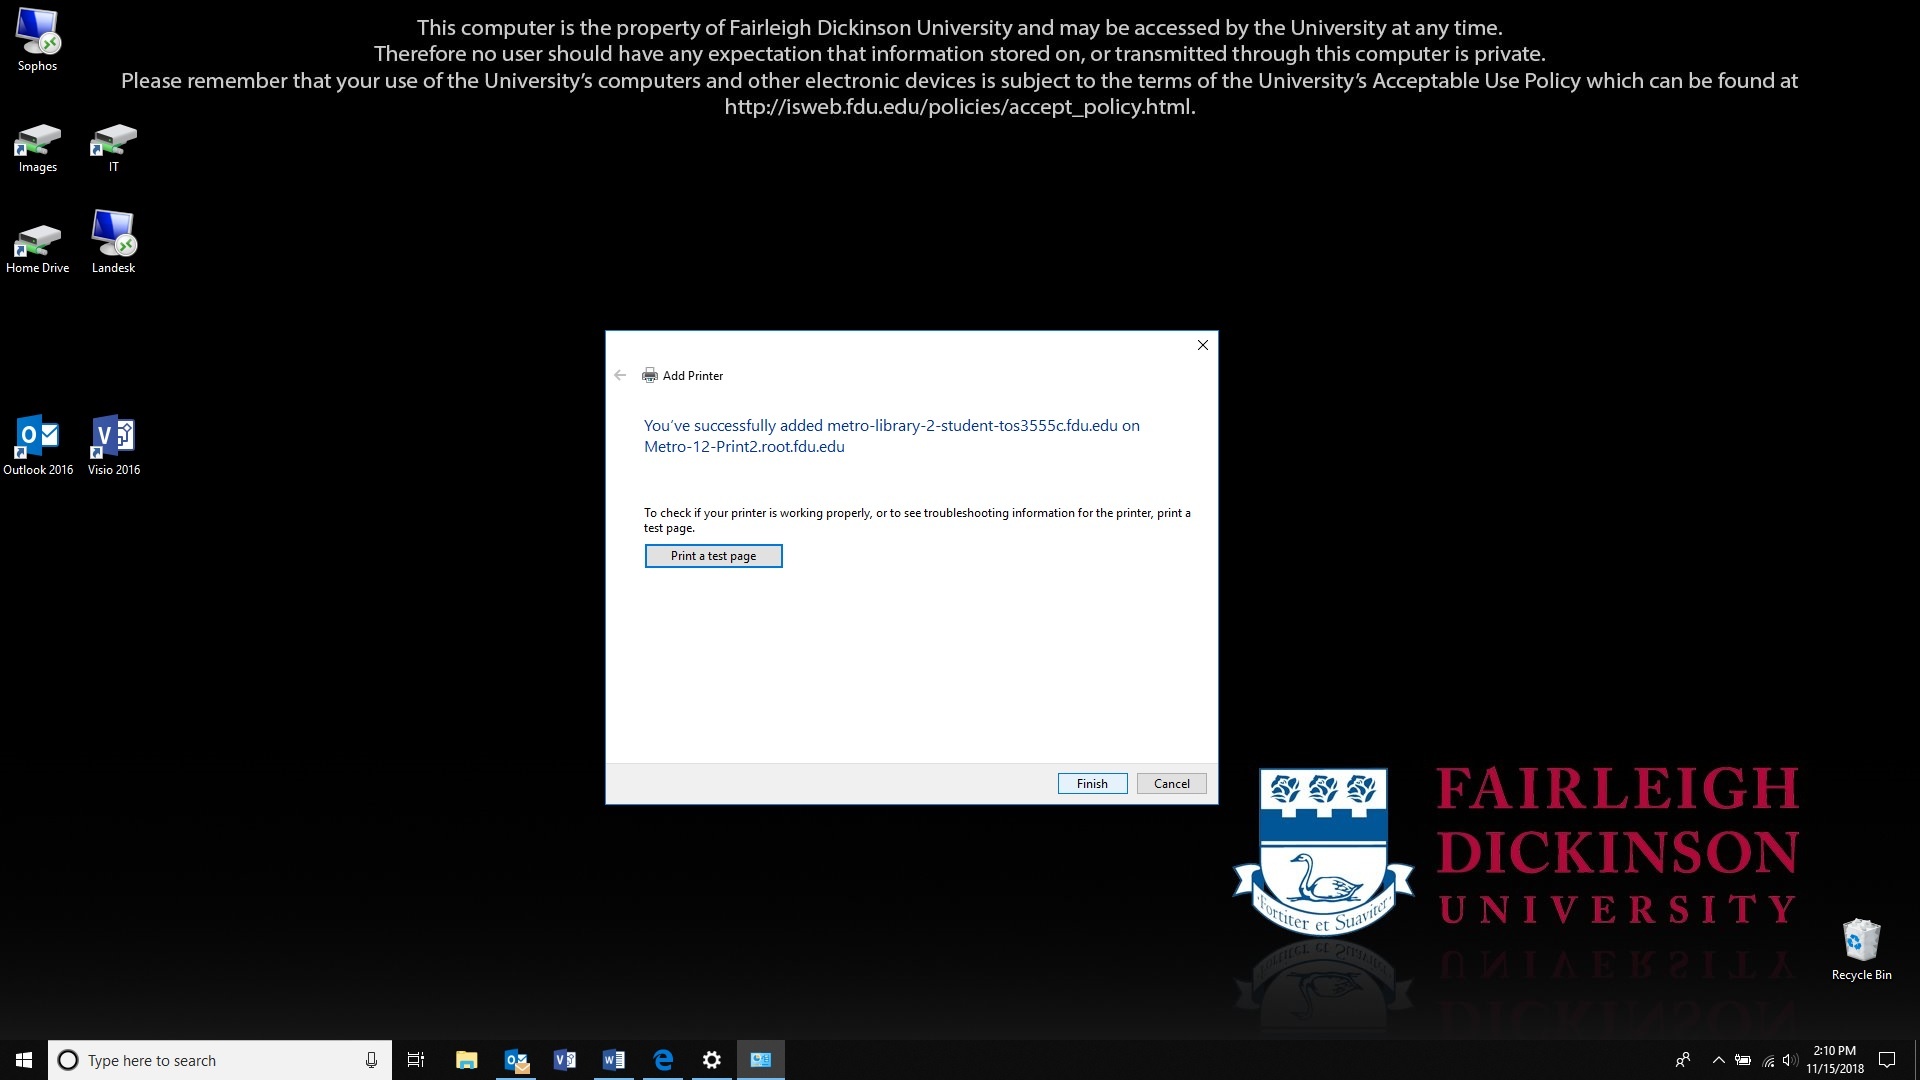
You can click on “Print a Test Page” to verify you are connected to the right printer otherwise click on “Finish”
To access Forms, you will be directed to our SAMI Support Portal where you will be asked to log in using your NETID and authenticate using Duo. Once you click “Next,” you will be forwarded to samisupport.fdu.edu in a new window or tab.