jabber

Cisco Unified Communications Jabber Softphone Installation

Resources for:
icon Close

Installing Cisco Jabber Softphone

When you are out of the office, a softphone on your computer can be used to make and receive calls from your campus phone number.

  1. You must have an active NWN Cloud Self-Service account in order to use the Cisco Jabber Softphone. If you have one already, proceed to step 3 otherwise continue to step 2
  2. Contact the Fairleigh Dickinson University Technical Assistance Center (UTAC) and let them know you are accessing your NWN Cloud Self-Service portal for the first time. UTAC will provide you a temporary password for logging in the first time
  3. Visit the self-service portal at fdu-selfcare.nwncloud.com
  4. Enter your full NETID@fdu.edu in the login field. Example: (SmithR@fdu.edu)
  5. Enter your NWN Cloud account password and click “Enter
  6. Click and download Jabber for Windows or macOS, located within the links sections.
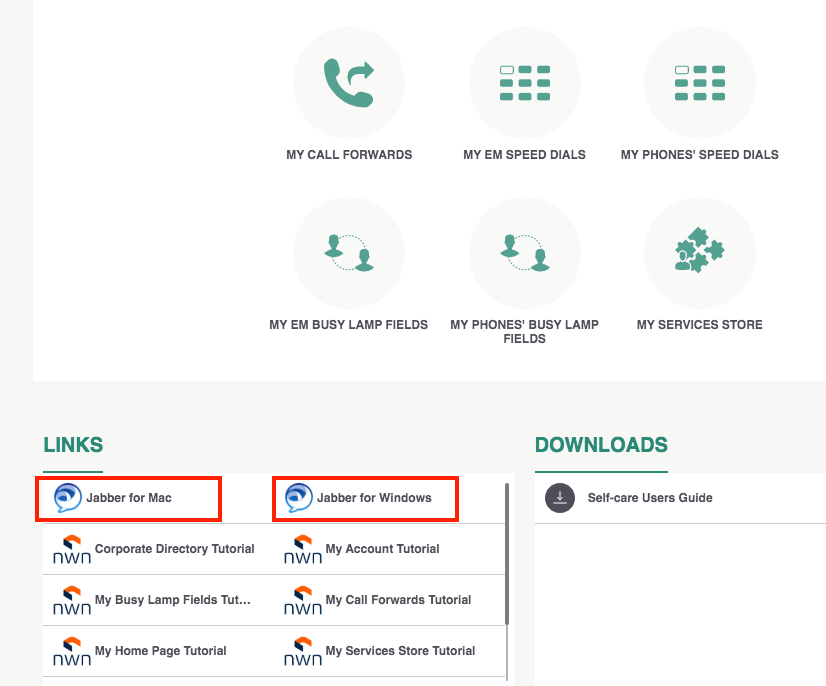
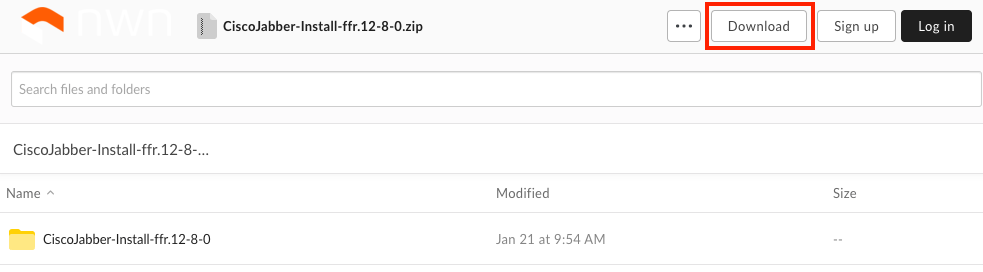
  1. Each Jabber link will send you to a webpage to download the latest Cisco Jabber software. Choose download at the top right and wait for it to start

Note:

There is no need to login again if you are prompted, the download will begin shortly.

  1. Install the Jabber Software
Windows
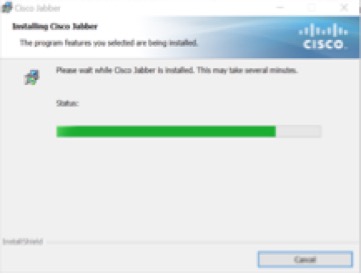
  • For Windows, double click the downloaded CiscoJabber.ZIP file and double click on the Setup file to start the installation. Click “Yes” to accept and install the software. Once complete, the Cisco Jabber Software will start and it will have created a shortcut in your Programs Folder

Note:

If you are prompted for an administrative account, and the installation will not proceed, call UTAC and they will be able to assist you through this step.

close
macOS
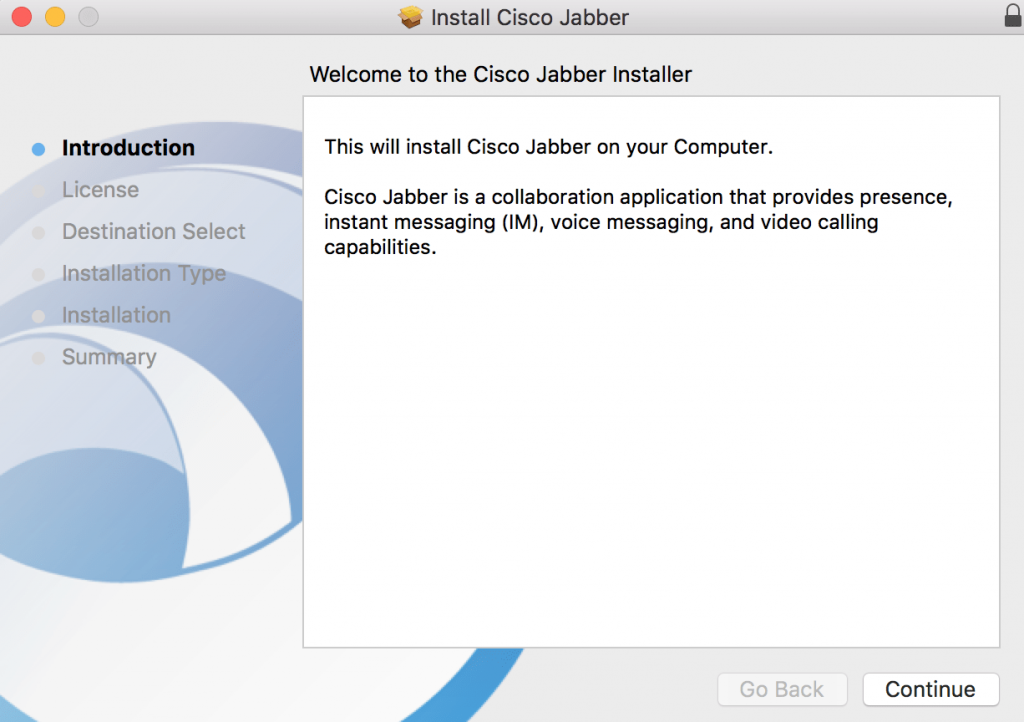
  • For Mac, double click the downloaded CiscoJabber.PKG and proceed through the installation.

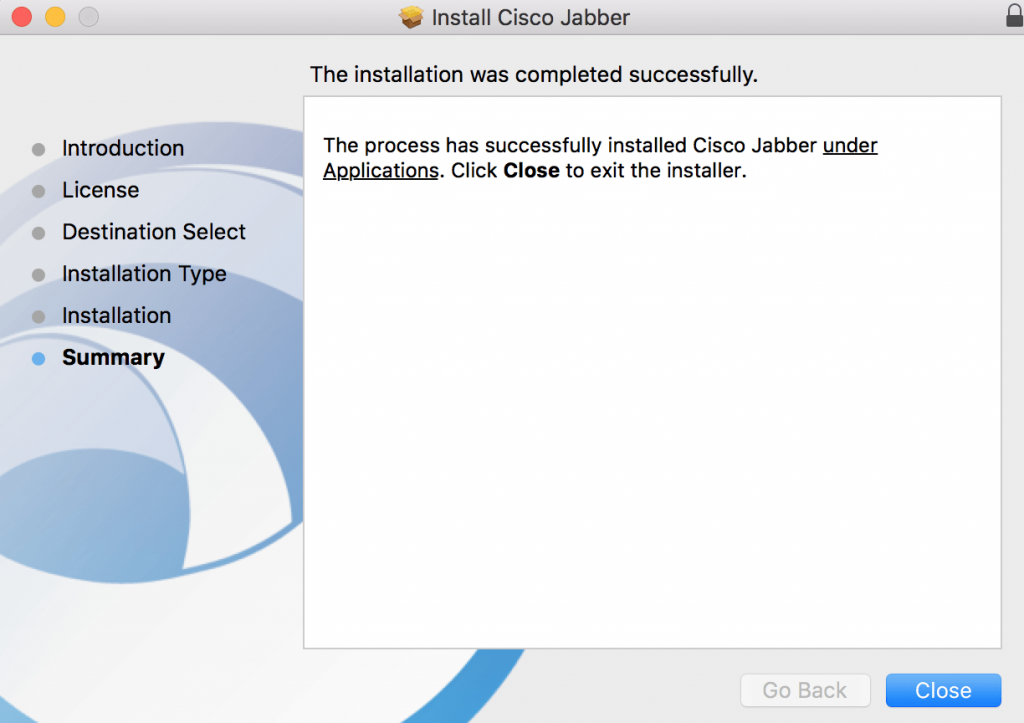
The Cisco Jabber Software will be available under your Applications folder.

close
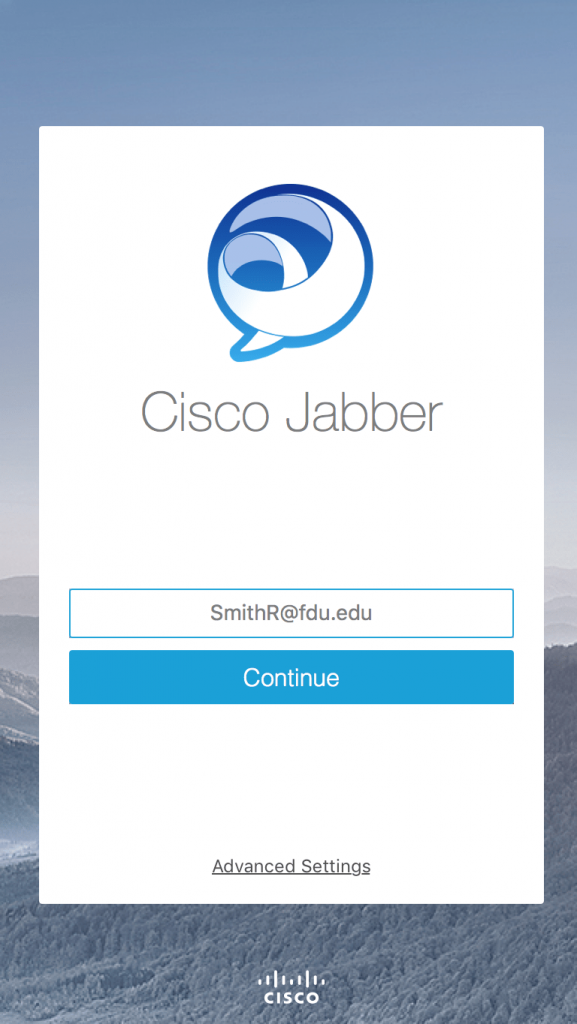
  1. Start Cisco Jabber and enter your username, which is your full NETID@fdu.edu in the login field and click continue. Example: (SmithR@fdu.edu)
  1. Enter your NWN self-service portal password and click Sign In
  1. The Cisco Jabber client installation is now complete.
Last Modified:

Jabber for Windows Audio Setting Method

Resources for:
icon Close

Jabber for Windows has options where you can choose your Speaker, Microphone and Ringer/Alerts devices. The Speaker, Microphone, and Ringer/Alerts device settings are, by default, already chosen though your PC settings. This article describes how to arrange devices on the advanced page.

Setting Method

  1. Start Jabber for Windows application and after the sign-in, select the cog’s drop-down menu, File > Options.
1
  1. On the left side of the options screen, select the audio and click the Advanced > > button on the bottom right.
Jabber for Windows Audio Setting Method 2
  1. From the Advanced audio options window, PC’s defaulted devices are selected. The check on the right side of the audio devices represents the devices that you are currently using.
Jabber for Windows Audio Setting Method 3
  1. To change the order of preference, select the headset you want to use and click the arrow button on the right-hand side to move your preference.
Jabber for Windows Audio Setting Method 4
Example is that of the Speaker but the Microphone and Ringer/Alerts preferences can also be changed the same way.
  1. Set your preferred headset to the top, click the Apply button on the bottom right and close with OK. The setup is now complete.
Jabber for Windows Audio Setting Method 5
In this example, the Plantronics headset device is chosen to be the top choice.

Example of when the Headset is connected to your Computer

For the device that is connected and in use becomes highlighted and will also have an indication of a check.

Jabber for Windows Audio Setting Method 6
Last Modified:

Using Jabber with Multiple Lines

Resources for:
icon Close

When multiple lines are enabled in Jabber a drop down of the available lines will be displayed near the bottom of the Jabber windows.


To Make a Call

  1. Click on the arrow near the number displayed.
  2. Choose the line (Number) you desire to call from.
  3. Make the call as normal.

When receiving a call, the caller ID will display the line from which the call is coming from.

A call can be made or received from all the available lines.

Last Modified: