
Introduction
This document provides information about the use of the FDU Shared Drive Management Portal. It describes navigation of the website in detail to facilitate proper use of this resource.
Logging In
To access the Shared Drive Management Portal, navigate to this URL to login: sharemanagement.fdu.edu
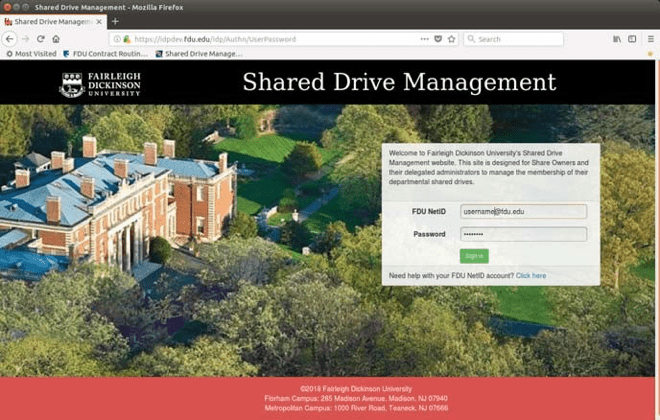
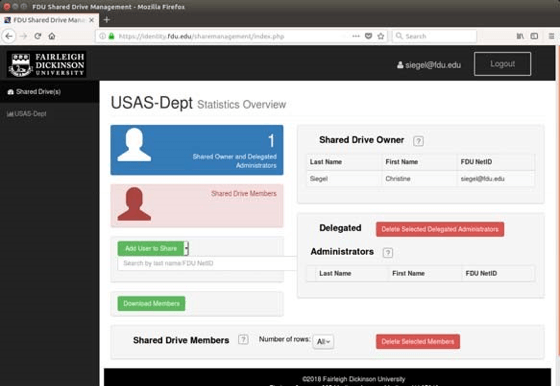
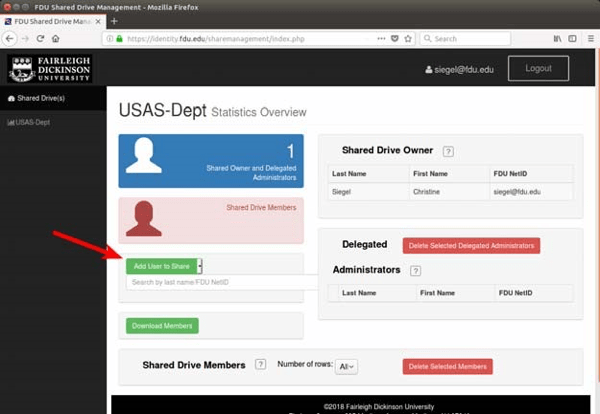
Once you have logged in with your NetID, you will see a list of the shares you own or have been given authorization to manage in the left‐hand column. If you are the owner of the share, your name will appear in the panel on the right side under “Shared Drive Owner”. If you are not the share owner, your name will be listed on the right side panel under “Delegated Administrator”. To switch between shares you manage, select the appropriate share name from the list in the left side panel.
Note
Underneath the Shared Drive Owner information, you will see an area for Delegated Administrator information. Delegated Administrators are people you wish to grant the ability to add and/or delete Shared Drive Members. It is important to understand that while a Share Owner can delegate membership responsibilities to others, the Share Owner is always the primary person responsible for the management of any Personal Information or Protected Health Information contained within that share. The Share Owner has the sole accountability for the data managed and viewed within their share.
Adding Members and Delegated Administrators
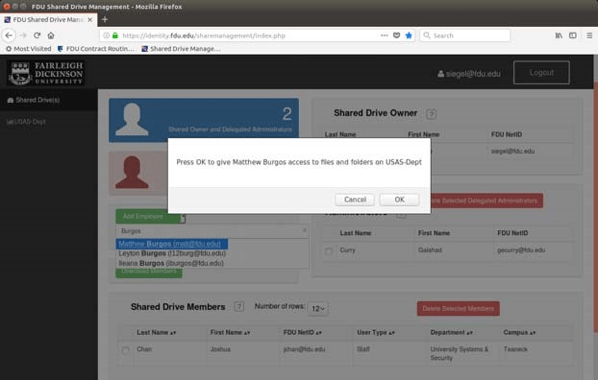
To add a member to the share, click on the down‐arrow at the right of the “Add User to Share” button and choose the type of user you would like to add from the drop‐down menu. You can choose from Employee, Administrator, or Student. Then, enter either the last name or the FDU NetID of the person you would like to add into the text box. If more than one name appears, choose the person you want to add.
A pop‐up window will appear asking you to confirm or cancel the add.
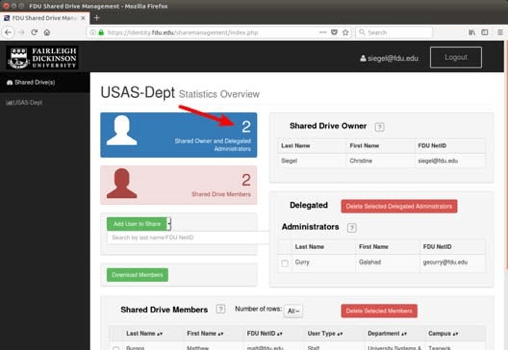
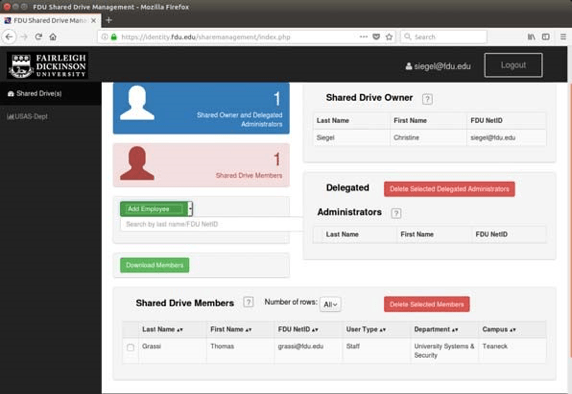
The individual’s information will be added to the list of members at the bottom of the page. When you add Delegated Administrators, they will appear in the list to the right, and the Owners/Administrators count will increase. It is important to note that Delegated Administrators can not add additional Delegated Administrators.
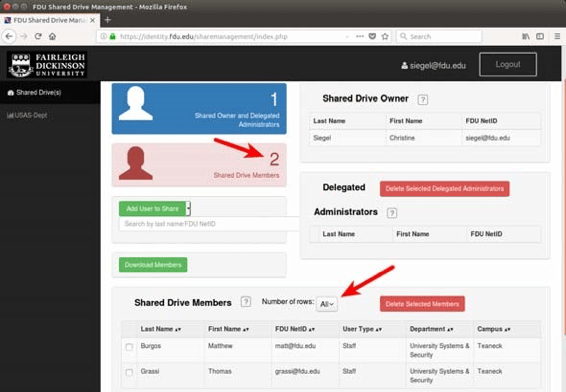
As you add more members or Delegated Administrators, the count of members for each will increase. When viewing members of a share, the “Number of rows:” menu can be used to select 12, 24, 36, or All rows to view.
Currently, all Shared Drive Members are granted Read/Write access to the contents of the Share. Future updates to this application will allow you to choose Read Only or Read/Write access rights to each new Member. Meanwhile, the Share Owner can contact University Systems and Networking at help@fdu.edu to request Read Only access for a new member.
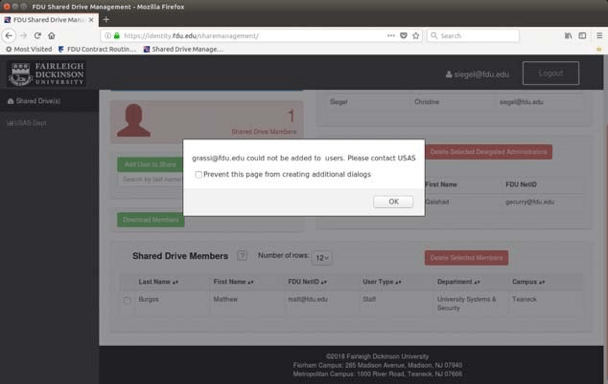
From time to time, a Share Owner or Delegated Administrator might try to add a new member to a drive to which an existing drive letter cannot be assigned. If that happens, the following message will appear, and the Share Owner or Administrator will need to contact the SAMI Service Desk to have that member added.
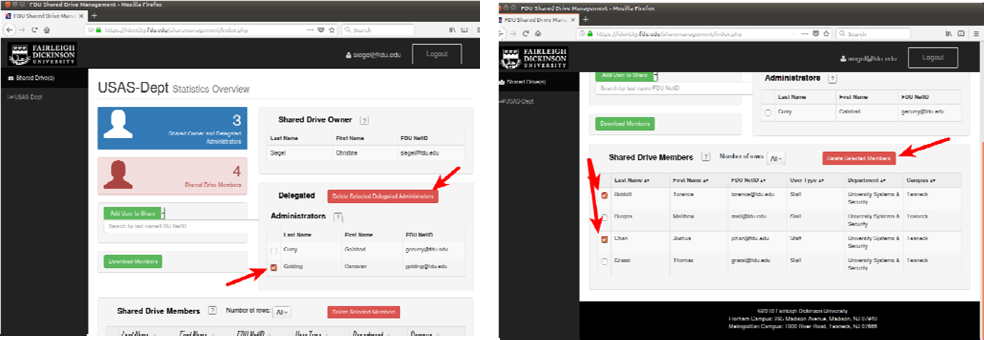
Deleting Members
You will notice a check‐box to the left of each Administrator and Member of the share. To delete an Administrator or a Member, click the check‐box next to it. You can click on multiple check‐boxes. When you have selected all the Members or Delegated Administrators you wish to delete, click on the “Delete Selected Delegated Administrators” or “Delete Selected Members” button to delete all the selected Administrators/Members. The lists and the counters will be updated to reflect the change. It is important to note that Delegated Administrators can not delete other Delegated Administrators.
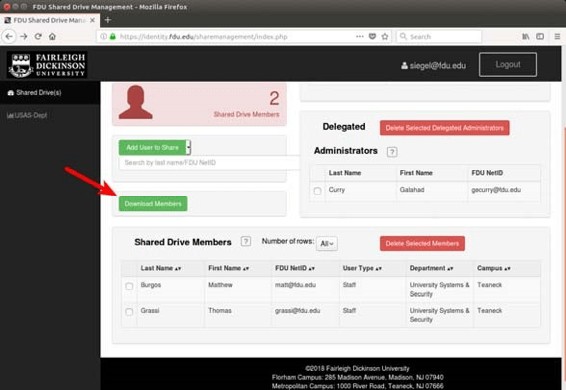
Downloading Members
To download a list of Shared Drive Members in .csv format, click on the “Download Members” button.
A new file will be placed in your Downloads folder called “ShareDriveMembers.csv”. When imported into a spreadsheet application, it will look similar to this (you will see the actual FDU NetID).
Requesting a New Shared Drive
To request a new Shared Drive, please follow the link below:


