portal

DUO Device Management Portal Guide

Resources for:
icon Close

This guide is designed to assist you in mastering both the classic and updated versions of the DUO Device Management Portal. It simplifies the process of modifying existing devices and integrating new ones into your multi-factor authentication setup.

Legacy DUO Device Management Portal

Accessing the legacy DUO Management Portal
  1. In a Desktop or Laptop browser visit the “DUO Management Portal“. You will be prompted to authenticate through SSO and complete the Multi-factor Authentication process

DUO Management Portal

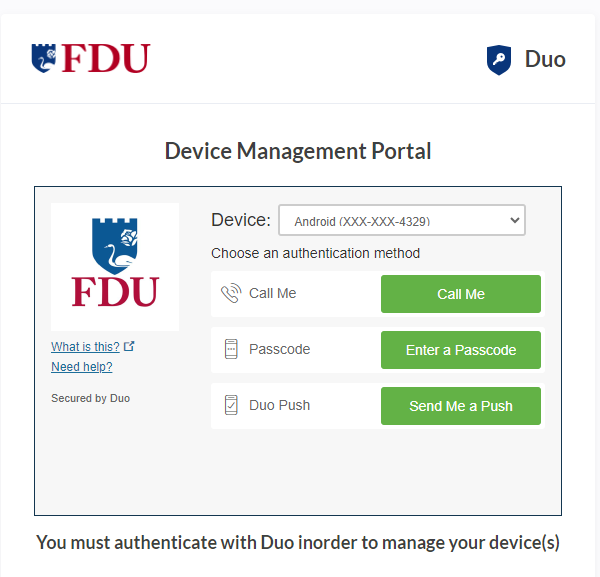
  1. After authenticating you’ll see the DUO Management Portal. This is where you can enroll new devices, reactivate, edit, or delete your existing devices
close
Default Authentication Options

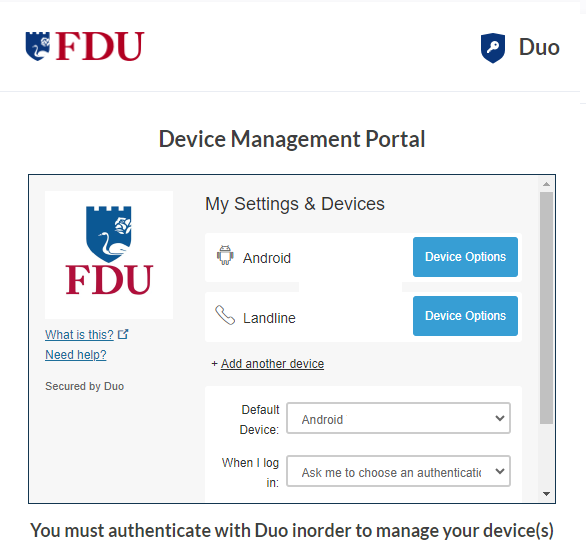
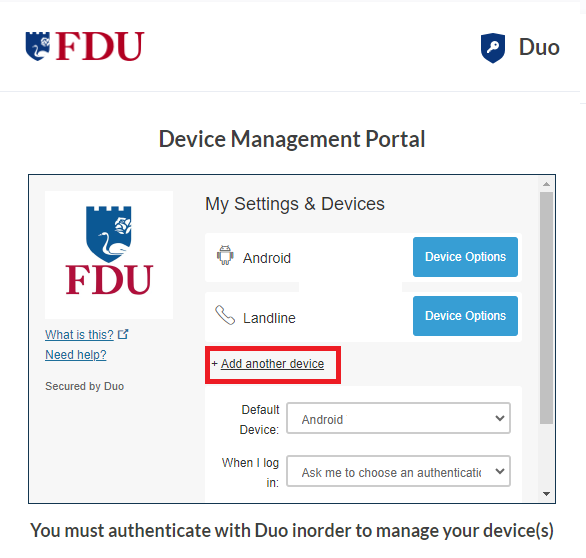
If you authenticate with more than one device, you can specify which you would like to be the default.

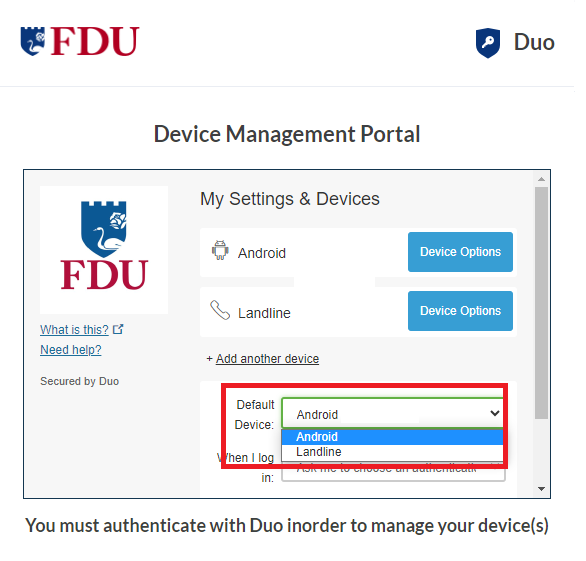
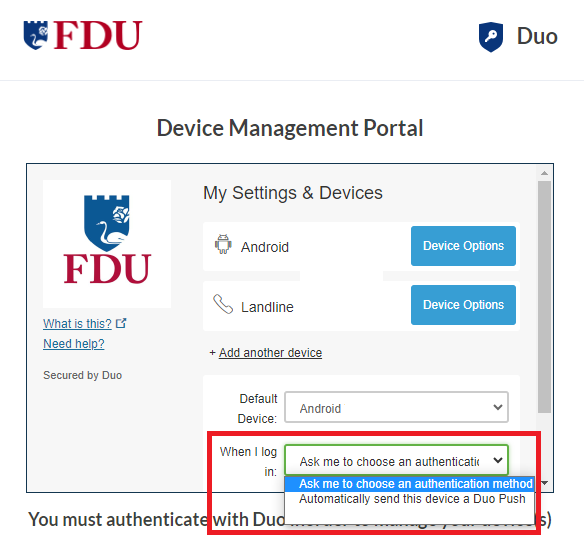
  1. Click the “Default Device” drop-down menu and pick your default device for authentication. Click “Save” if you’re done making changes
  1. You can choose which authentication method you prefer to use when logging in by clicking on the “When I log in” drop-down menu
    • Ask me to choose an authentication method: it will prompt you to select an option every time you log in
    • Automatically send this device a DUO Push: it will automatically send a DUO Push to your default device
close
Reactivate Duo Mobile
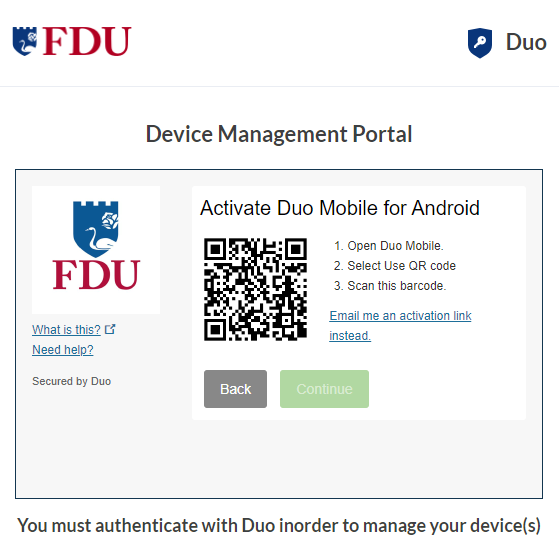
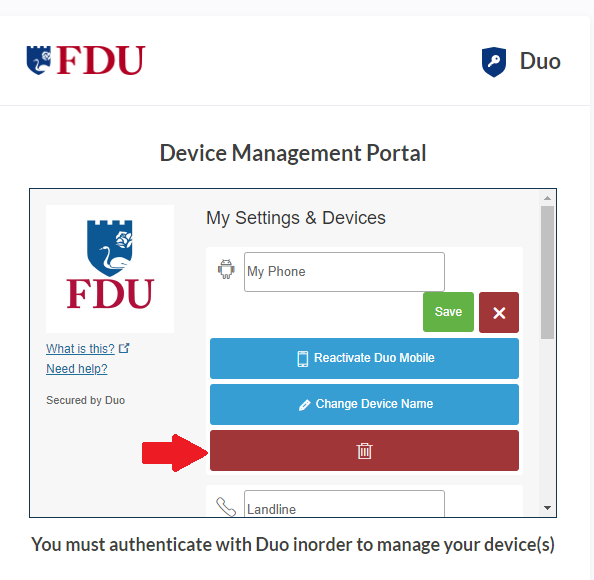
  1. Click on “Reactivate DUO Mobile” if you need to get DUO Push working on your phone, for example, if you replaced your phone with a new model but kept the same phone number.
  1. After answering some questions about your device, you’ll receive a new QR code to scan with your phone, which will complete the DUO Mobile activation process
close
Change Device Name
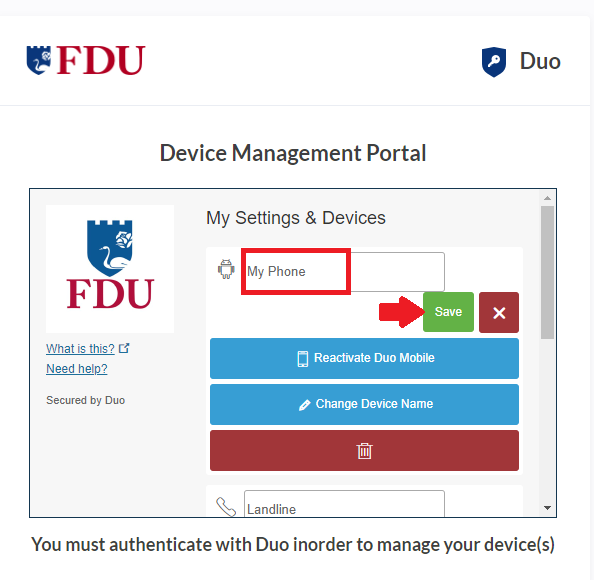
  1. Click on “Change Device Name” to open up an interface to change the display name of your phone
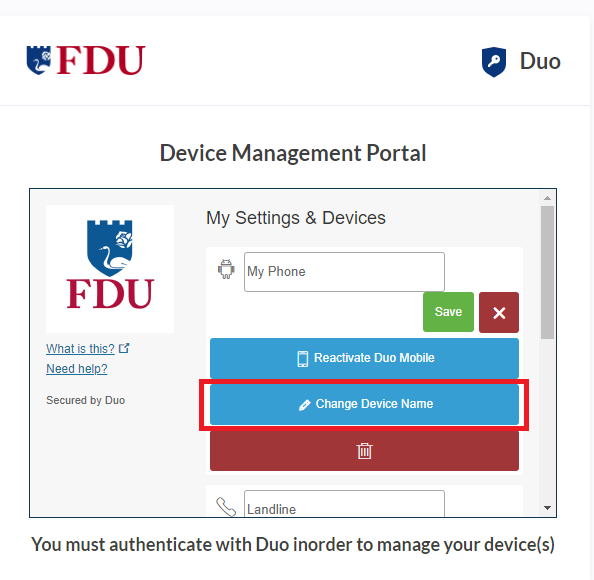
  1. Type in the new name and click “Save
close
Remove Device
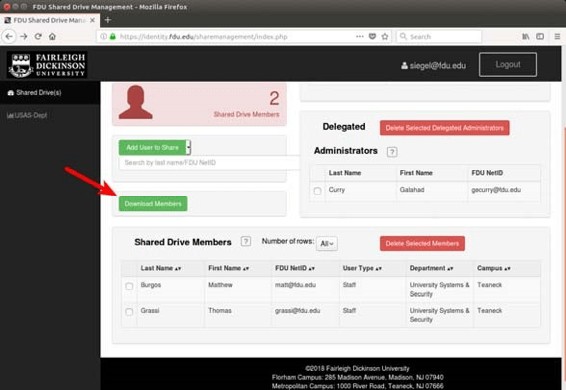
  1. Click the “trash” icon button to delete a device
  1. Confirm that you want to remove the device by clicking on “Remove“. The device will be deleted. It will no longer be able to approve DUO authentication requests.

Note

You may not remove your last device. If you wish to remove it, first add another, then delete the original. If you are unable to delete a device, contact your administrator to have it removed.

close
Add New Device

To add a new authentication device, click “Add another device” link on the right side of the DUO Prompt. You’ll be taken to the new device enrollment prompt

You can use the DUO Quick Start Guide for instructions on how to enroll a new device

close

Updated DUO Device Management Portal

Accessing Updated Device Management in the DUO Universal Prompt

You can add additional verification methods, manage your existing devices, or reactivate DUO Mobile for DUO Push from the DUO Universal Prompt.

  1. When logging in to an application with the Universal Prompt Click the “Other Options” link on the authentication page to view your list of available methods
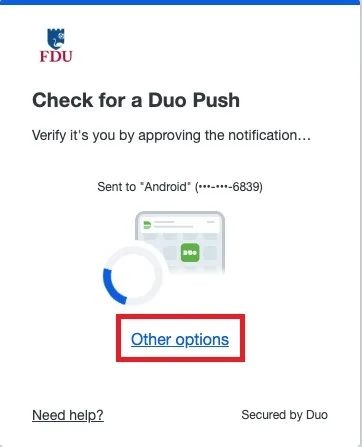
  1. Click on “Manage devices” at the end of the list to enter the device management portal
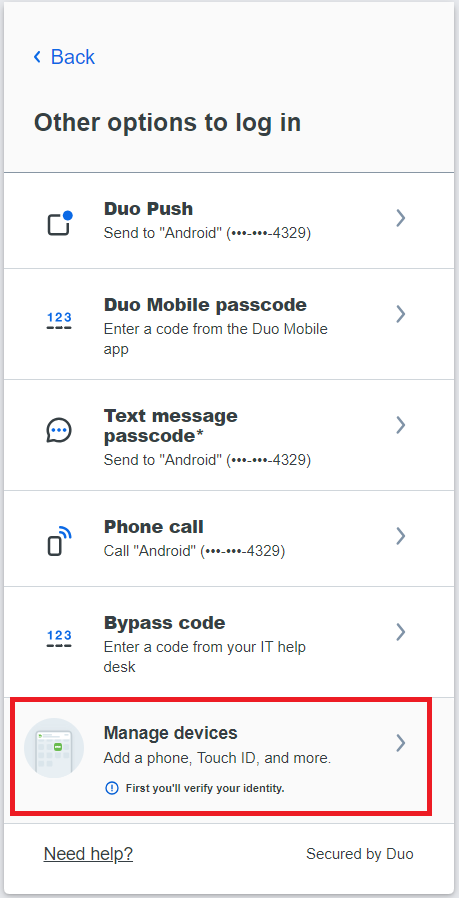
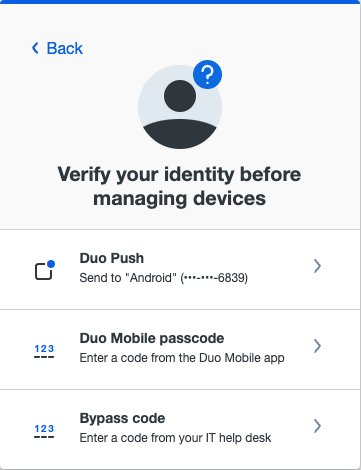
  1. You will be prompted to verify your identity by completing the DUO Multifactor Authentication process. Select your preferred authentication method from the listed options to continue
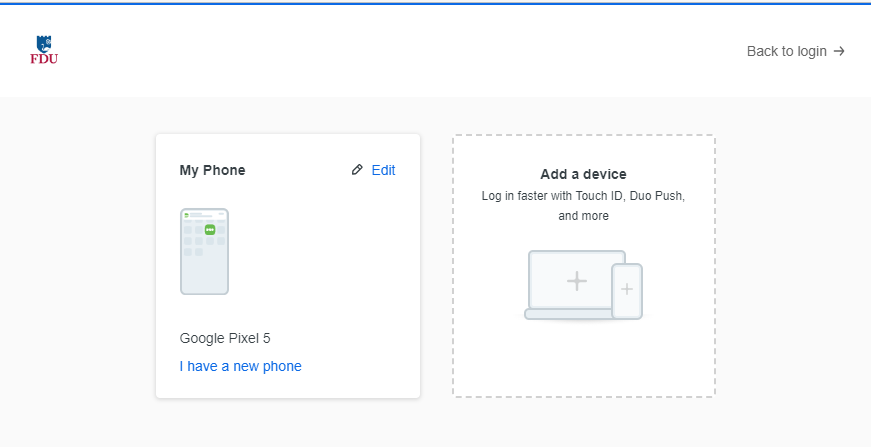
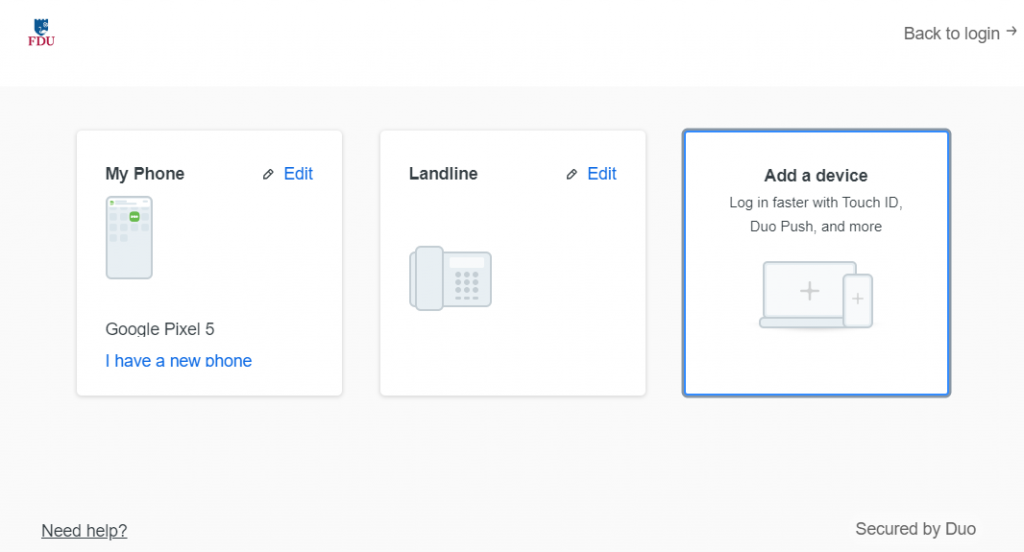
  • After approving a DUO authentication request you can see the Device Management Portal with all your registered devices.
close
Add New Device

To add a new method of verifying your identity in DUO, click “Add a device” and follow the enrollment process described in the DUO Quick Start Guide, starting on Step 3.

The difference between adding a new device from the Device Management Portal and during first-time enrollment is that when you have finished enrolling the new device you return to the Device Management Portal to view all your registered devices, including the new one, instead of continuing to log into an application.

close
Rename or Remove a Device
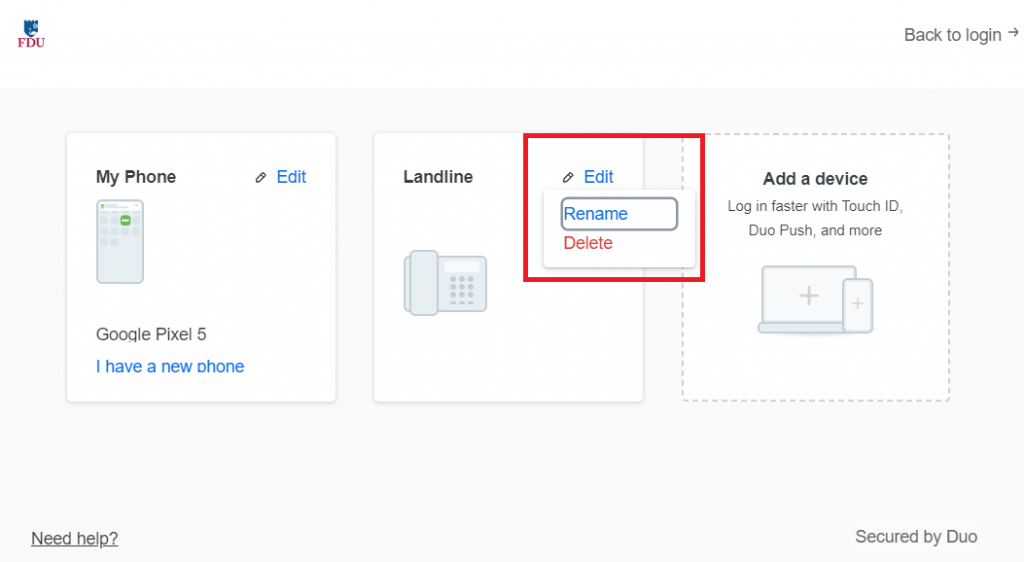
  1. Click the “Edit” button on the device you would like to rename or remove to view the drop down menu
    • Then click either “Rename” or “Delete
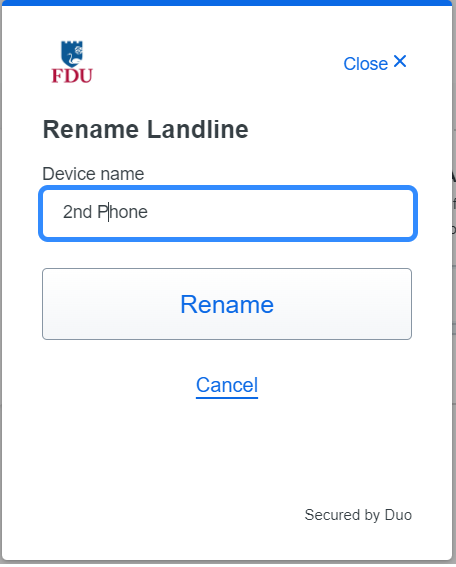
  1. When renaming a device, type the new name for your device, then click on “Rename” to save your changes
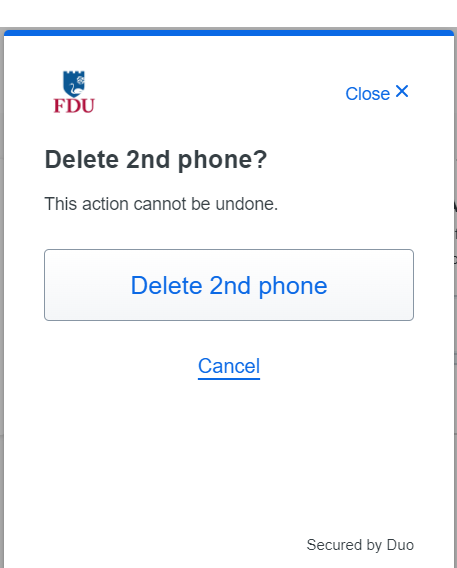
  1. When Deleting a device, confirm your selection to delete
close
Reactivate DUO Mobile for an Existing Device

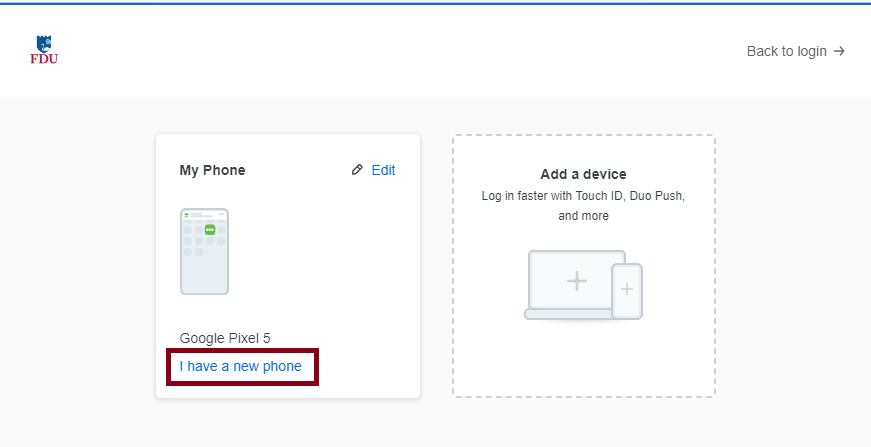
If you have replaced the phone you activated for DUO Push, you can reactivate DUO Push if you have the same phone number.

  1. Click on “I have a new phone” for the device you want to reactivate
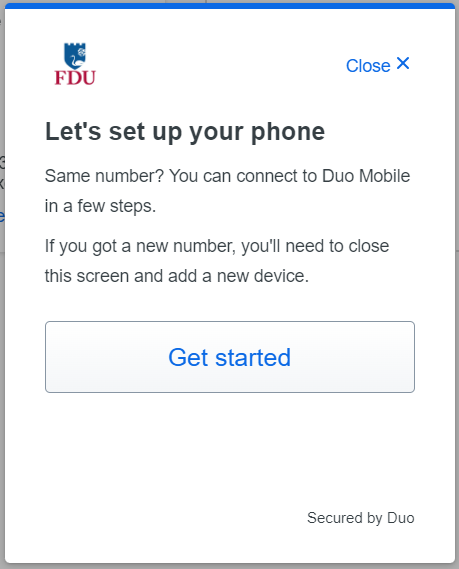
  1. Click “Get Started” to continue
  1. Click on “Send me a passcode” or “Call my phone” then proceed to follow the instructions prompted to complete the reactivation process
close
Reactivate DUO Mobile outside of the Device Management Portal
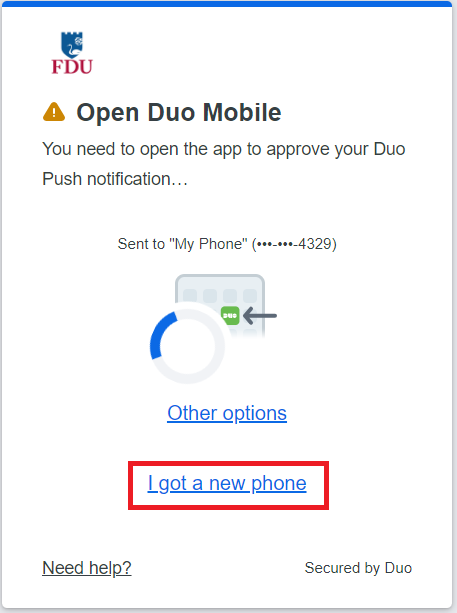
  1. Let the DUO Push authentication time out
  1. Click on the “I got a new phone” link shown in the Universal Prompt
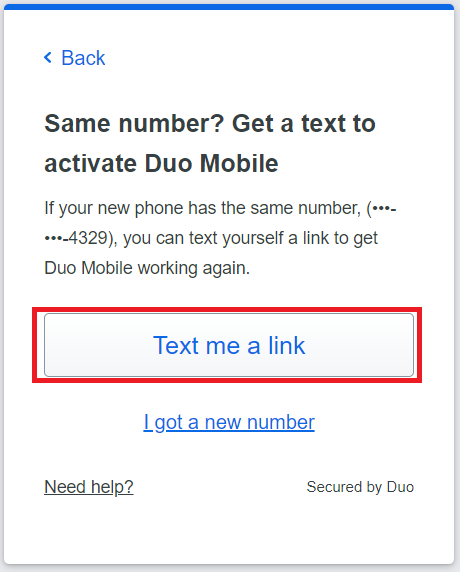
  • If you still use the same phone number as you did when you first set up the phone to use DUO Push, then click or tap the “Text me a link” button
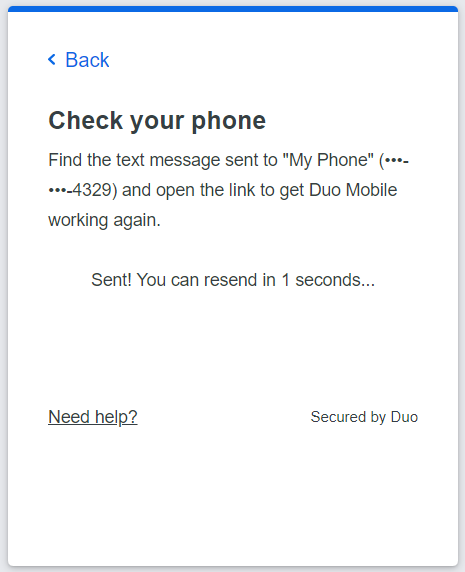
  • When the text message with the link arrives on your phone, tap it to automatically reactivate DUO Mobile on your phone to use DUO Push again. If you don’t have DUO Mobile installed be sure to install it before you try to open the activation link in the text message.
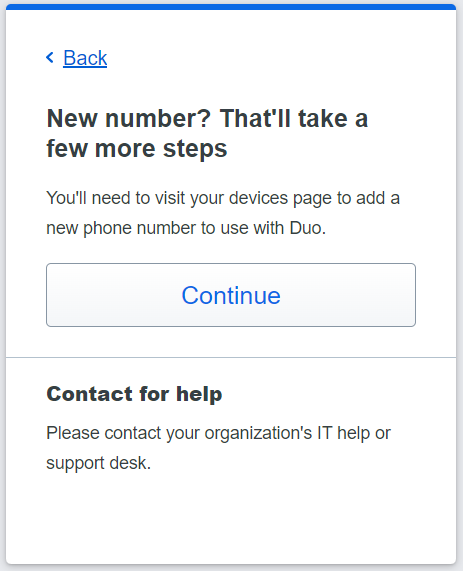
  • If you are using a different phone number than the one you first set up, then press on “I got a new number
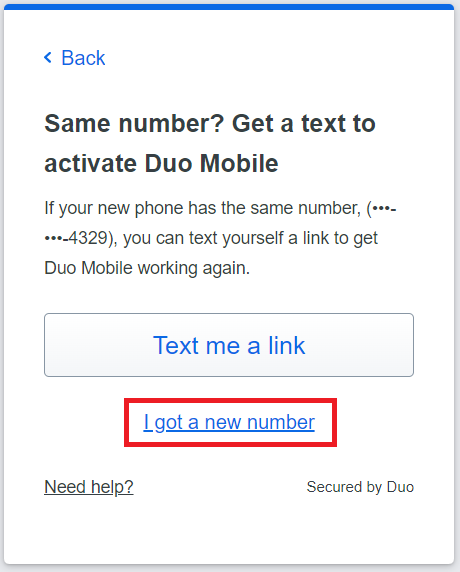
  1. Press “Continue” to proceed to the DUO Device Management Portal, where you can complete the steps to “Adding a New Device and set up DUO Push on the new phone

Note

You will need to verify your identity with a different DUO verification method, so if you don’t have one available you will need to contact the Fairleigh Dickinson University Technical Assistance Center for help.

close
Last Modified:

FDU Self Service Portal for Software

Resources for:
icon Close

The FDU (Fairleigh Dickinson University) Self-Service Portal for Software is a a tool designed to enhance our community’s access to software and desktop related information. With the Self-Service Portal for Software, our Faculty and Staff can easily locate and install pre-loaded software onto FDU owned computers. Simply launch the portal and you will be presented with a variety of applications, each sanctioned and supplied by FDU. This portal will provide an easily searchable way to view all new applications made available to the user community, including Microsoft Teams, Cisco Jabber, the FDU VPN, and many more.

FDU Self Service Portal Icon

How to Use and Access the FDU Self Service Portal for Software

Windows
  1. Locate the FDU Self-Service Portal for Software icon on the desktop and double-click it to launch the application or…
    1. Select the ‘Windows’ logo/start button on the bottom left of the desktop
    2. Type ‘FDU Self Service Portal for Software’ into the search bar
    3. Left click ‘FDU Self Service Portal for Software’ app to launch
FDU Self-Service Portal for Software on Windows Devices
  1. To install a program, click on the name of the application, then click on the “Install” button to the right
  1. A progress window will provide updates as the program is installed on your system. When complete, the Status column should indicate “Complete
  1. After the selected application finished downloading, it will automatically install and when completed, the status will show as “Completed
close
macOS
  1. Open the ‘Applications’ folder and locate and click the ‘FDU Self Service Portal’ icon or…
  • Select the ‘Launchpad’ icon from the dock

Launchpad Icon

  • Type ‘FDU Self Service Portal
  • Click the ‘FDU Self Service Portal’ icon to launch
FDU Self-Service Portal for macOS Devices
close
iOS & iPadOS
  1. Find the ‘Self Service Portal’ app icon and tap to launch
FDU Self Service Portal App on iPadOS

FDU Self Service Portal App on iOS

  1. Click ‘Install’ to install the requested item onto your device

Note:

The Android version of the FDU Self Service Portal will be available in the future.

Once the FDU Self-Service Portal application is open, you may then continue to select and install your desired software application. You may also access and use any self-service troubleshooting solutions that are available to you from within the FDU Self-Service Portal as well.

close
Last Modified:

NWN Cloud Self-Service Portal Account Setup

Resources for:
icon Close

The NWN Cloud Self-Service portal allows you to manage and view your phone settings.

  1. Contact the Fairleigh Dickinson University Technical Assistance Center (UTAC) and let them know you are accessing your NWN Cloud Self-Service portal for the first time. UTAC will provide you a temporary password for logging in the first time
  2. Visit the self-service portal at fdu-selfcare.nwncloud.com
  3. Enter your full NETID@fdu.edu in the login field. Example: (SmithR@fdu.edu)
  4. Enter your NWN Cloud account password and click “Enter
  5. Next click on your Name on the top right of the screen. Hover over the drop-down menu and click “My Account
  1. Under “Web Password” un-check the checkbox, next to keep current value, and input set a custom password. When done, click “Apply” in the top right corner
  1. Your account is now active.
Last Modified:

Use The FDU Shared Drive Management Portal

Resources for:
icon Close

Introduction

This document provides information about the use of the FDU Shared Drive Management Portal. It describes navigation of the website in detail to facilitate proper use of this resource.

Logging In

To access the Shared Drive Management Portal, navigate to this URL to login: sharemanagement.fdu.edu

Once you have logged in with your NetID, you will see a list of the shares you own or have been given authorization to manage in the left‐hand column. If you are the owner of the share, your name will appear in the panel on the right side under “Shared Drive Owner”. If you are not the share owner, your name will be listed on the right side panel under “Delegated Administrator”. To switch between shares you manage, select the appropriate share name from the list in the left side panel.

Note

Underneath the Shared Drive Owner information, you will see an area for Delegated Administrator information. Delegated Administrators are people you wish to grant the ability to add and/or delete Shared Drive Members. It is important to understand that while a Share Owner can delegate membership responsibilities to others, the Share Owner is always the primary person responsible for the management of any Personal Information or Protected Health Information contained within that share.  The Share Owner has the sole accountability for the data managed and viewed within their share.

Adding Members and Delegated Administrators

To add a member to the share, click on the down‐arrow at the right of the “Add User to Share” button and choose the type of user you would like to add from the drop‐down menu. You can choose from Employee, Administrator, or Student. Then, enter either the last name or the FDU NetID of the person you would like to add into the text box. If more than one name appears, choose the person you want to add.

A pop‐up window will appear asking you to confirm or cancel the add.

The individual’s information will be added to the list of members at the bottom of the page. When you add Delegated Administrators, they will appear in the list to the right, and the Owners/Administrators count will increase. It is important to note that Delegated Administrators can not add additional Delegated Administrators.

As you add more members or Delegated Administrators, the count of members for each will increase. When viewing members of a share, the “Number of rows:” menu can be used to select 12, 24, 36, or All rows to view.

Currently, all Shared Drive Members are granted Read/Write access to the contents of the Share. Future updates to this application will allow you to choose Read Only or Read/Write access rights to each new Member. Meanwhile, the Share Owner can contact University Systems and Networking at help@fdu.edu to request Read Only access for a new member.

From time to time, a Share Owner or Delegated Administrator might try to add a new member to a drive to which an existing drive letter cannot be assigned. If that happens, the following message will appear, and the Share Owner or Administrator will need to contact the Fairleigh Dickinson University Technical Assistance Center (UTAC) to have that member added.

Deleting Members

You will notice a check‐box to the left of each Administrator and Member of the share. To delete an Administrator or a Member, click the check‐box next to it. You can click on multiple check‐boxes. When you have selected all the Members or Delegated Administrators you wish to delete, click on the “Delete Selected Delegated Administrators” or “Delete Selected Members” button to delete all the selected Administrators/Members. The lists and the counters will be updated to reflect the change. It is important to note that Delegated Administrators can not delete other Delegated Administrators.

Downloading Members

To download a list of Shared Drive Members in .csv format, click on the “Download Members” button.

A new file will be placed in your Downloads folder called “ShareDriveMembers.csv”. When imported into a spreadsheet application, it will look similar to this (you will see the actual FDU NetID).

Requesting a New Shared Drive

To request a new Shared Drive, please follow the link below:

Last Modified: