bookings

Microsoft Office 365 Apps

Resources for:
icon Close

Microsoft Office 365 offers a comprehensive set of software tools that facilitate documentation, collaboration, and communication. These tools are available on the Web or as downloadable desktop Office 365 apps.

Below is a list of articles for each of the available tools in the Microsoft Office 365 environment. Each article contains information on what each application is and training on how to use them.


Outlook

Outlook allows you to connect and stay organized with your email, calendar, and contacts all in one place.


Word

Word allows you to collaboratively view, edit, and create high-quality shared documents.


Excel

Excel is the industry leading spreadsheet program, a powerful data visualization and analysis tool.


PowerPoint

PowerPoint is a slideshow presentation program that’s part of the Microsoft office suite of tools. PowerPoint makes it easy to create, collaborate, and present your ideas in dynamic, visually compelling ways.


Teams

Teams is a unified communication and collaboration platform that combines persistent workplace chat, video meetings, file storage, and application integration. Here you will find documentation on how to install and use Teams and all its features.


OneNote

OneNote is a cross-functional digital notebook. You can organize different notebooks into sections and pages with easy annotation and navigation tools.


OneDrive

OneDrive and Microsoft 365 make it easy to access, share, and collaborate with your classmates or co-workers on files from anywhere within FDU.


Lists

Lists you can Build and share lists to help you track issues, assets, routines, contacts, inventory, and more. You can get started with Microsoft Lists from Microsoft 365, from MS Teams or from within SharePoint.


Power Apps

Power Apps is a suite of apps, services, connectors, and data platform that provides a rapid application development environment to build custom apps. Using Power Apps, you can quickly build custom apps that connect to data stored throughout Microsoft 365.


Power Automate

Power Automate is a service that helps you create automated workflows between apps and services to synchronize files, get notifications, collect data and more.


Power BI

Power BI is a business analytics solution that lets you visualize your data and share insights across your organization or embed them in your app or website. It allows connections to hundreds of data sources and generate live dashboards and reports.


Planner

Planner makes it easy for your team to create new plans, organize and assign tasks, share files, chat about what you are working on, and get updates on progress.
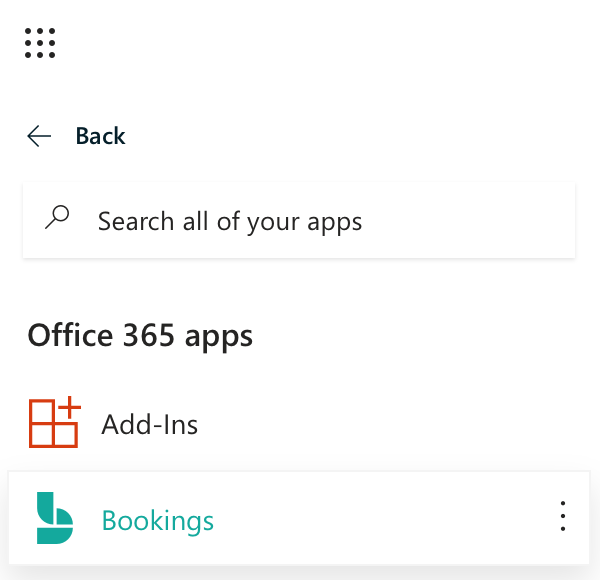
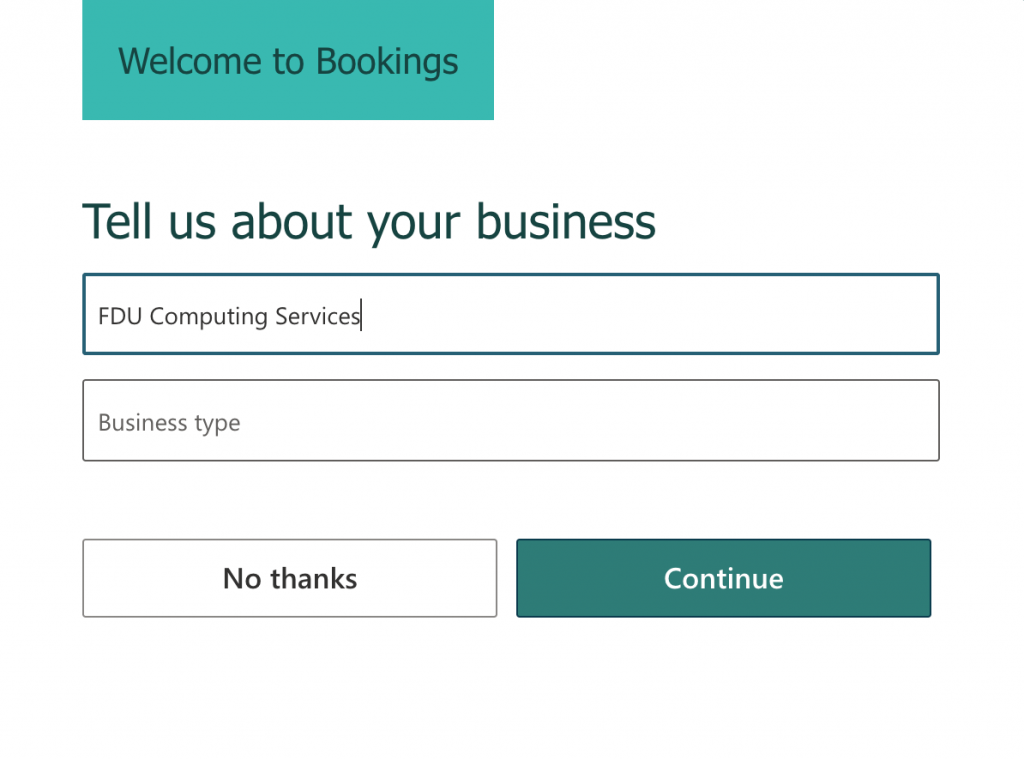
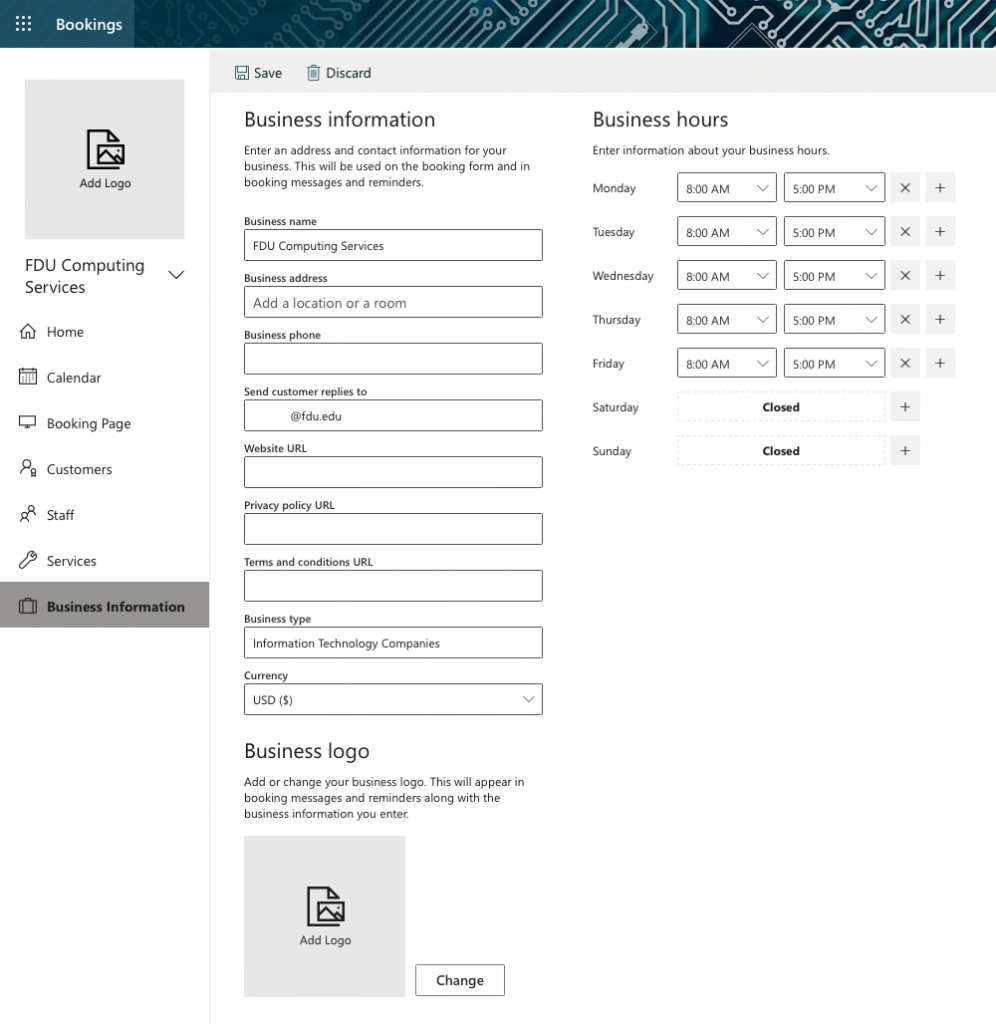
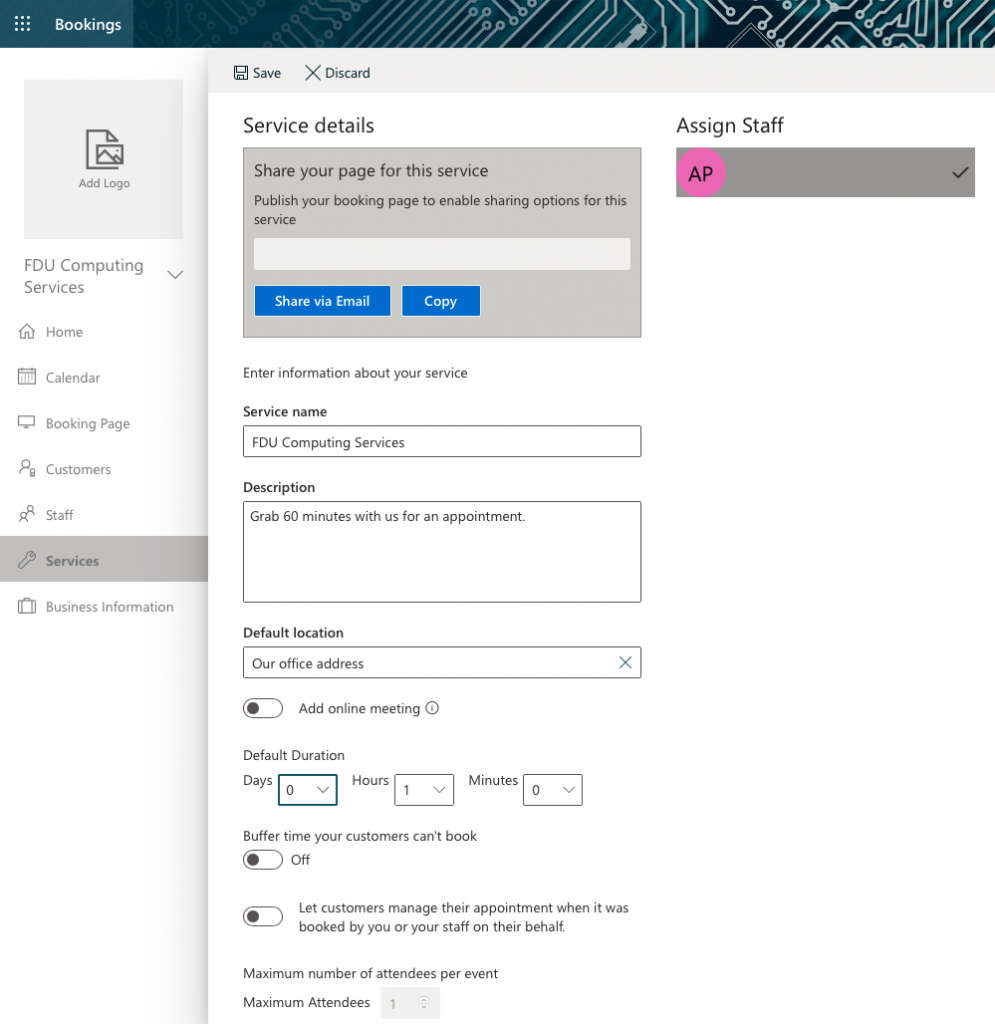
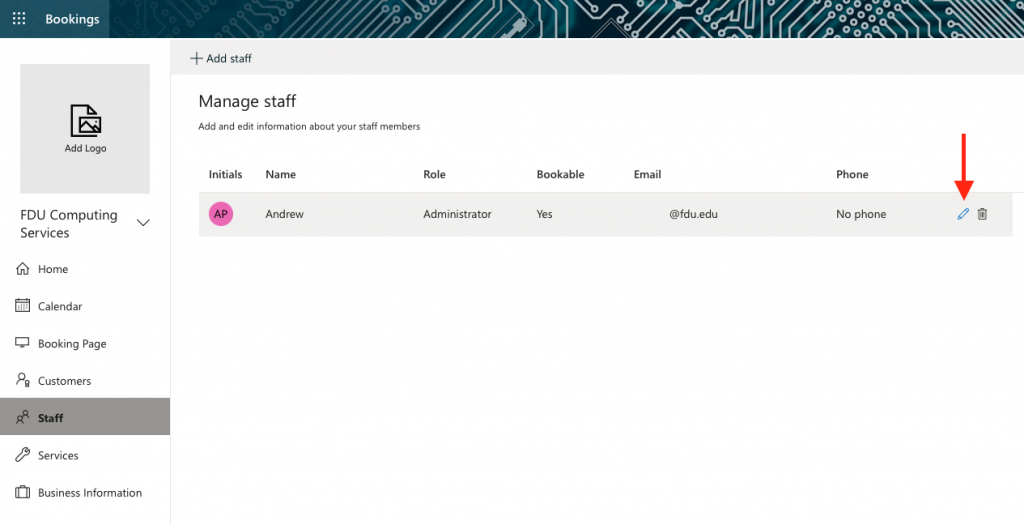
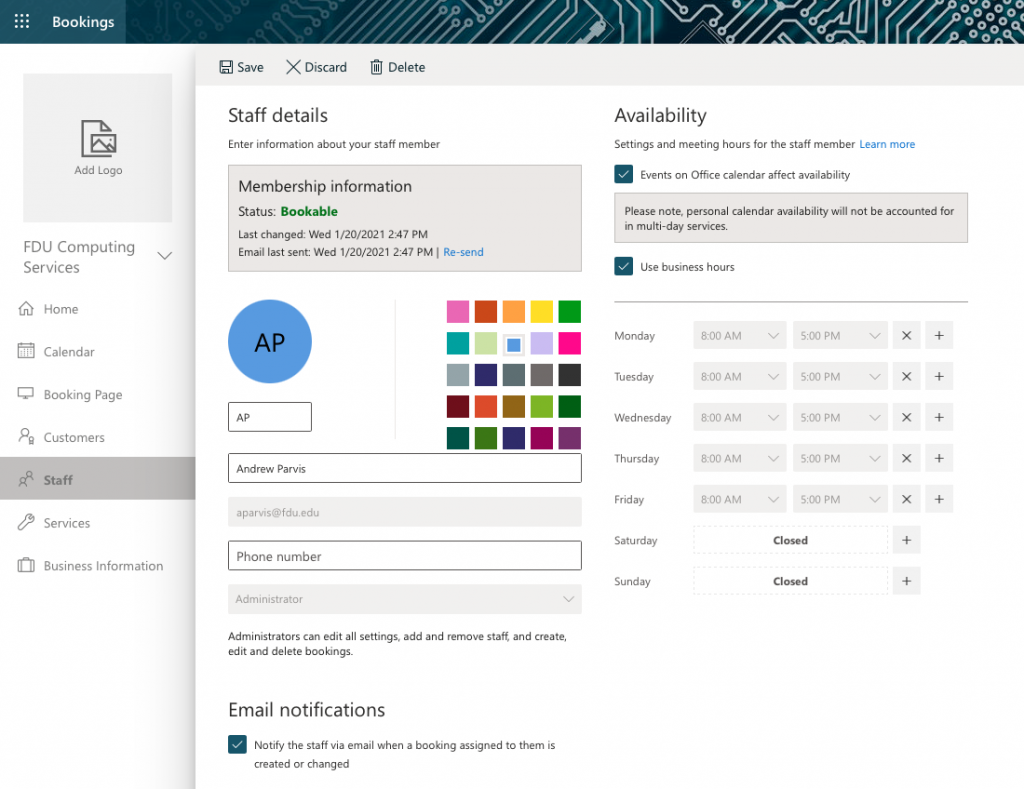
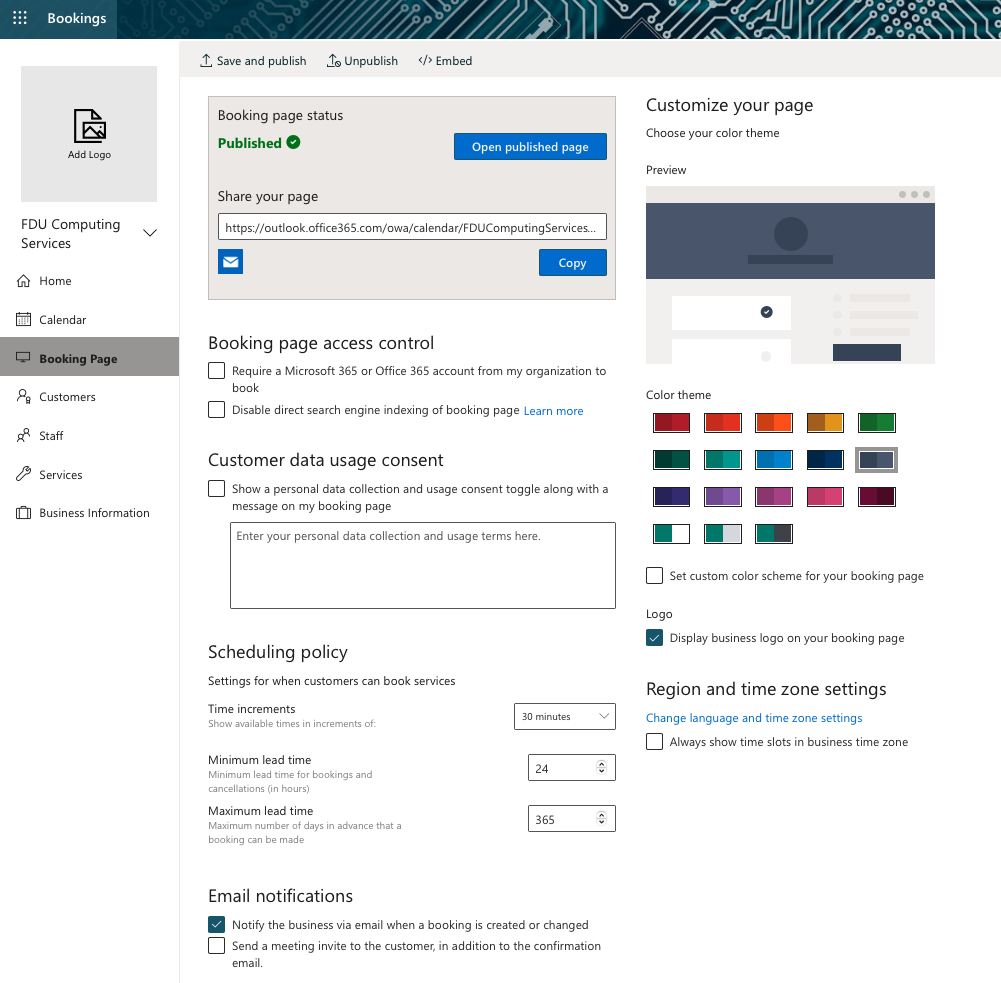

Bookings

Bookings offers a simpler way to organize schedules and manage appointments. Microsoft Bookings includes a web-based booking calendar and integrates with Outlook to optimize your calendar and give your contacts the flexibility to book a time that works best for everyone involved.


Forms

Forms is an app that lets you create surveys, quizzes, and polls to collect real-time responses from students, collaborates and colleagues. It has built-in analytics to evaluate responses, and export results to Excel for additional analysis or grading.

Last Modified:

Setting up Microsoft Bookings

Resources for:
icon Close
  1. Visit the FDU Office 365 Portal using any web browser
  1. Sign in to the FDU Single-Sign-On (SSO) page using your FDU NetID credentials
  1. In the upper left corner, click the dotted square and select All Apps
  1. In the All Apps menu, choose Bookings
  1. Microsoft Bookings will open. Click the Get it Now button to begin
  1. The next page will ask for two pieces of information: Business name and Business type. Enter your Department name or your First and Last Name. Click Continue

Note

Designating a Business Type is not required to be able to Continue.

  1. Once your Bookings page loads, the first section you should complete is Business Information. Click  Business Information in the left menu
  1. On the Business Information page, you can enter your business or department address, other contact information, upload a business logo, and set up your business hours
  1. Next, set up your service offerings. Click Services from the left menu

Note

By default, Microsoft Bookings will add a service called “Initial Consult.” You can click the pencil next to this service and make it your own, OR you can add a new service by clicking Add a service at the top of the screen.

  1. Once you’re on the service-editing page, enter your service details, including name, description, and location. When you start typing an address in the default location, suggested locations will populate. Below are explanations for the other fields on the service-editing screen:
    • Duration: You can enter how long you want the duration to last in days, hours, minutes, and set a buffer time when customers cannot book.
    • Reminders: You can have the system send customers email reminders before their scheduled appointment. Click the pencil to edit the text. 
    • Leave Publishing options checked.
    • Online Scheduling Options: This is where you can manage the settings for when customers can book services.
      • You can choose to use the default scheduling policy by leaving the option checked, OR
      • You can manage the settings for your scheduling policy by unchecking the option.  If you choose this option, we recommend setting the Minimum lead time to 24 and the maximum lead time to 30 days.
    • Don’t forget to click Save at the top of the Service details page
  1. Next, click Staff from the left menu. Click the pencil next to your name to edit your information. Also, you may add any staff or faculty members in your department by clicking the + Add staff button
  1. On this page, you can add information about yourself, including your office or department phone number and whether to receive email notifications (we recommend keeping this option checked).  Click Save when finished
  1. Next, select Booking page from the left navigation pane.
    • Booking page Status: Since this is the first time you are setting up your Bookings page, your status is set to Not published. Once you finish customizing your page and clicking Save, the status will change to Published. 
    • Customer data usage consent (optional):  Where you can customize a message for your visitors to consent to your site collecting their personal data. 
    • Scheduling Policy: Where you can set site-wide scheduling policies. We recommend the following settings:
      • Minimum lead time: 24
      • Maximum lead time: 30
    • Email Notifications: Notifies you when an appointment is made. 
    • Staff: You can allow customers to choose who they want to meet with. However, you can uncheck this option if you do not have any staff.
    • Customize your page: Choose a color theme for your bookings page.
    • Lastly, click Save and Publish
  1. Once you click Save and publish, your Bookings site is now live! You can view your published page by clicking Open published page and share your page with others by copying the link
Last Modified: