Fairleigh Dickinson University provides an extensive array of technological resources and services tailored for our students. This guide is designed to assist students in navigating and utilizing these tools effectively, ensuring they can easily set up, access, and manage their accounts, while also offering comprehensive information on each service.
ID and Email
FDU NetID
Your FDU NetID verifies who you are and ensures the privacy of your personal information. Your FDU NetID and your NetID password will provide access to a variety of IT resources including your Self-Service, WebCampus, Office365, and Email.
To obtain your NetID, follow the guide below:
close
Changing your FDU NetID Password
To protect the University and our Students from cyber attacks and other malicious activity, we require that everyone in our community to periodically change their password.
To change your password, follow the guide below:
close
DUO Multi-factor Authentication
To successfully use your NetID to access your accounts, you will need Two-Factor Authentication with Cisco DUO MFA.
Two-factor authentication adds a second layer of security to your FDU NetID. It requires two factors to verify identity. These factors include something you know – your FDU NetID and password, and something you have – a phone or passcode, to authenticate and gain access to your account on FDU services. Passwords alone no longer provide adequate protection against cyber hacking. DUO is required for all current FDU students.
To set up your mobile device with DUO MFA, follow the guide below:
Additionally, refer to our FAQ for commonly asked questions about DUO:
close
Email and Office 365
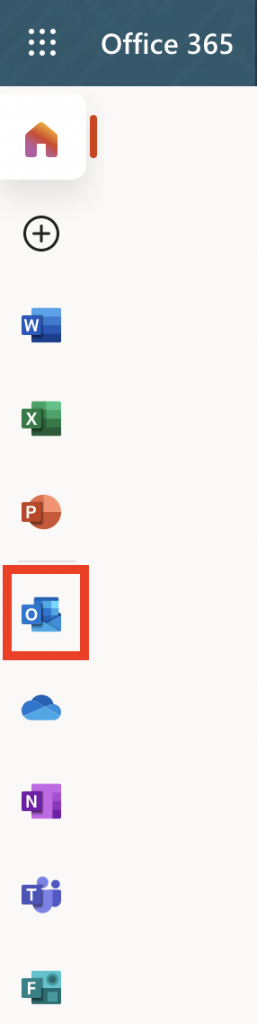
Students can access their emails through any Web browser using their NetID and password to log in. To access our email, visit the Office 365 Portal:
Office 365 Portal
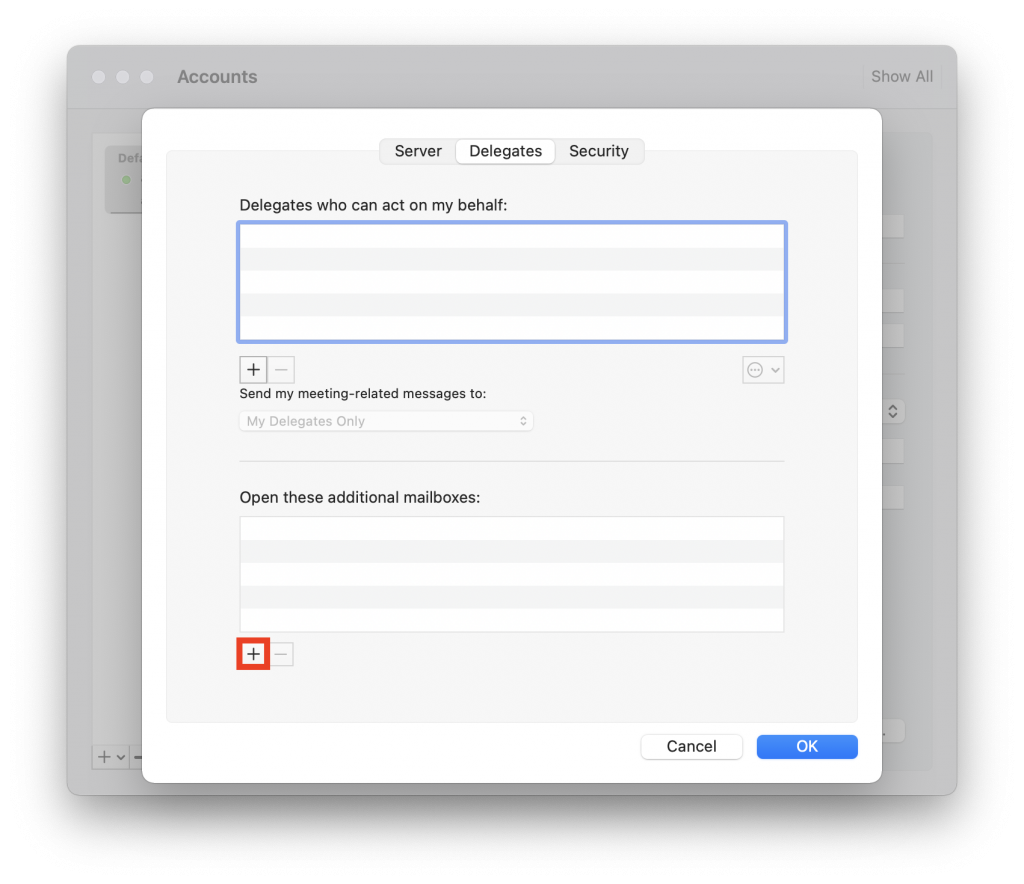
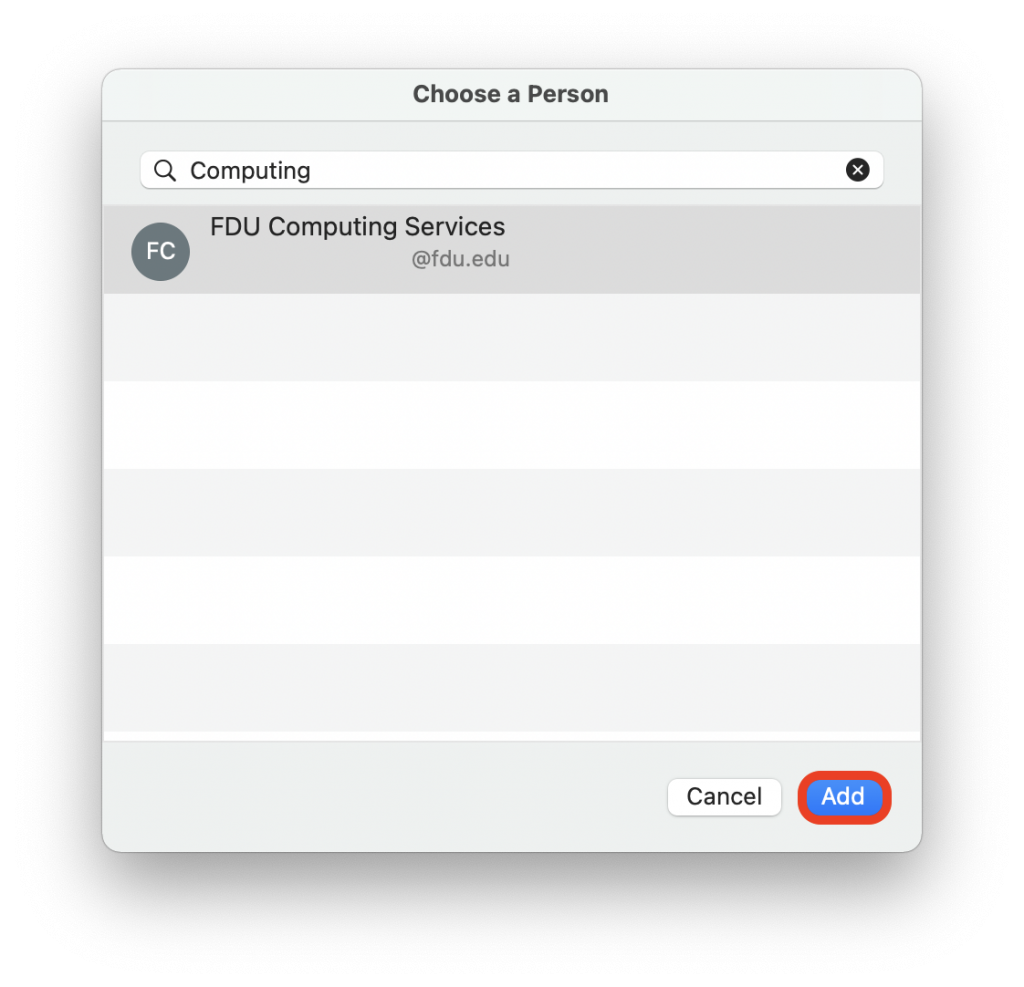
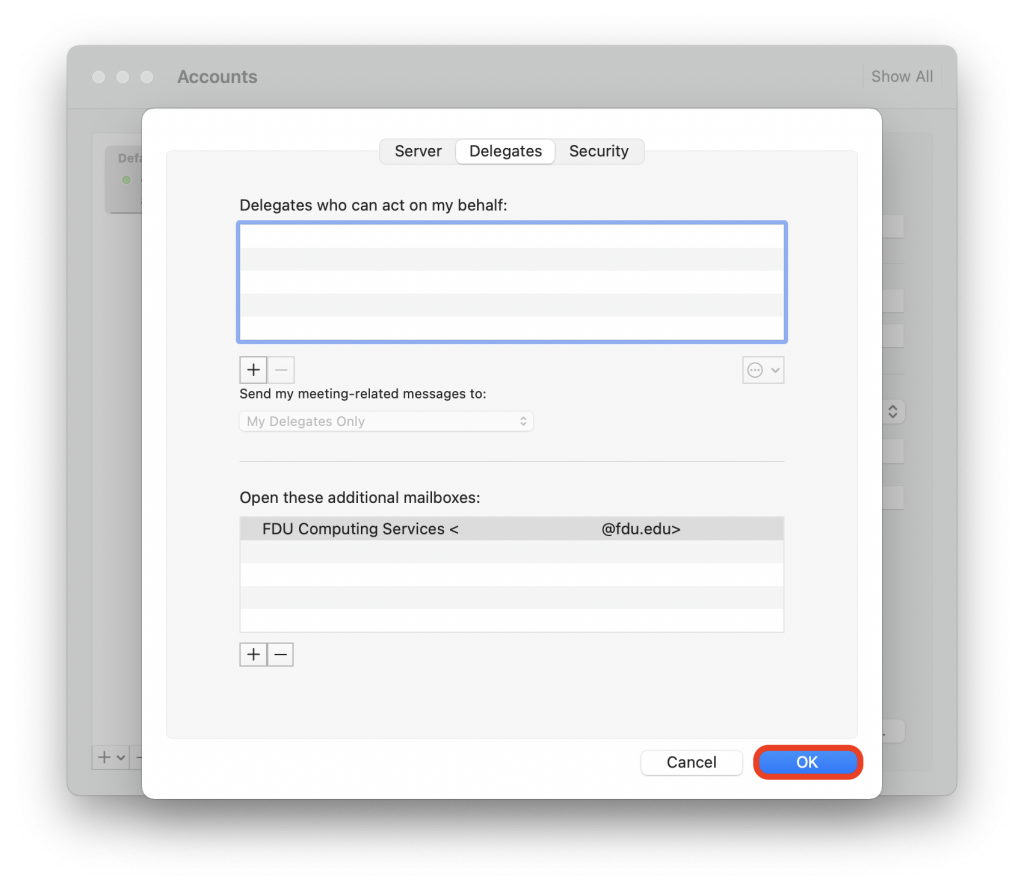
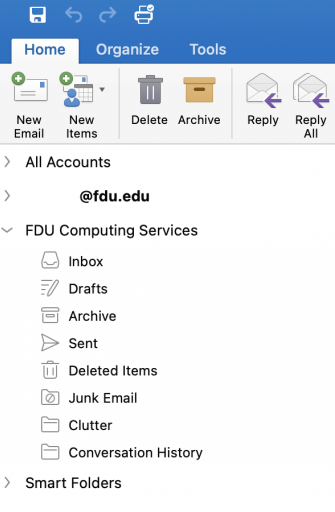
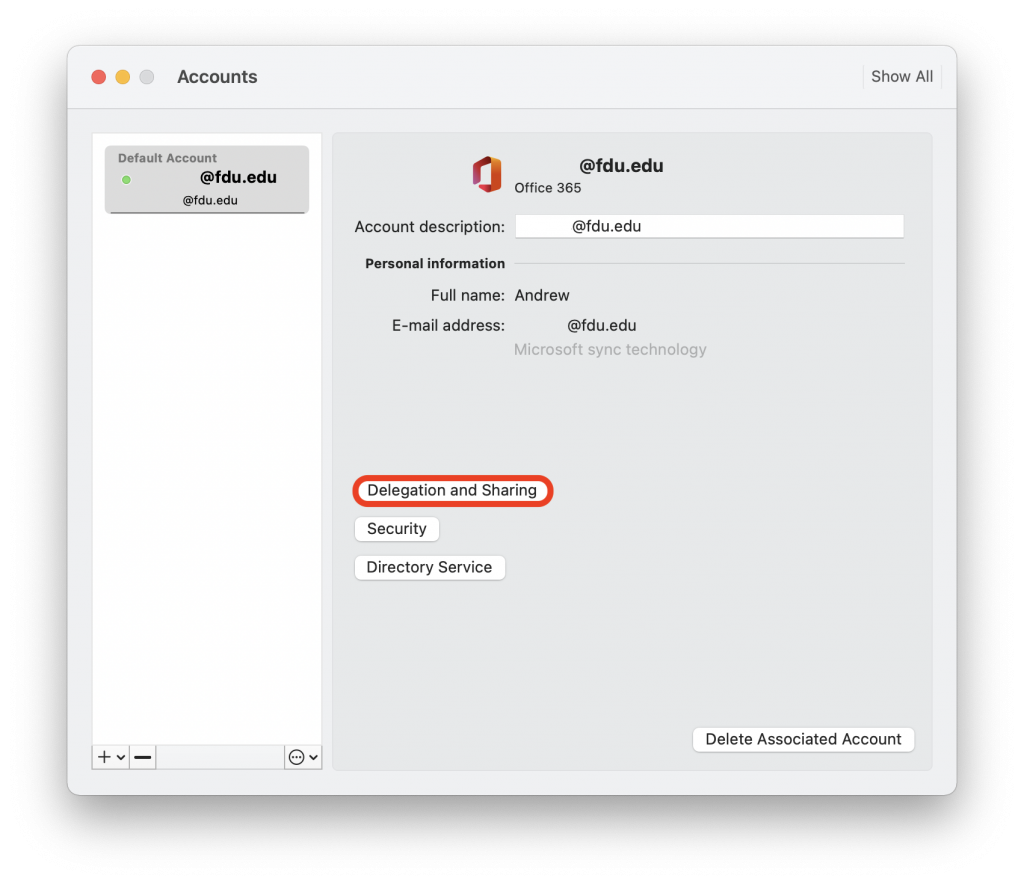
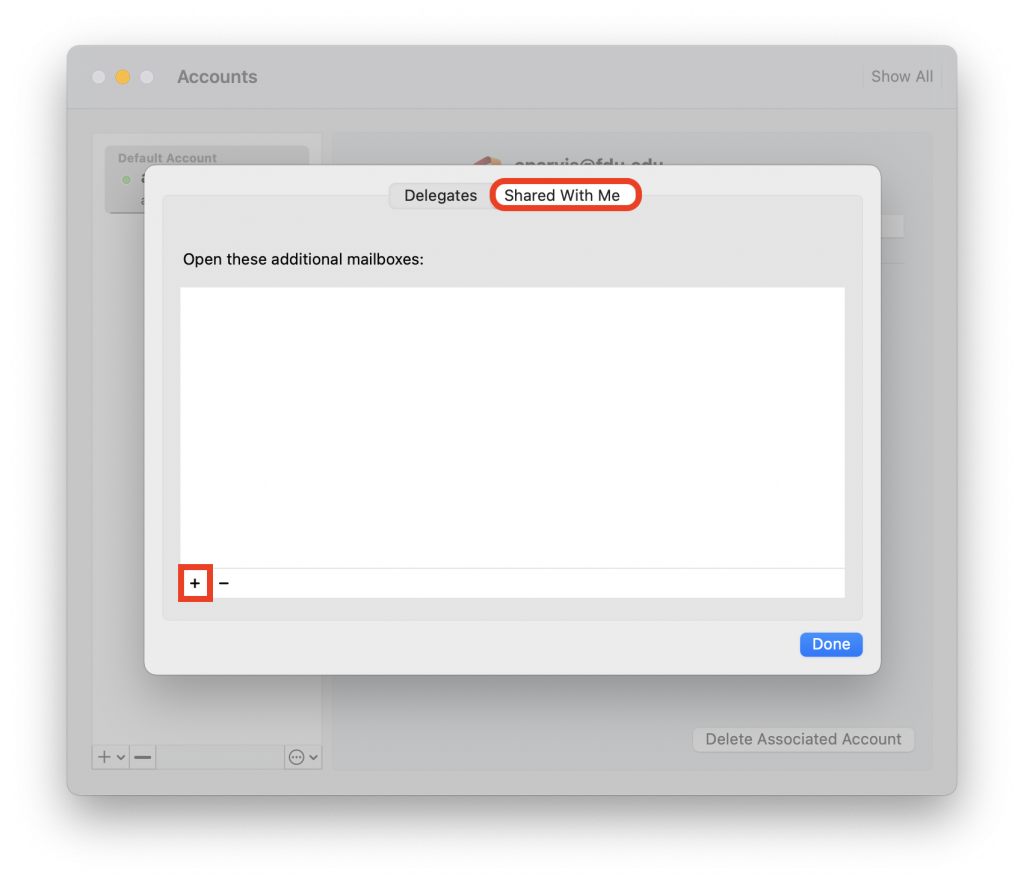
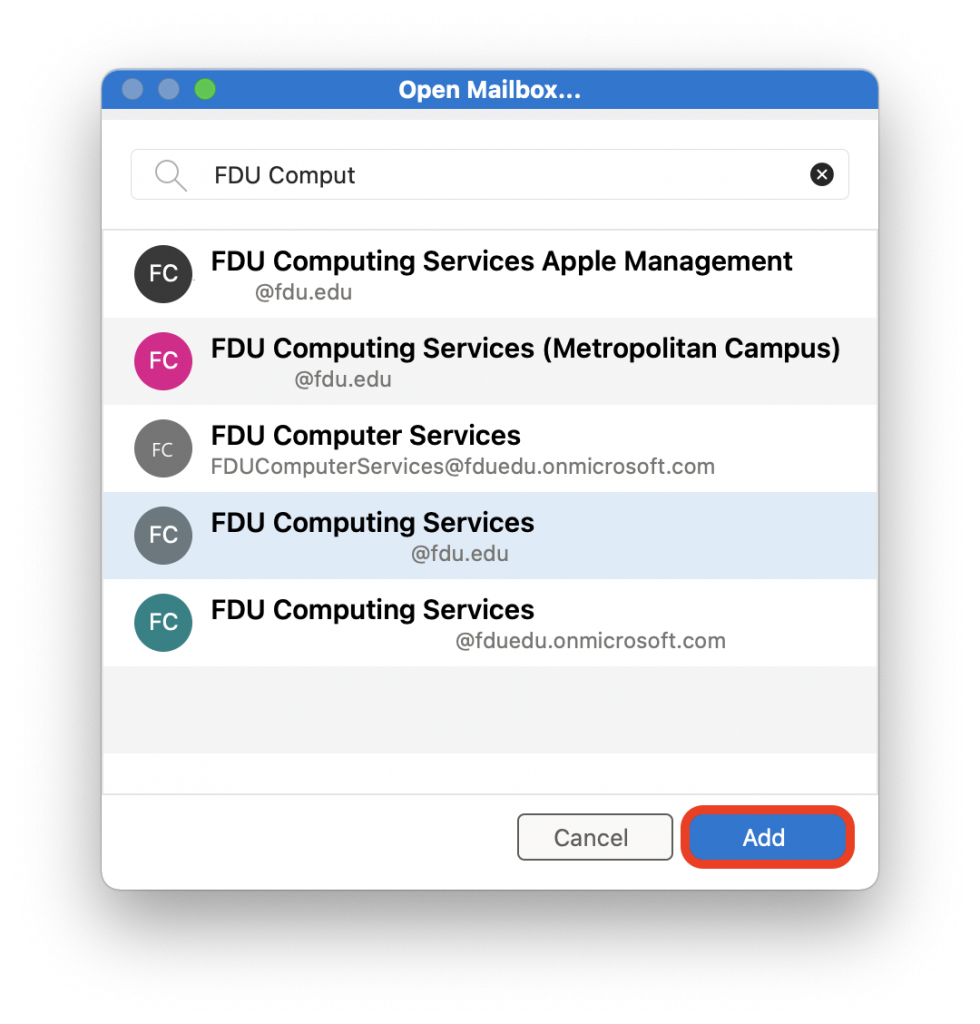
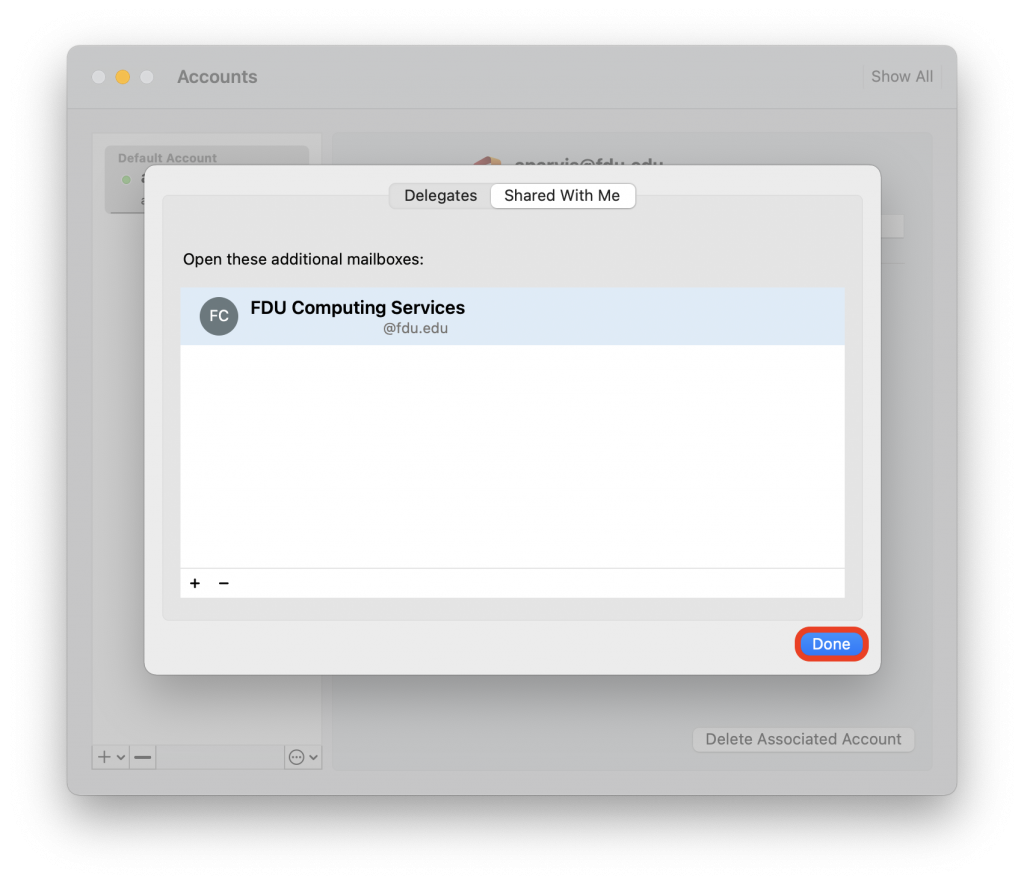
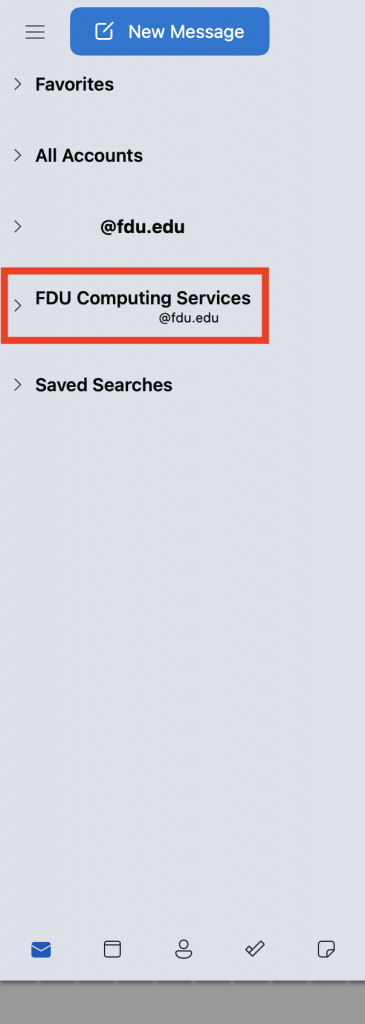
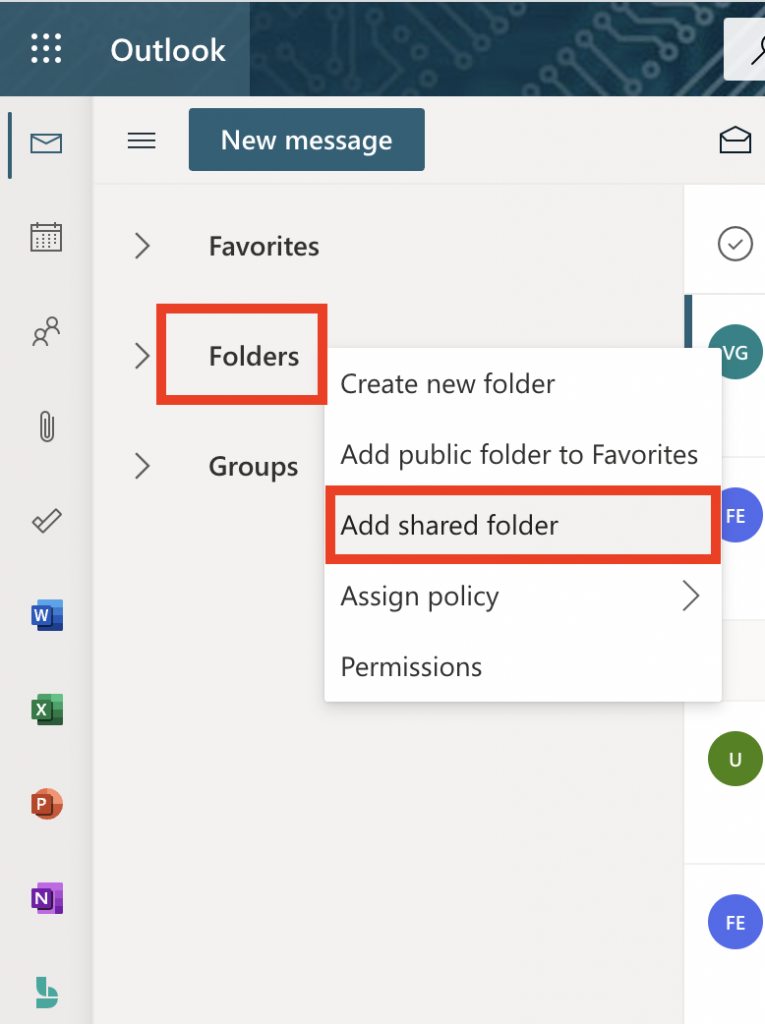
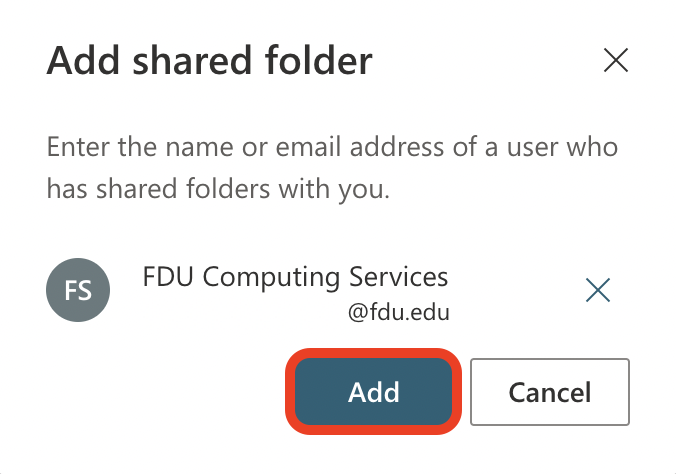
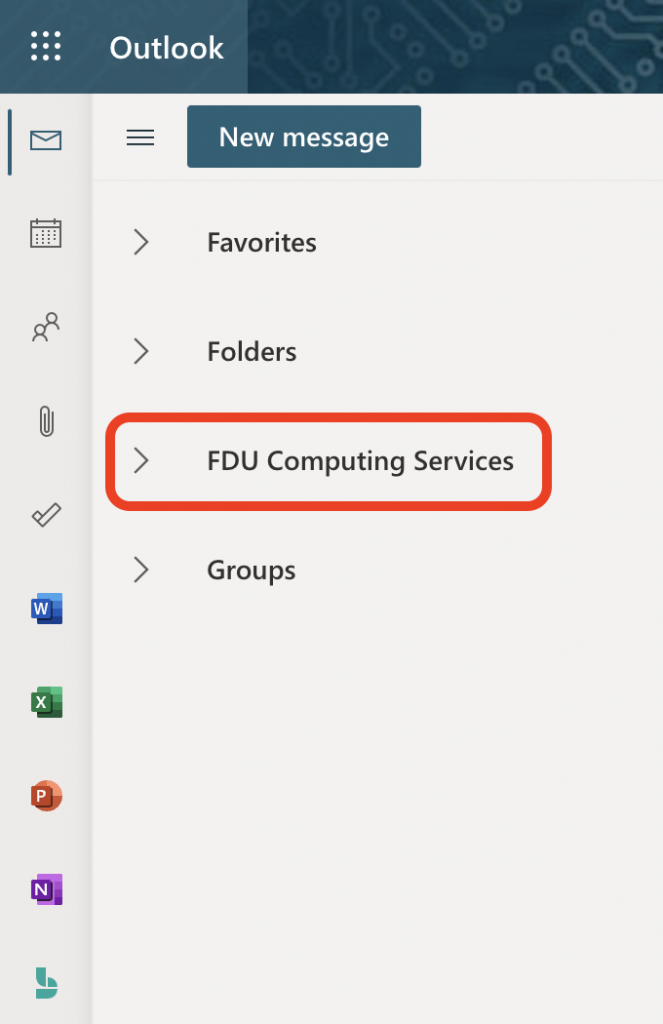
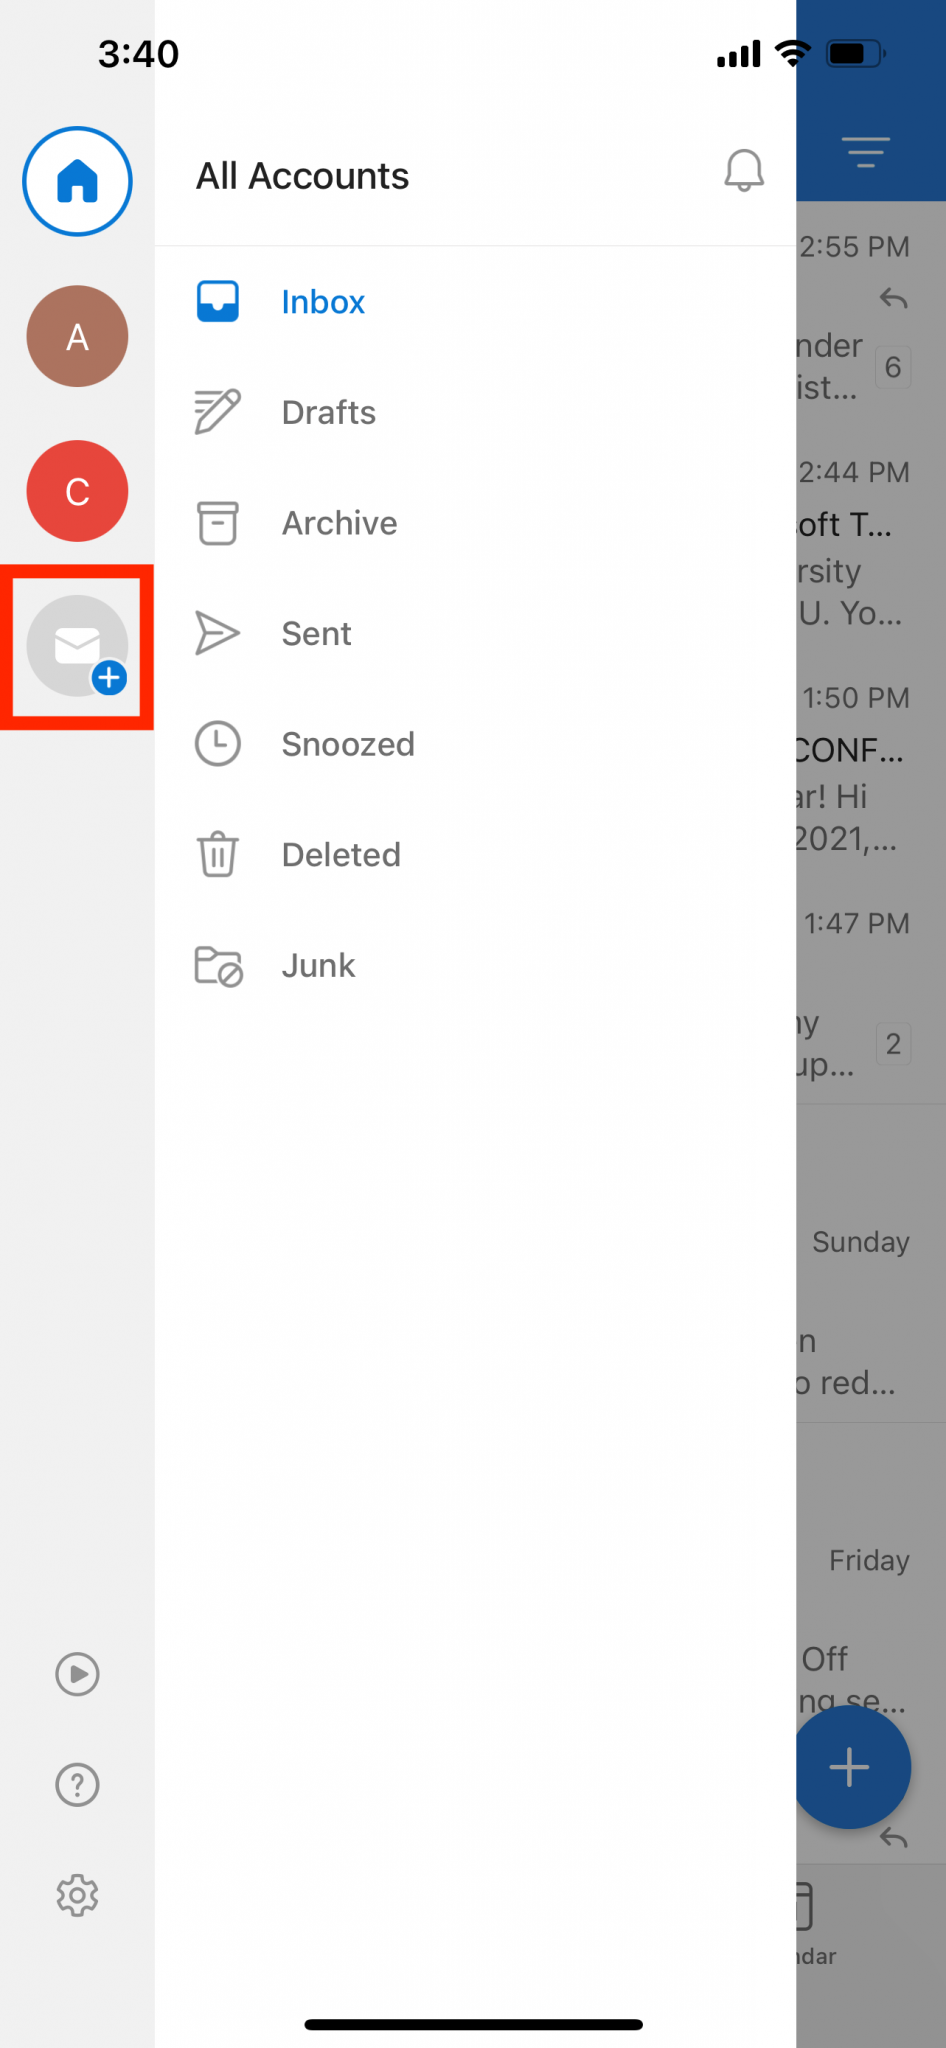
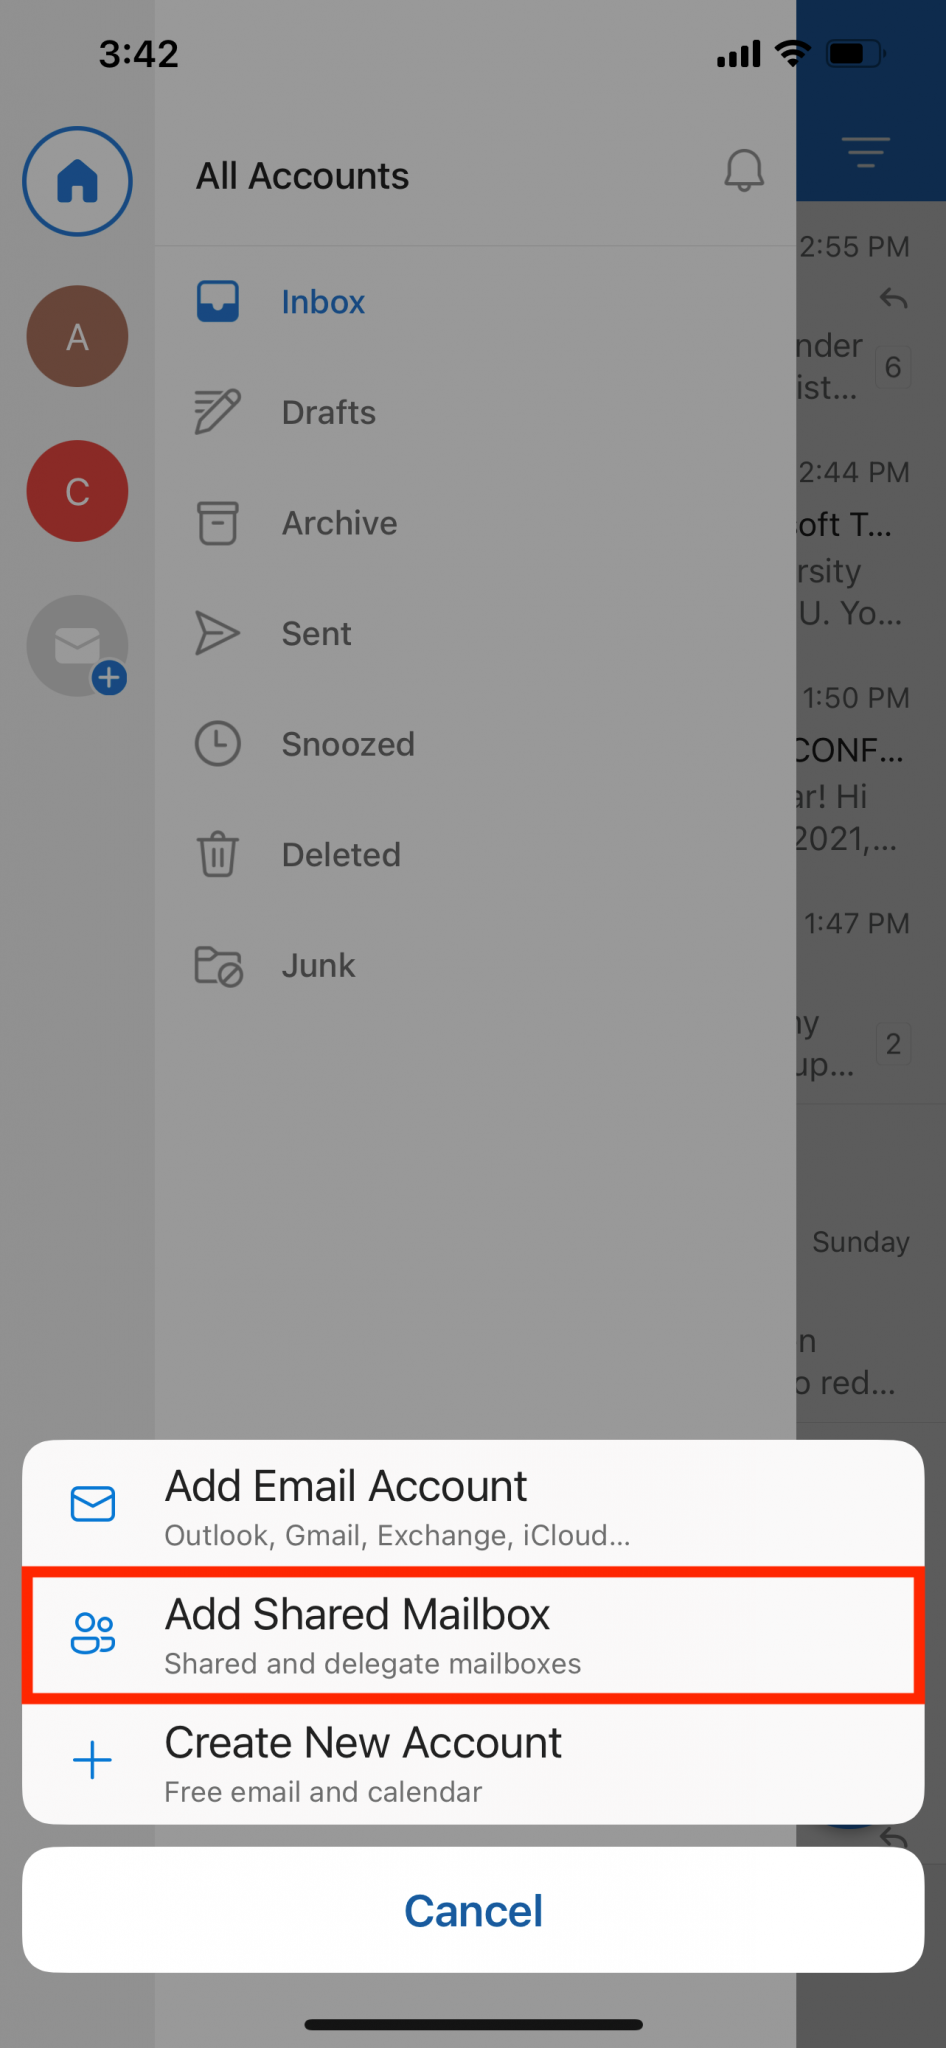
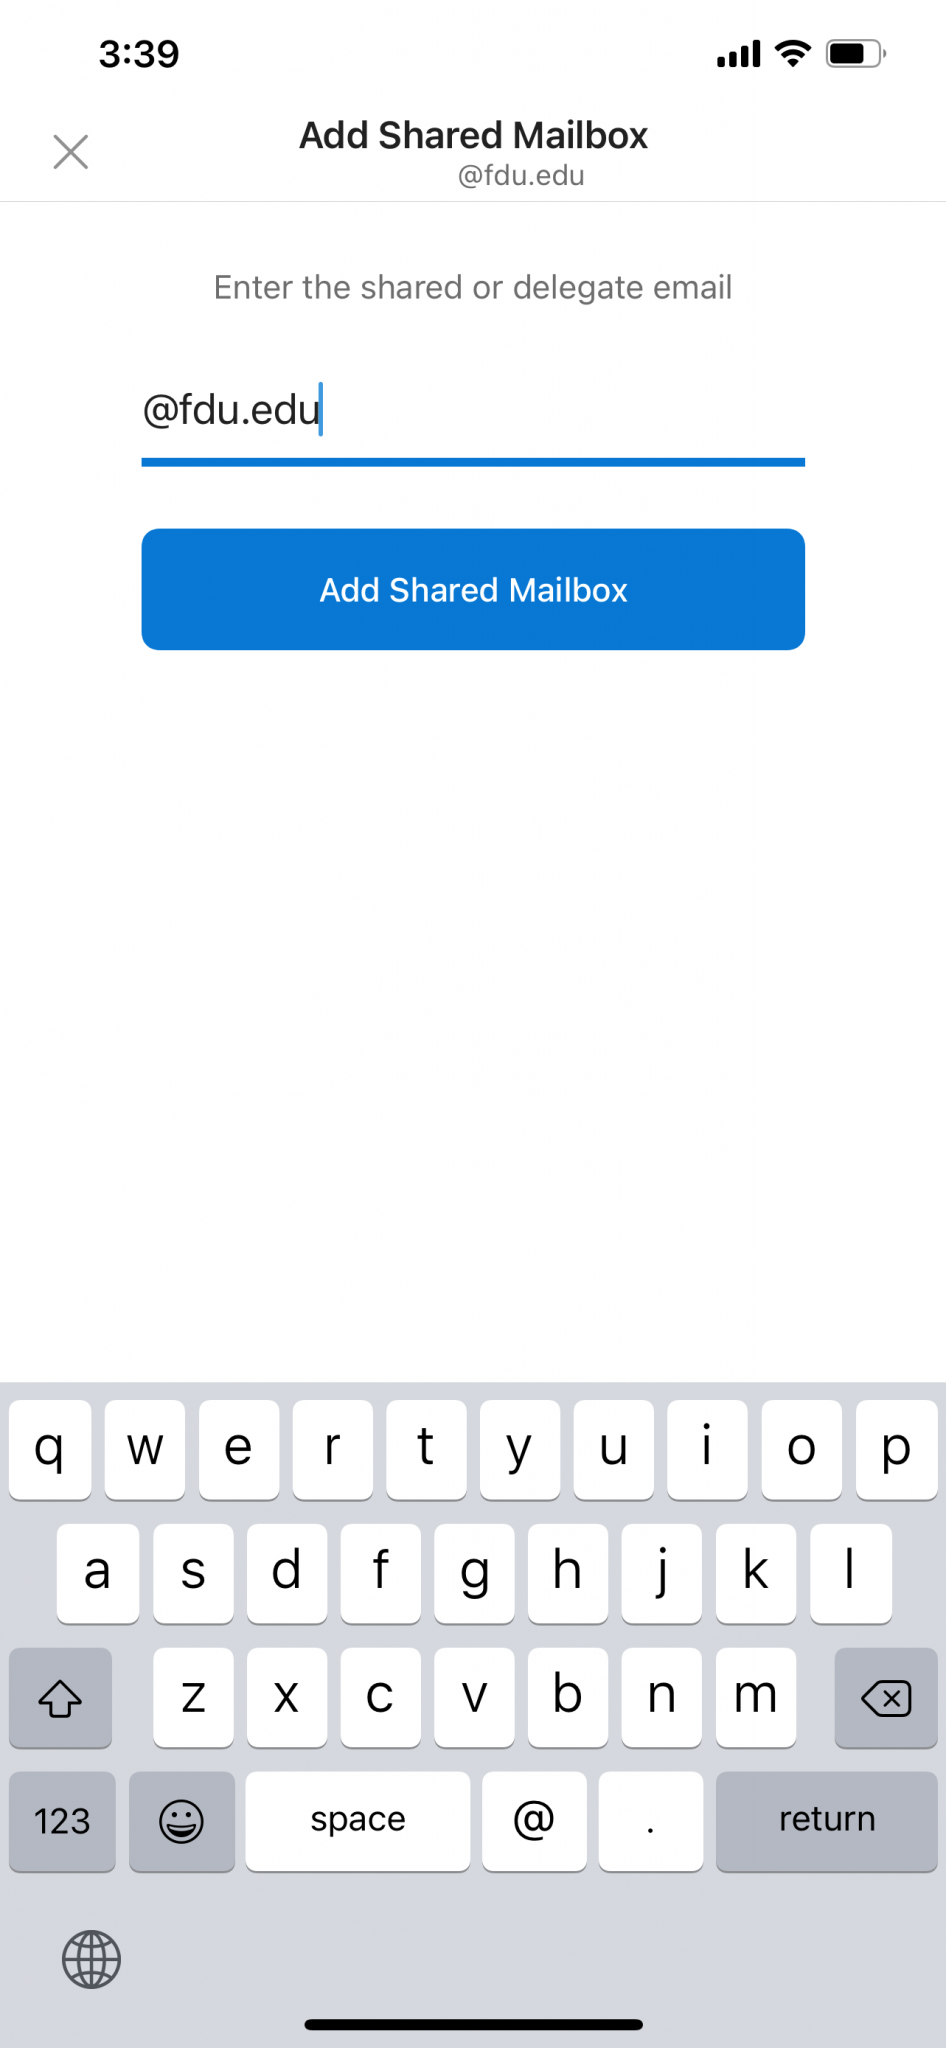
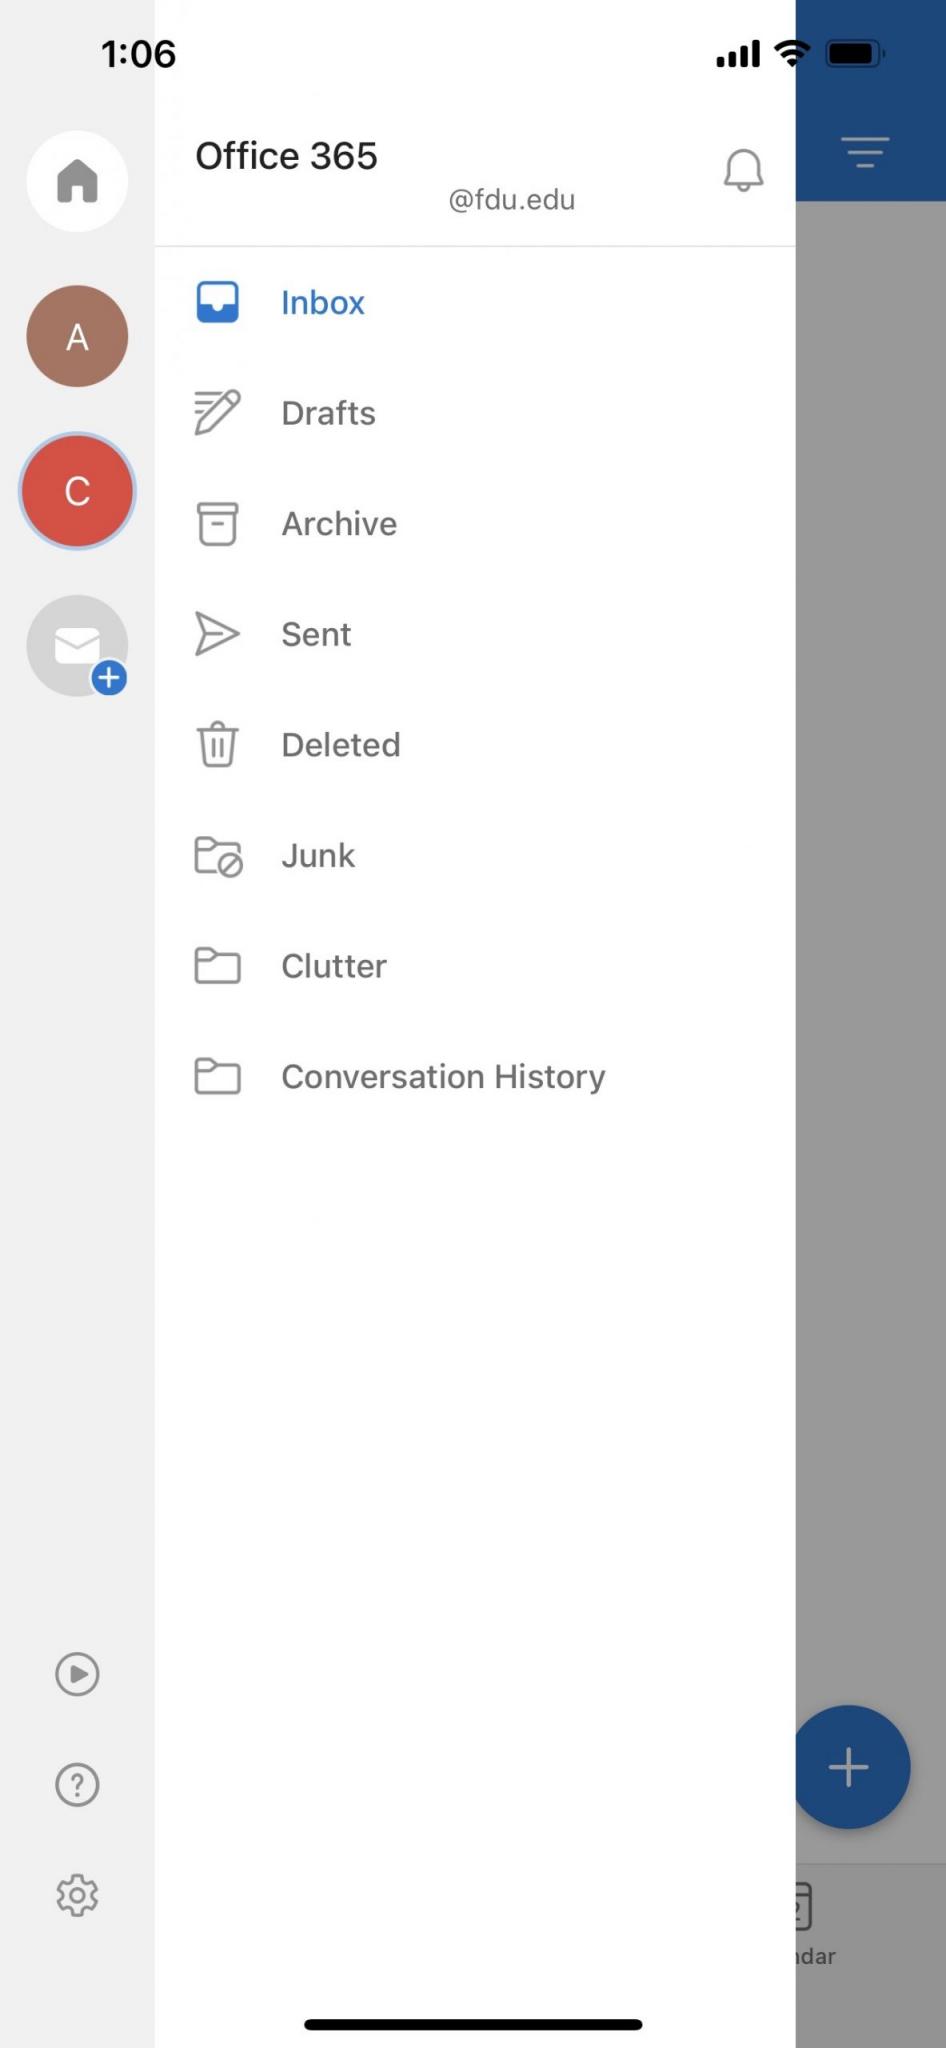
Students can also access their FDU Email accounts on their mobile devices by installing the Outlook app. For instructions to setting up your FDU Email account in the Outlook app, follow the guide below:
Current students who are registered for classes for the current term, or a future term have access to Microsoft Office 365 Suite applications. For more information, visit the links below:
close
Academic Systems
Webcampus
Webcampus is a course content management system. FDU’s Webcampus is also known as the Blackboard System. On-line courses are taught through this system which also allows for interaction between the student and faculty member as well as on-line class discussions.
To learn more about how to access Webcampus, review the guide below:
close
Self-Service
Self-Service is an interactive web application that enables students to view their individual information contained in FDU’s Student Information System. Students can use Self-Service to do things like view their financial aid, pay their bills, and register for classes.
Review the Tutorial below to learn how to use Self Service:
close
Connectivity
Connecting to the FDU Wireless Network
Using your FDU NETID, you can connect to the FDU Wireless Network. For instructions view the links below:
close
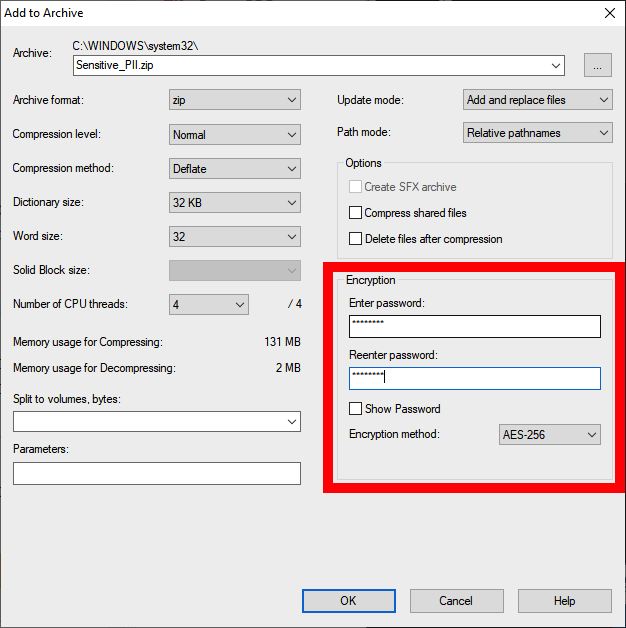
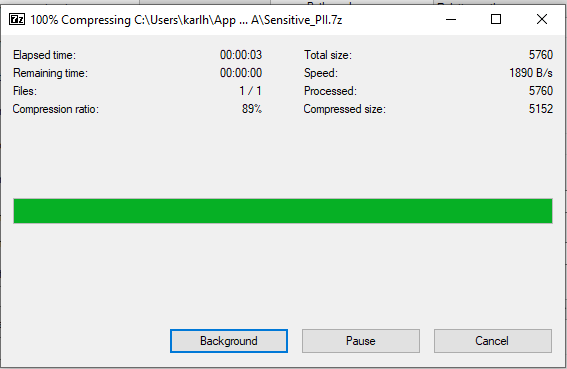
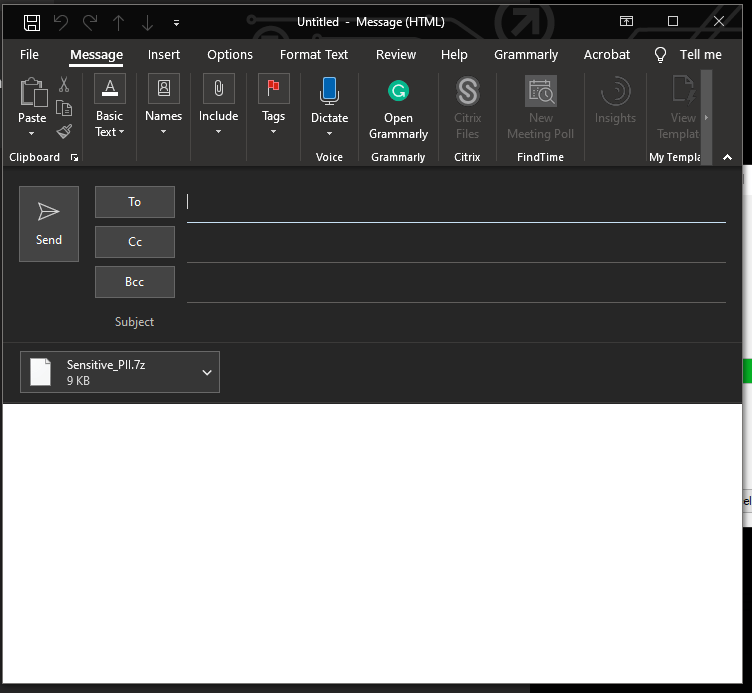
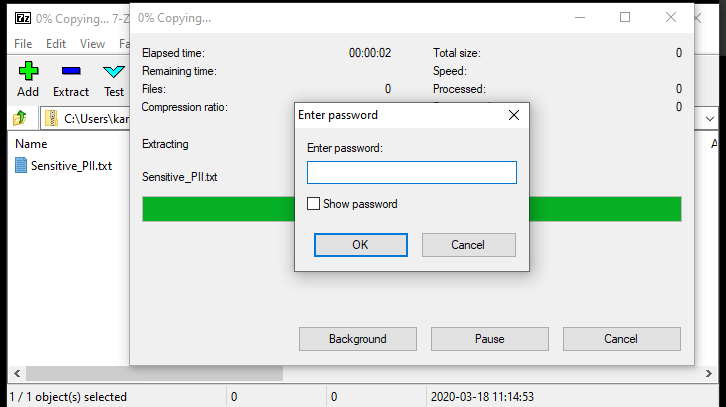
Security
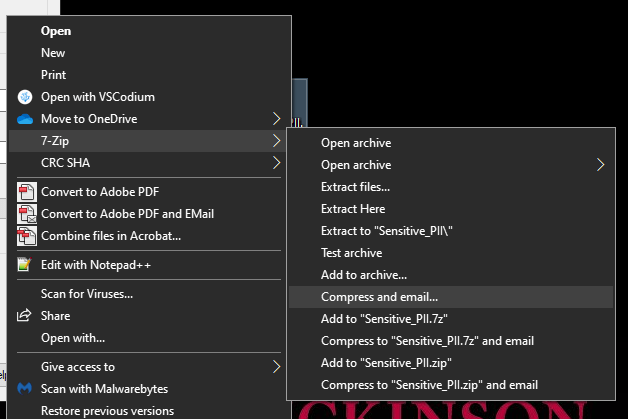
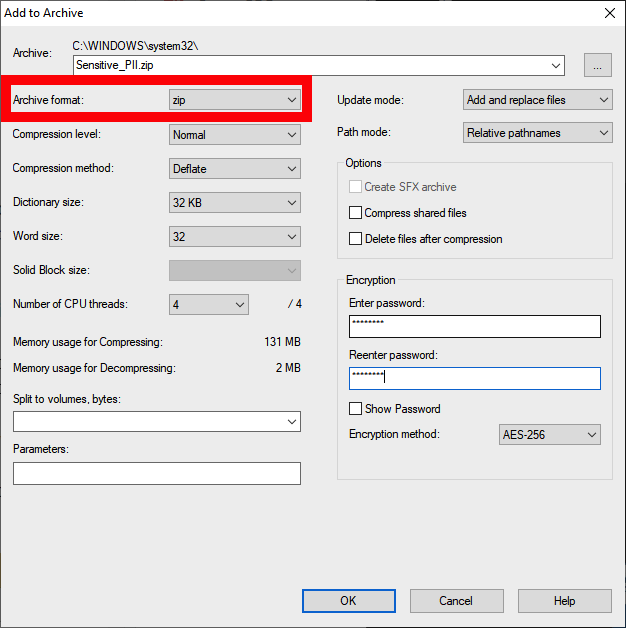
Security Resources
Understanding and implementing cybersecurity measures is crucial for protecting your personal and institutional information. This section provides essential resources to help you navigate the landscape of cyber threats.
Stay safe online by reviewing the articles below:
close
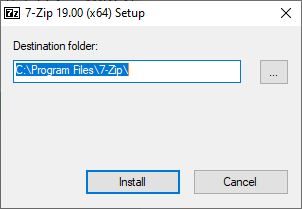
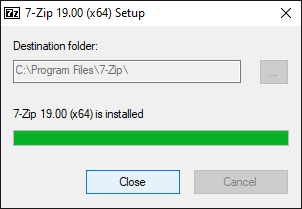
Software
Available Software for FDU Students
Fairleigh Dickinson University has both licensed and open-source software, that is offered for academic and/or personal use for students. The links below point out to commonly used software, both licensed and open source, that are offered for academic and/or personal use to all Fairleigh Dickinson University faculty, staff and students.
In our digital learning environment, mastering online tools is essential for academic success. These resources are designed to guide you through the process of engaging in classes virtually via Zoom and accessing your files on OneDrive.
close
Printing and Labs
Computer Labs and Printing
Computing Services has multiple computer labs available on both New Jersey Campuses for classroom instruction and student use.
close
Virtual Labs
FDU also provides remote access to many of the software applications typically found in university computer labs through our platform FDU Anywhere. You can access it using your FDU NetID credentials using the link below:
FDU Anywhere
Review the FDU Anywhere Tutorial below to learn how to use our virtual labs:
close
For any IT related questions and support, contact the SAMI Service Desk:
SAMI Support