

LockDown Browser is a specialized browser that secures the testing environment in Blackboard Learn. When students use LockDown Browser to take a test on Blackboard, they are prevented from printing, copying, navigating to other websites, accessing other applications, or closing the test until it is submitted for grading. Tests designed to work with LockDown Browser cannot be accessed using standard web browsers.
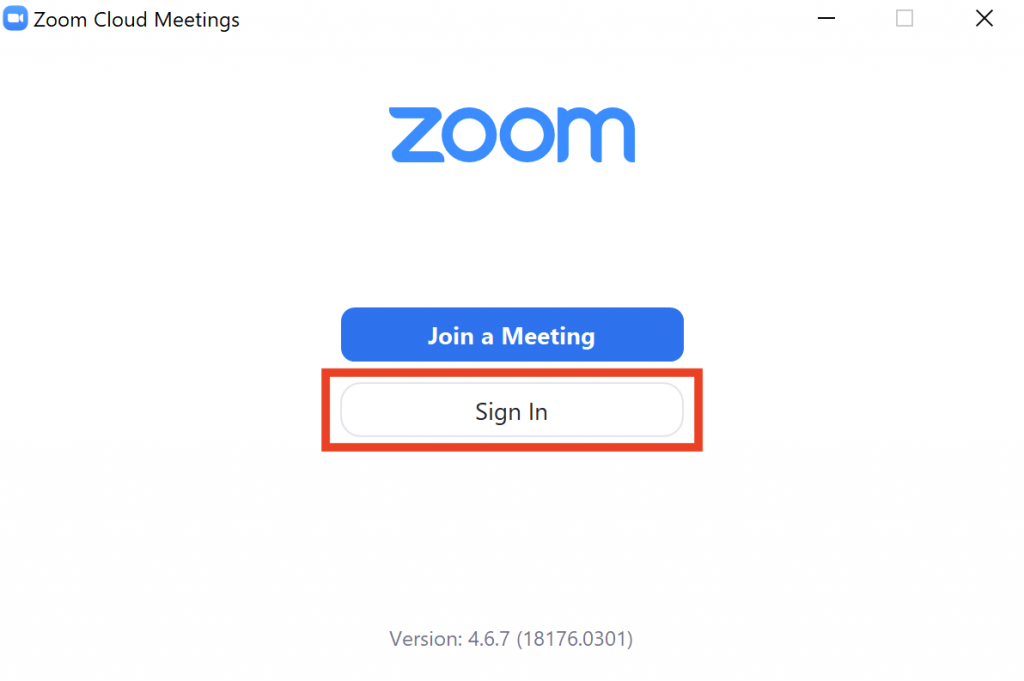
Download and Install
Windows
- Windows 10 (including x86 32-bit and 64-bit processors and ARM 64-bit processors using x86 emulation), Windows 8, and Windows 7
- 2 GB RAM
- 200 MB of free Hard Disk space
Windows 10S
Windows 10S is not a compatible operating system.
macOS
- macOS 10.12 to 10.15
- 2 GB RAM
- 200 MB of free Hard Disk space
iOS
- iOS 11.0+
Older Operating Systems
LockDown Browser and Respondus Monitor may continue to run in older operating systems that have reached “end-of-life” but students may encounter unexpected results.
- Log into your course in webcampus and deploy a test. This step is important, as you will not be able to use Respondus LockDown Browser unless you have created and deployed a test
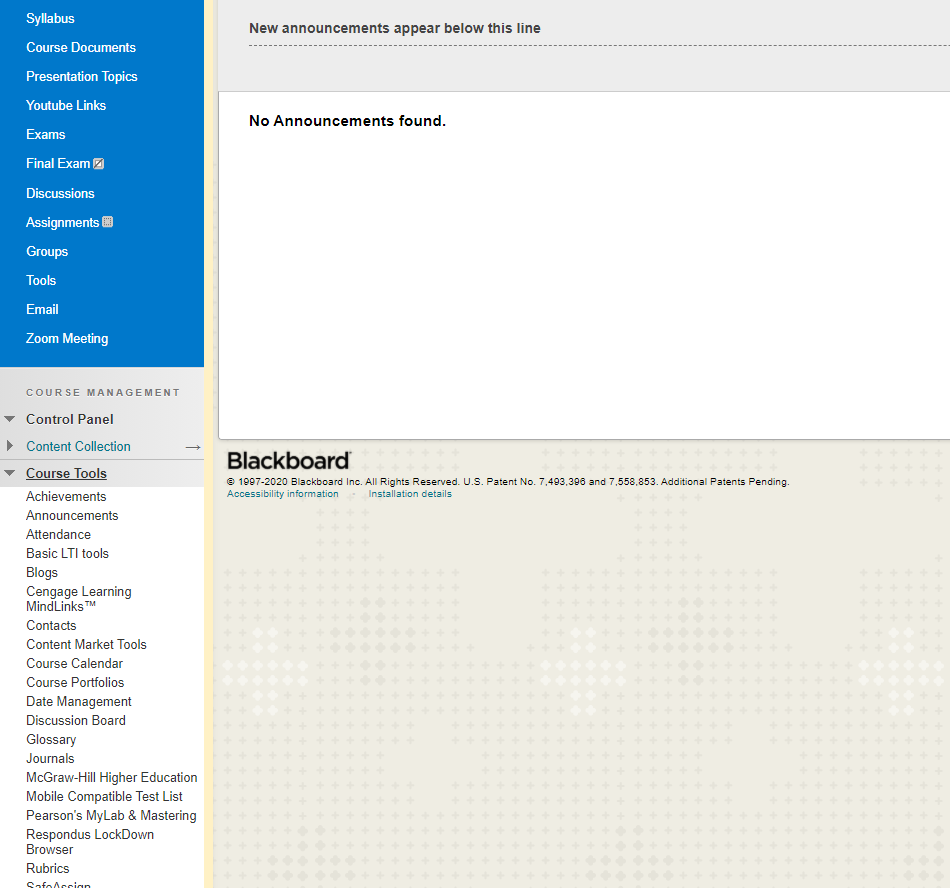
- From the Control Panel locate the “Course Tools” section and select the link “Respondus LockDown Browser“
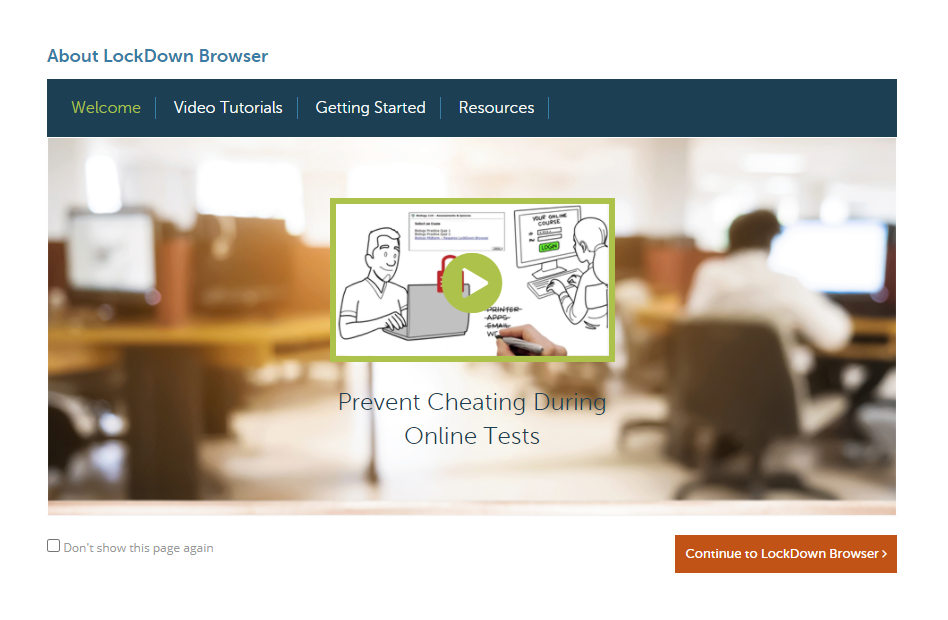
- Click “Continue to LockDown Browser“
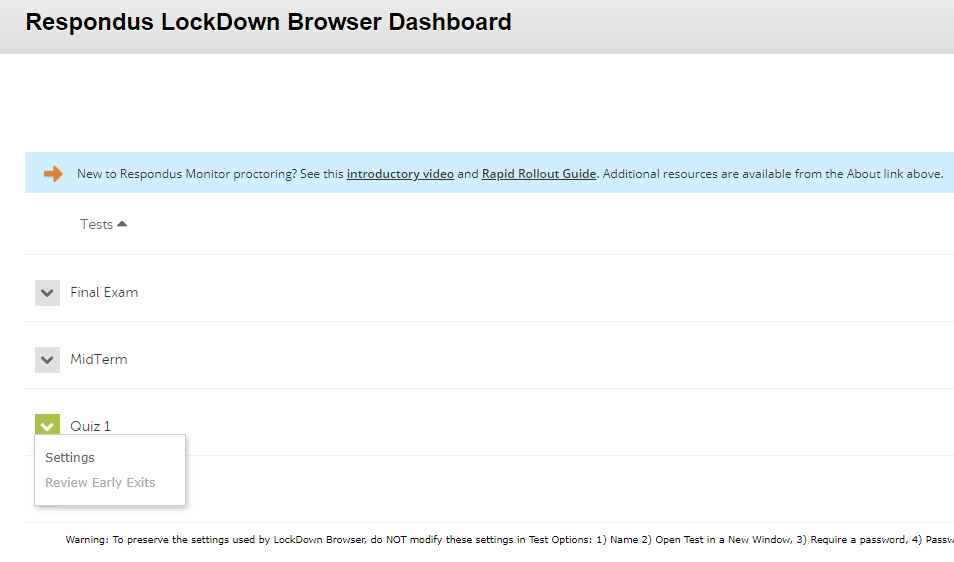
- Click the arrow next to the exam you want to implement “Lockdown Browser” and click on “Settings”
- Click “Require Respondus LockDown Browser for this exam“
- Click “Advanced Settings” and choose the options that you want to enable for the exam
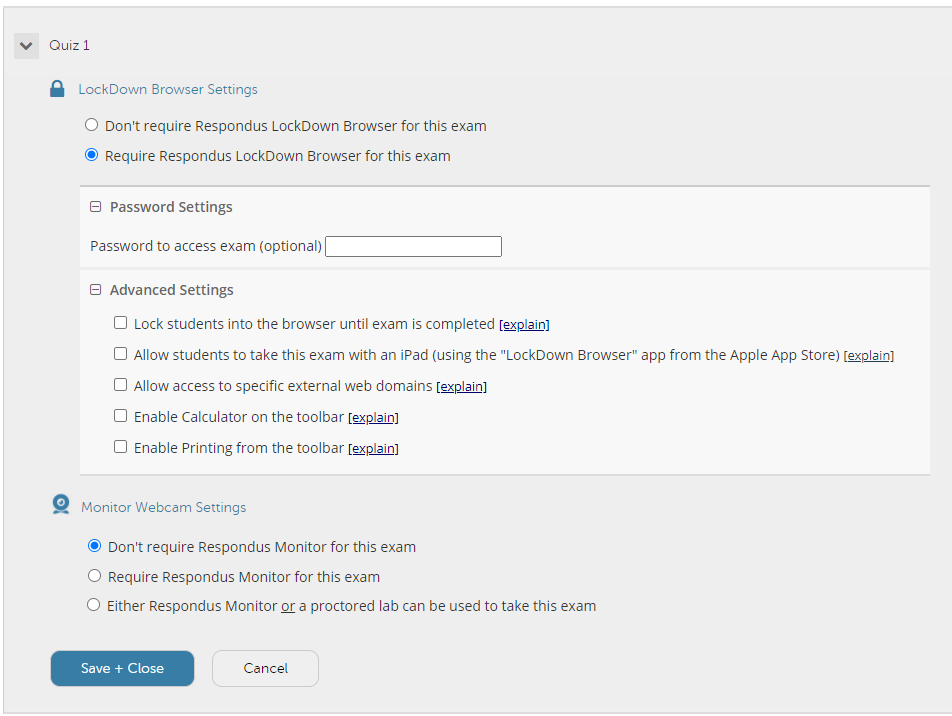
- The first setting will prevent students from exiting the browser until the exam is completed
- The second setting will allow students to take the exam with an iPad, using the free LockDown Browser app
- The third setting will allow students to access a list of specified web domains during the test
- The fourth and fifth settings allow instructors to provide students with a calculator or print function in the LockDown Browser toolbar
Tip
For additional information, select the explain link that follows each setting
- Click “Save and Close” to apply the settings
Respondus Monitor is a webcam feature for LockDown Browser that records students during online, non-proctored exams. When this feature is enabled for a test, students are required to use a webcam and microphone with LockDown Browser. After the exam is complete, an instructor can review the details of the assessment, even the recorded videos.
To give students the option to either take the exam with a webcam or in a proctored testing lab, select Either Respondus Monitor or a proctored lab can be used to take this exam. A test password will then be required to access the test in proctored settings.
- Click “Respondus Monitor for this Exam“
- Then select the items to be included in the “Startup Sequence”, the steps a student must complete before the start of an exam
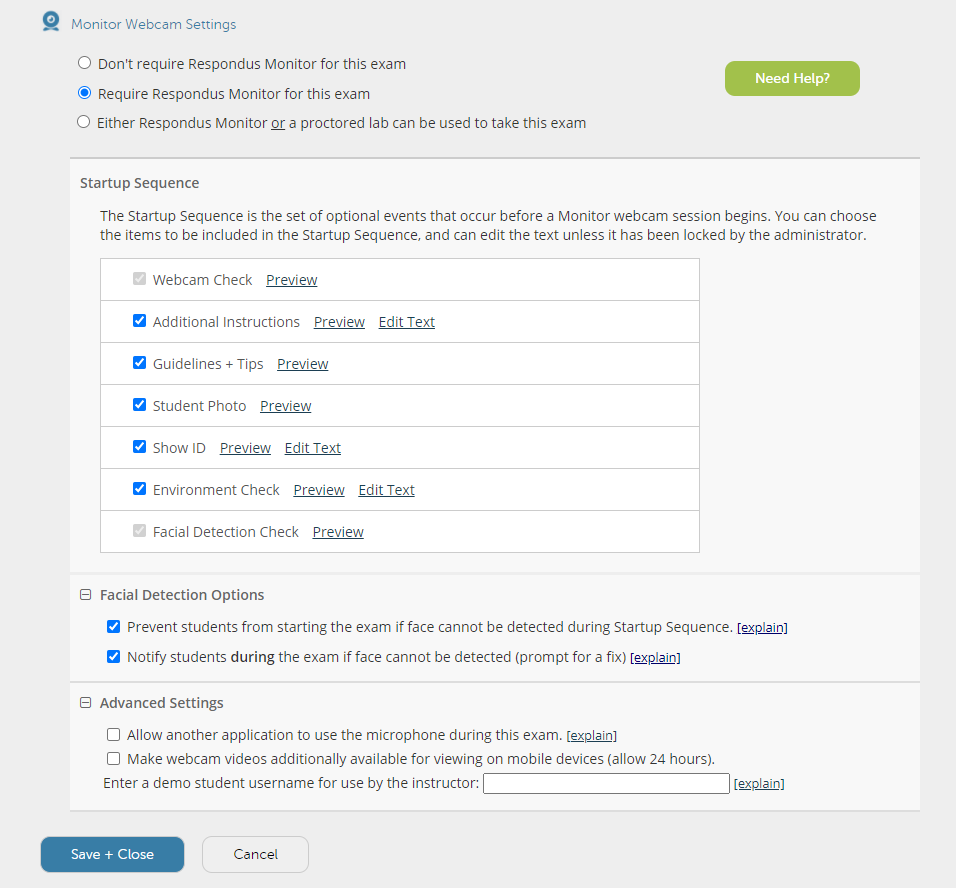
- Choose “Save and Close”
Your exam will now require the use of LockDown Browser and Respondus Monitor.

LockDown Browser for Chromebook minimally requires the version of ChromeOS that Google makes available via their Long Term Support (LTS) channel. For more information:
Long Term Support Channel Update for ChromeOS
Respondus recommends keeping your Chromebook updated to the most recent version that is available via Google’s ChromeOS “Stable” Channel:
To install the new extension on a student-owned Chromebook, students must use the regular LockDown Browser installation link provided by your school. They will not be able to find the app by searching the Chrome Web Store directly. The installation link will redirect them to the Chrome Web Store, where they should select “Add to Chrome” to install the LockDown Browser extension.


 Email
Email 

