As technology evolves and new features are offered, there may be times when unwanted or unexpected things happen. This page is dedicated to providing some tips, tricks, and recommendations to circumvent these undesired circumstances.
Normalize Sound Levels – Windows
Microsoft Windows 10 automatically adjusts audio levels between different applications. This can affect the level of sounds from various applications depending on what program is currently being used. This feature can be turned off using the instructions below.
Instructions
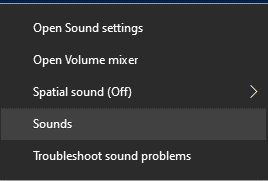
- From the Sound Icon in your task bar, single right-click
- Click “Sounds“
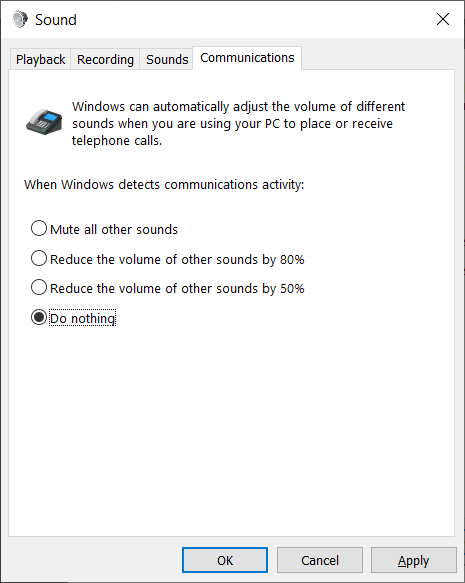
- Click “Communications” tab.
- Select the “Do nothing” radial button
- Click “Apply”
- Click “OK”
close
Adjust Microphone Settings – Windows
To ensure clear and audible audio in virtual meeting applications, such as Zoom, please follow the instructions below.
Instructions
- Right-click the Audio icon in the system tray portion of the task bar
- Click “Sounds”
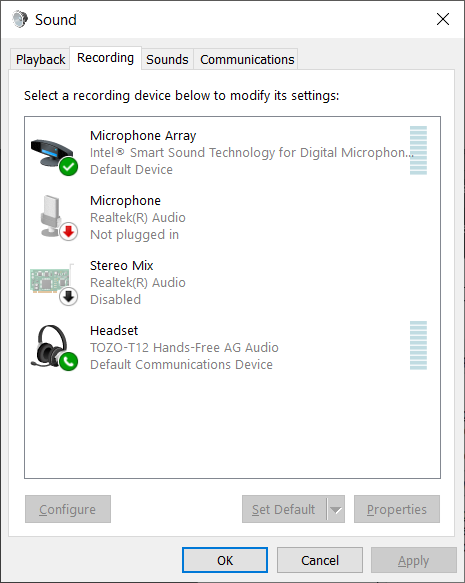
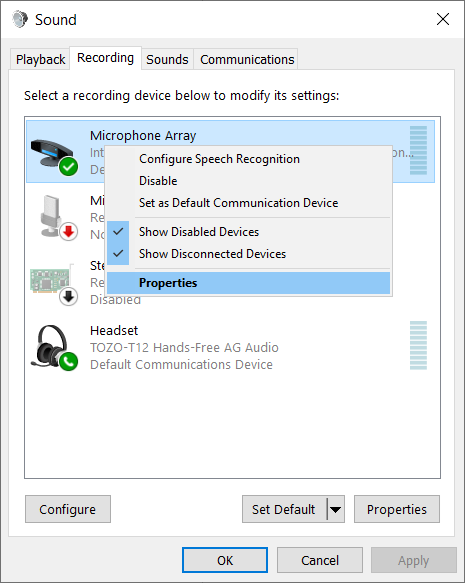
- Click “Recording”
Note
Not all options may be visible.
- Right Click on “Microphone Array” and select “Properties”
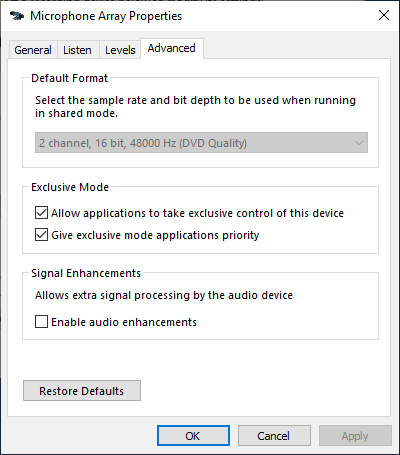
- Click the “Advanced” and un-check “Enable Audio Enhancements”
- Click “Apply”
- Click “OK”
close
Adjust Power Options – Lenovo Laptops
Default power profiles in Windows 10 are configured to balance performance and battery life. To change these settings, please follow the steps below.
Instructions
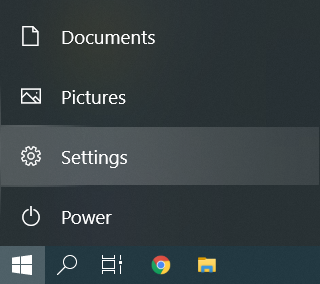
- Click on Start, and then click “Settings“
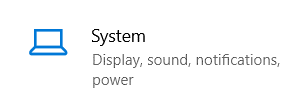
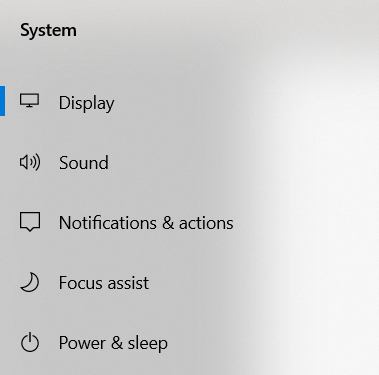
- Click on “System“
- Select “Power & Sleep“
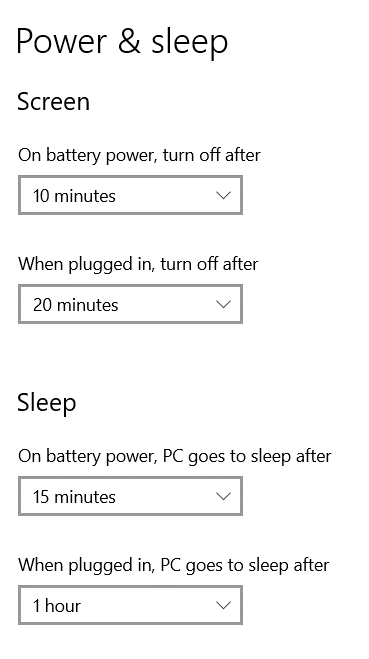
- To modify power settings while the laptop is plugged in or on battery power, modify the below options
Note:
Selecting higher times may result in shorter battery life
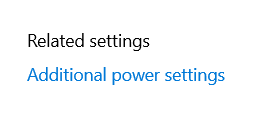
- For additional power settings, such as the laptop lid and power button settings, click Additional power settings
Note
Depending on window size, this option may be located towards the bottom or on the right side of the screen.
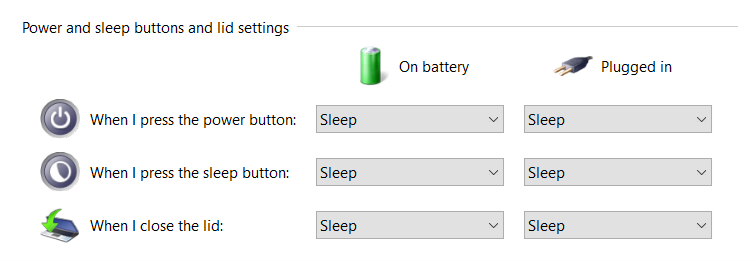
- Select either “Choose what the power buttons do” or “Choose what closing the lid does“
- The options below will allow modifying the effects of pressing the power button and closing the lid
Note
Setting DO NOTHING when closing the lid can lead to drastically less battery life as well as overheating when the laptop is placed inside a bag or briefcase.
close
Restarting A Computer
Rebooting a device is highly encouraged as it will help keep the system running at peak performance. The benefits of a weekly reboot include:
- Mitigate vulnerabilities to cyber-attacks by applying critical updates
- Prevent performance degradation
- Prevent application memory faults
- Effectively apply system policies
To restart a device, follow the instruction below.
Tip
Make sure any open application is saved and closed before a restart is performed. This includes applications like Outlook, Word, Excel and any other applications that may be opend.
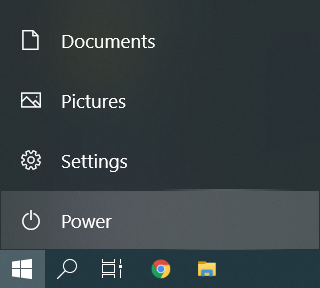
Instructions for Windows
- Click the Start bottom on the bottom left hand side of the task bar
- Click the “Power” button
- Click “Restart”
Note
Clicking “Shutdown” will not always properly apply updates or produce the desired effect. Clicking “restart” is the recomended option.
close
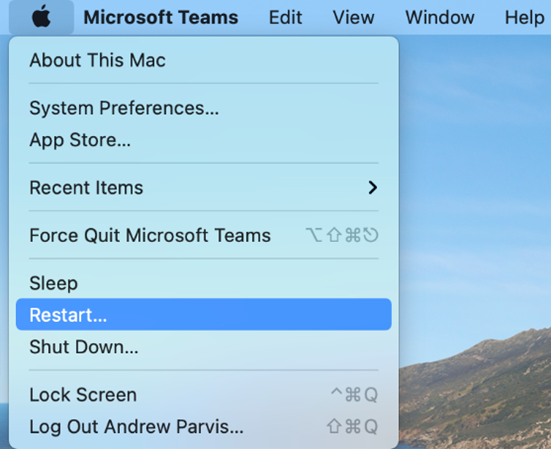
Instructions for macOS
- Click the “Apple” at the top left-hand side of your screen
- Click “Restart“
close


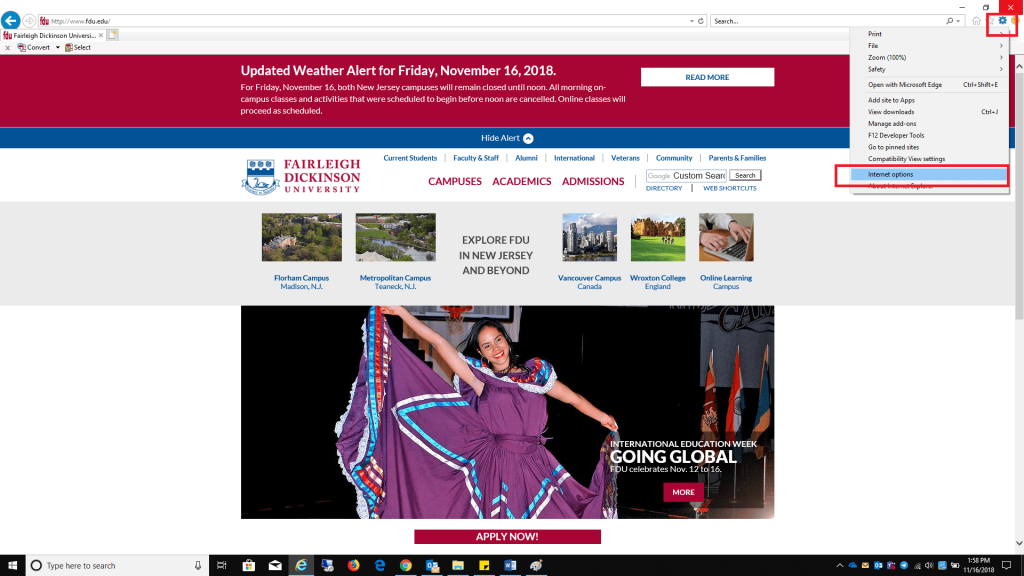
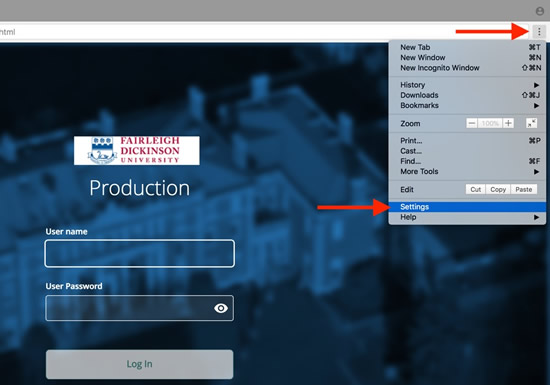 Select Advanced to show the advanced settings. Select Content settings.
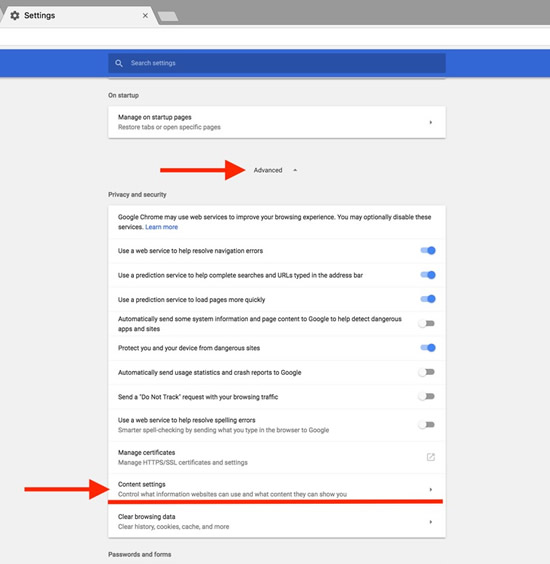 Select Cookies.
 Click the garbage can icon to delete the cookies.
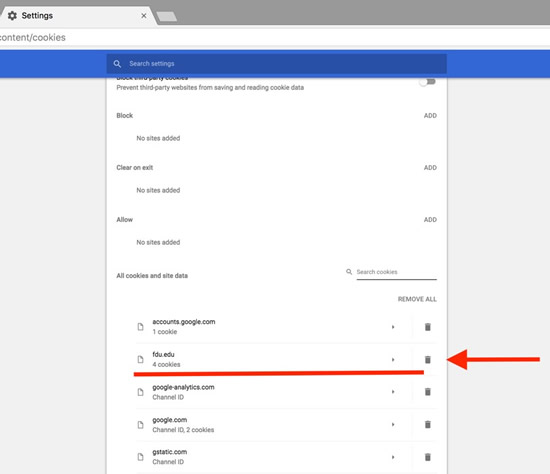
 Select the Privacy & Security tab and click Manage Data found under Cookies and Site Data.
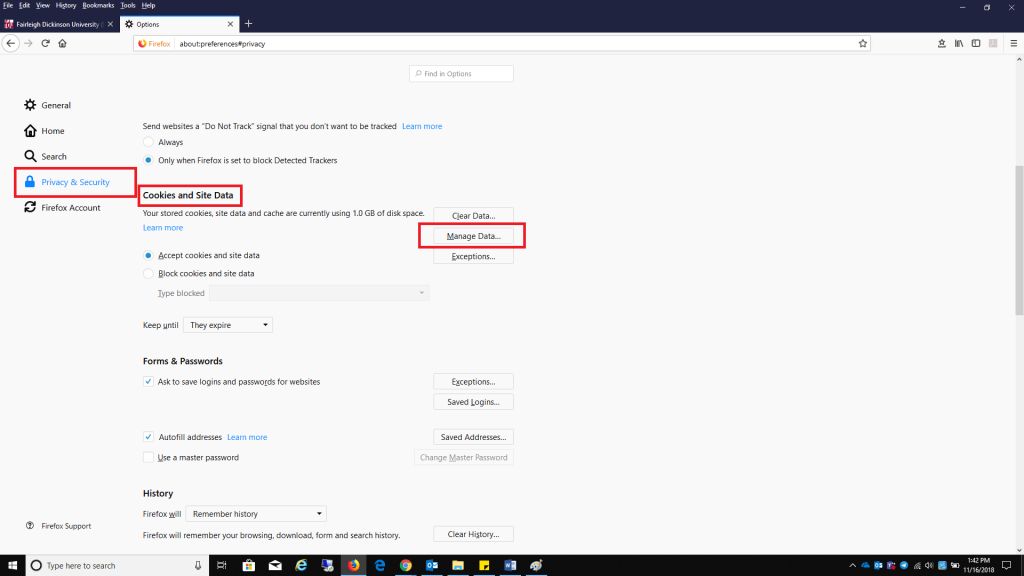 Select fdu.edu and select Remove Selected, select Save Changes when finished.
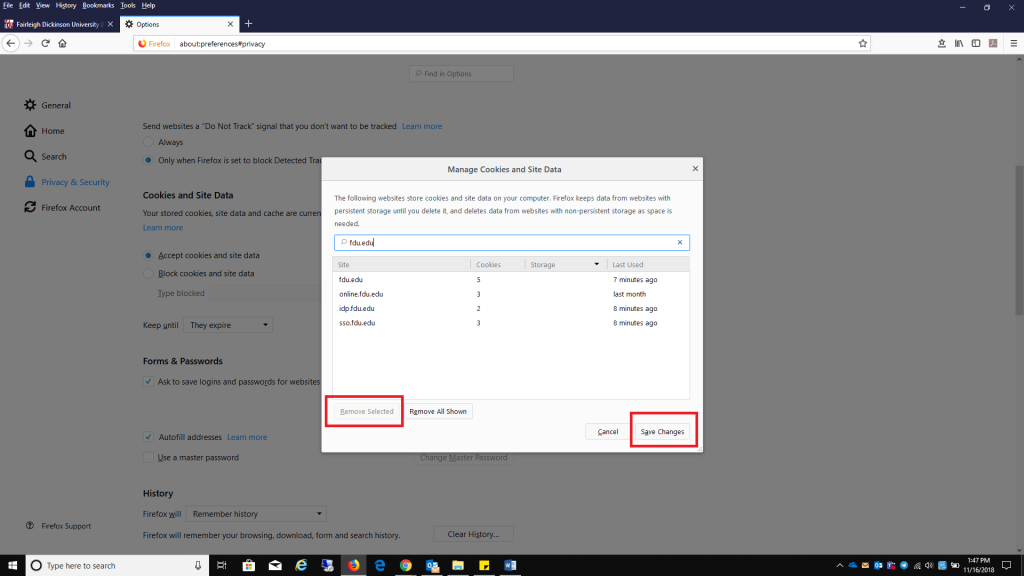
 Select Manage Website Data
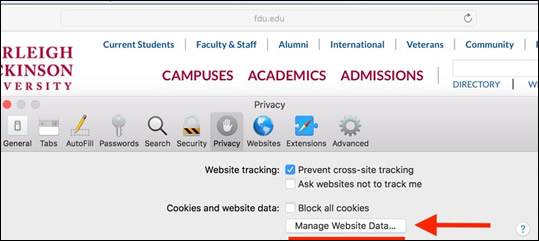 Select fdu.edu and click Remove.
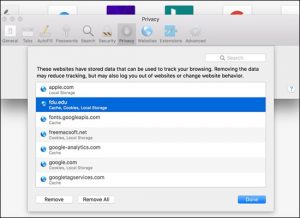
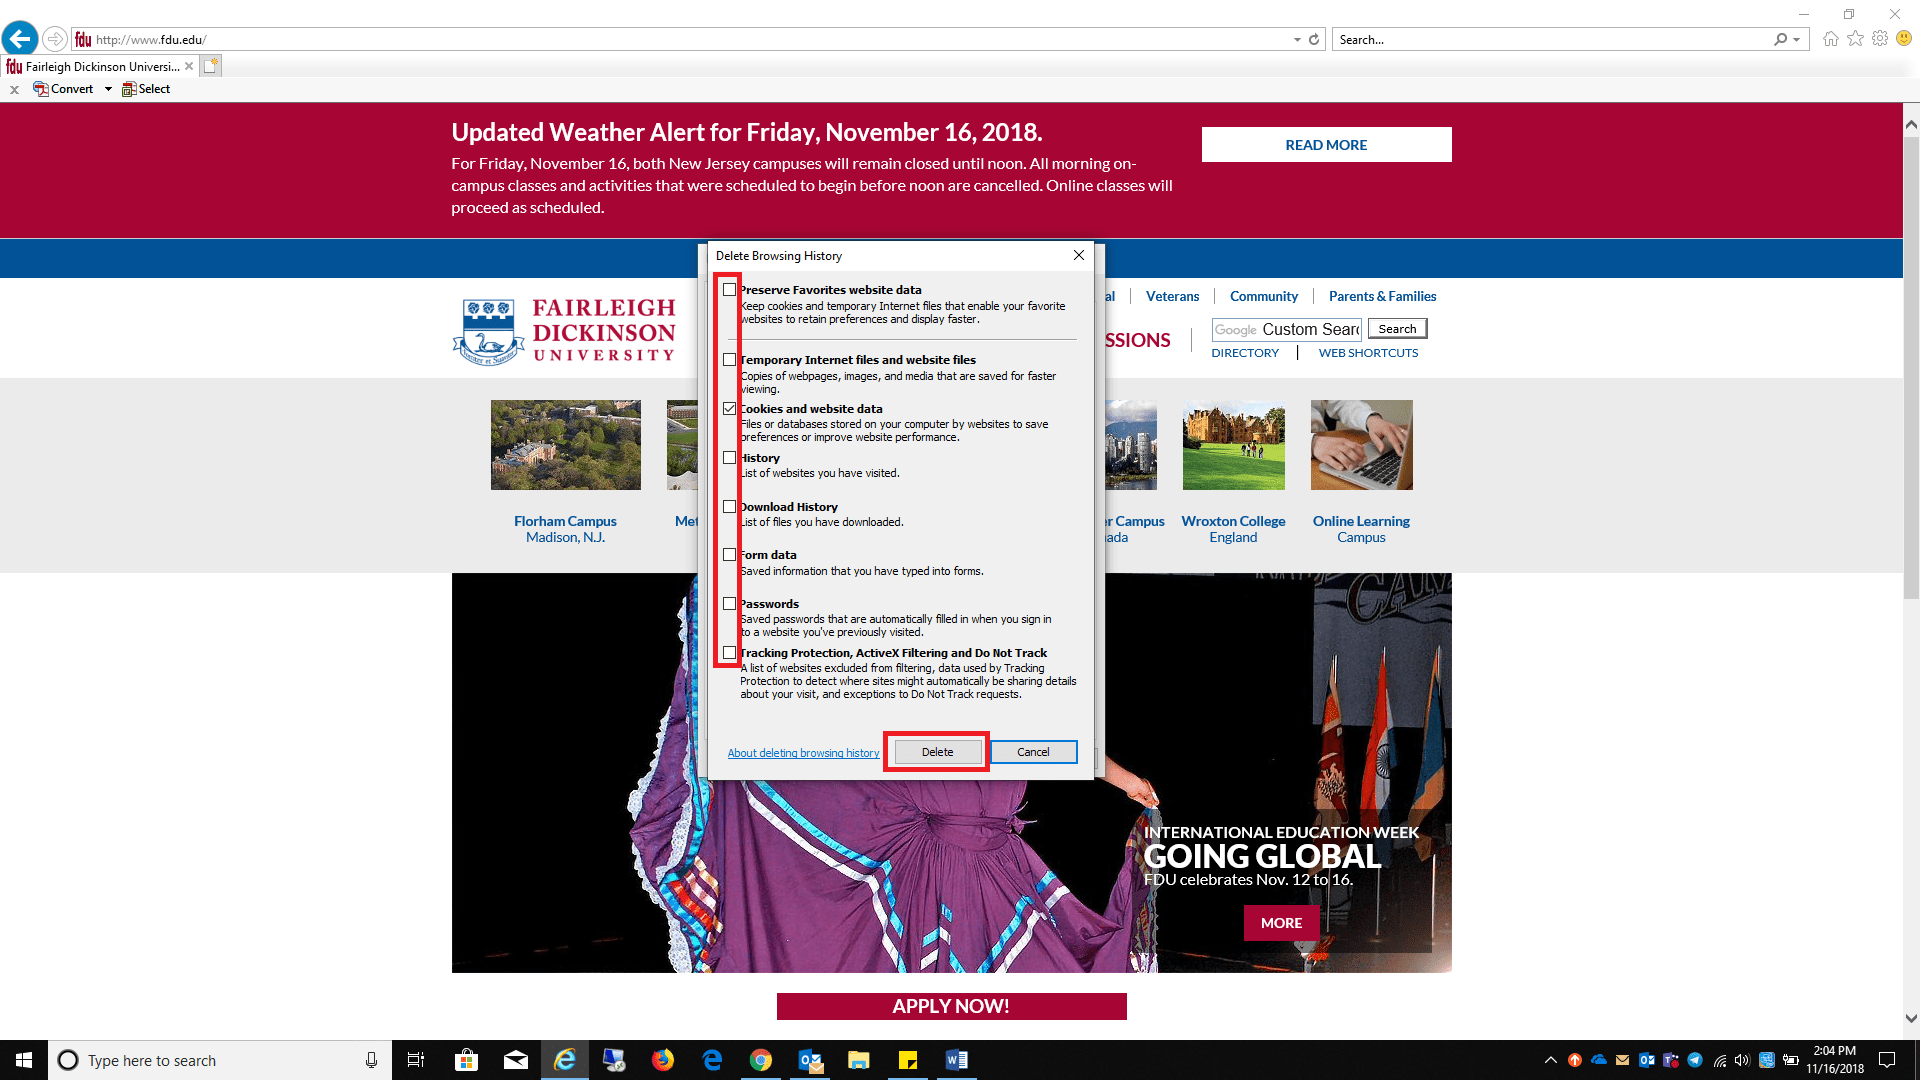
 Delete in the Browser History section
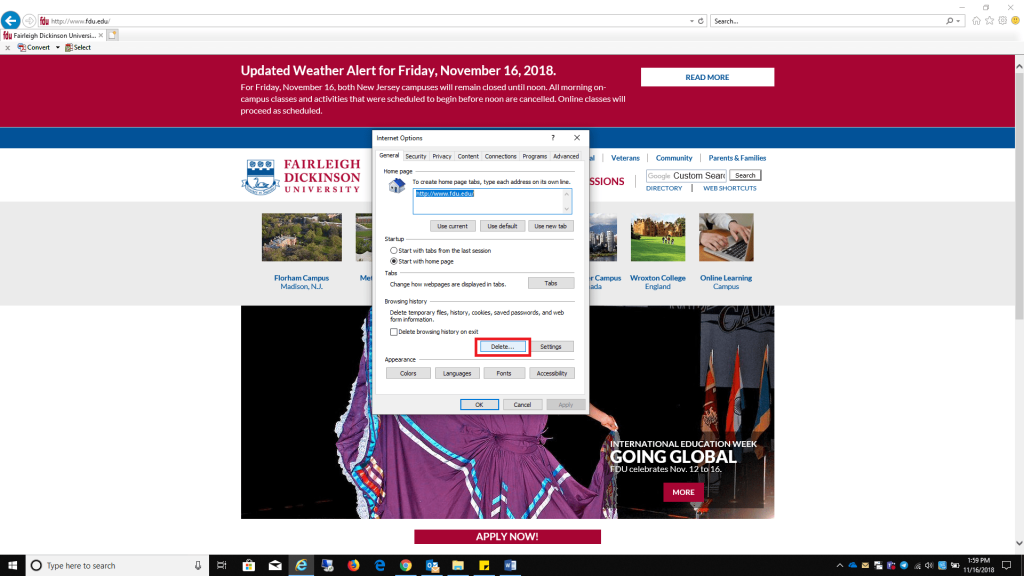 Uncheck all boxes listed, except Cookies and website data, click Delete when finished